Print
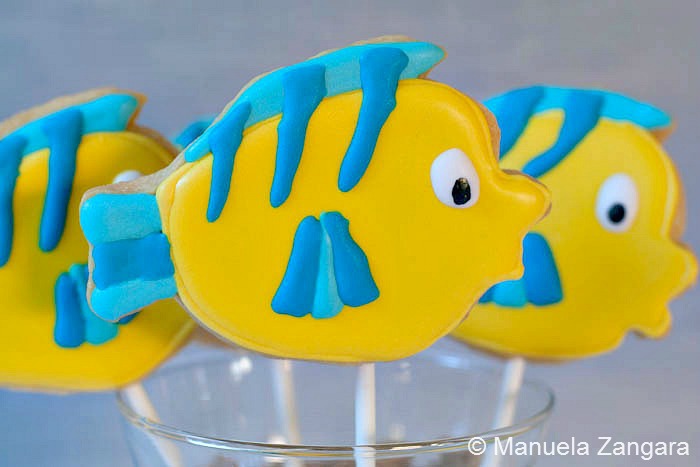
Flounder Shortbread Cookie Pops
Shortbread cookies in the shape of Flounder from The Little Mermaid!
Ingredients
- 1 batch of shortbread cookies cut in the shape of Flounder
- Royal Icing
- Food colouring
- Lollypop sticks
Instructions
-
Cut out and bake the cookies as per this recipe. The only difference is that this time I made “cookie pops”, so I inserted a pop stick into the cookies after cutting them out. Do this slowly so you don’t break the dough. Also, you may want to keep your cookies a bit thicker, just to make sure that they don’t break. Then bake them as per the above-mentioned recipe.
-
Once the cookies have cooled down, prepare the Royal Icing (you can find the recipe and a list of all the tools you need here) and colour it with food colouring (both gels and liquid).
-
The technique is the same as the one I use for sugar cookies. You start by outlining the shapes with a very thin line of icing and then fill it in (“flooding”). Some people use a thinner consistency of icing to flood the cookies, but I used the same icing (a bit thicker) to outline and flood because it saved me time. Also, I did not have all the tools I needed (I only had a #2 tip and only 1 of those!), so I wanted to keep the icing types to a bare minimum. I also made my own piping bags with baking paper…
-
After flooding them, I let them dry for a couple of hours and then I used different colours to add more details.
-
Let them dry overnight before serving them. If you give these as party favors, you can also wrap them in small transparent cello bags/sachets and tie them with colourful ribbons.