Print


The Little Mermaid Yogurt Cake
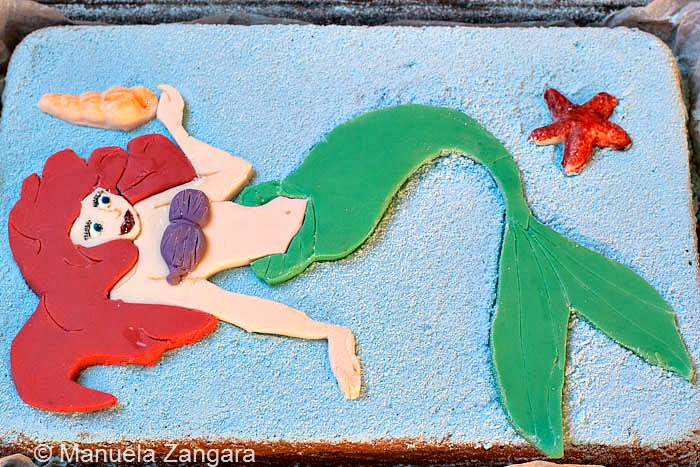
A healthy birthday cake that doesn't compromise on taste and looks: The Little Mermaid Yogurt cake!
Ingredients
- 1 ½ dose of my Yogurt Cake
- Coloured Fondant
- Edible Ink pens
- Icing Sugar/Powdered Sugar
- Powdered Blue colour
- White royal icing
Instructions
-
The cake is a basic yogurt cake. I just leveled it and flipped it upside down to get the smoother side on the top.
-
To make the Little Mermaid decoration, I used coloured fondant, a couple of drops of white royal icing for the eyes and edible ink pens for the smaller details. To cut out the parts that composed Ariel, I made my own stencils. It is quite easy, all you need is a printed image of what you want to make, some clean cardboard, some transfer paper, a pen and a sharp exacto knife. Put the transfer paper between the image and the cardboard and tranfer the image onto the cardboard by tracing the outline with a pen. Cut out all the single pieces. I did this by colour, so I cut the hair in one piece and then a piece each for the face, the body and the tail… I always use this method when I have to make my own stencils (also for making cookies), so I can virtually make ANYTHING I fancy!
-
Then you can use these stencils to cut out your rolled fondant. Add all the details (like the eyes, mouth etc.), make sure that all the pieces coincide and leave them to dry overnight.
-
I had a mould to make shell and sea creature chocolates and I used it to make a shell and a star fish.
-
The day of the party I sprinkled the cake with coloured icing sugar (I simply mixed icing sugar with some powdered blue colour) and I assembled Ariel on the top.
-
Be very careful as working with icing sugar can be quite messy and you cannot move your fondant pieces around after you place them on the cake or they will leave a mark on the icing sugar!