Print
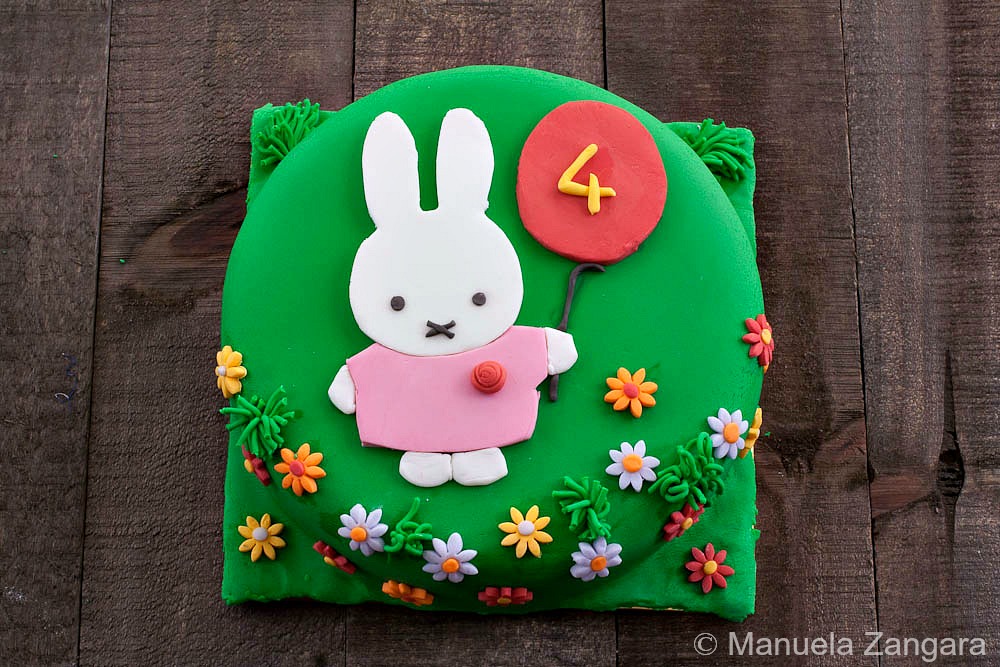
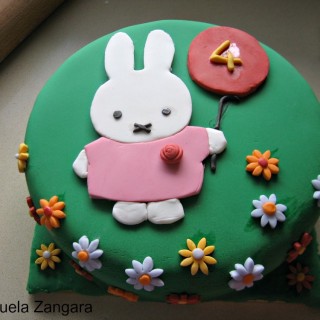
Miffy Cake
A tutorial on how to make a Miffy Cake with fondant!
Prep Time 2 hours
Cook Time 50 minutes
Total Time 2 hours 50 minutes
Ingredients
- Yogurt Cake
- Coloured Fondant
- Icing for crumb coating
- Icing Sugar/corn starch
Instructions
-
Start by baking the cake. I made it in advance and froze it.
-
Then colour all the fondant you are going to need. Dip a toothpick in the gel colour and then rub it onto the piece of fondant you want to colour. Then knead until uniformly combined.
-
You can start preparing the fondant for decorations about 3 or 4 days before the party (make sure to keep it wrapped and in a dry place so it doesn’t harden).
-
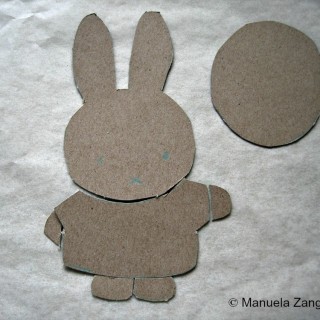
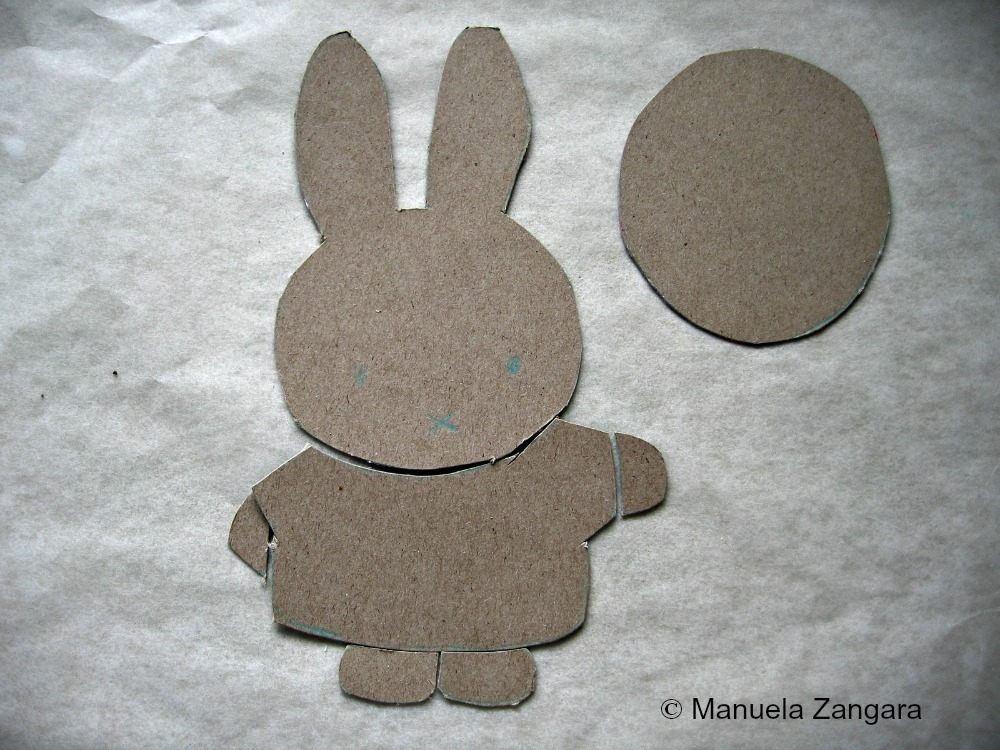
To make Miffy I made my own stencils. It is quite easy, all you need is a printed image of what you want to make, some clean cardboard, some transfer paper, a pen and a sharp exacto knife. Put the transfer paper between the image and the cardboard and transfer the image onto the cardboard by tracing the outline with a pen. Cut out all the single pieces. I always use this method when I have to make my own stencils (also for making cookies), so I can virtually make ANYTHING I fancy!
-
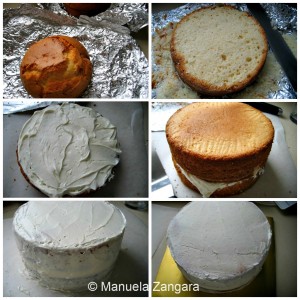
The day before the party I assembled the cake. I made some icing for the crumb coating (you can use your favourite icing recipe, just make sure that it is a little less dense as it needs to be smooth and you should be able to apply it easily). I took the 2 yogurt cakes out of the freezer and levelled them while still frozen with a sharp serrated knife.
-
I put a layer of icing on the cake and topped it with the other cake. Make sure to choose the smoothest and flattest of the cake surfaces for the cake top (it is very likely going to be the bottom of one of the cakes), this will make it easier to ice and decorate the cake. Now you are ready to crumb coat it. You can do this while the cakes are still frozen and it is much easier this way. Start from the top, then do the sides. Use a cake spatula to make sure the surface of the cake is as smooth as possible. When the cake is all covered in icing, put it in the fridge to harden. This coating will make the fondant top look smooth and it will ensure that no crumbs will be visible through it.
-
When the icing has dried, transfer the cake onto a cake board. Make sure to attach it to the base with a bit of icing.
-
Then roll out the green fondant and cover the cake with it. Smooth it with a fondant smoother and cut out the excess.
-
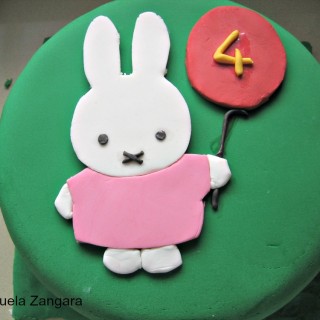
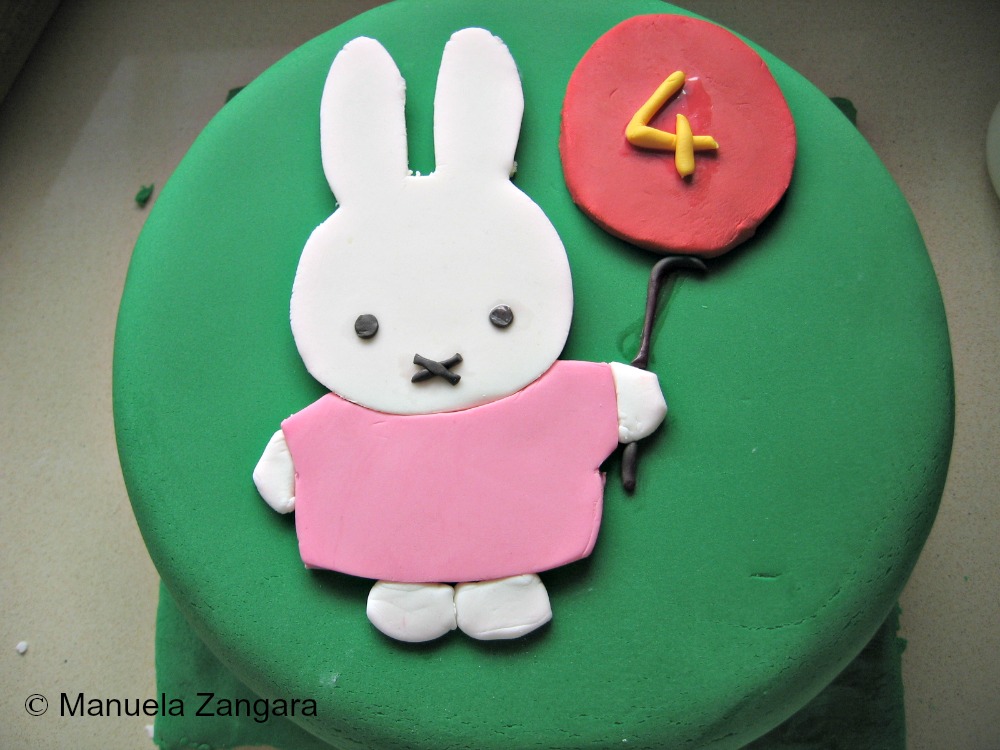
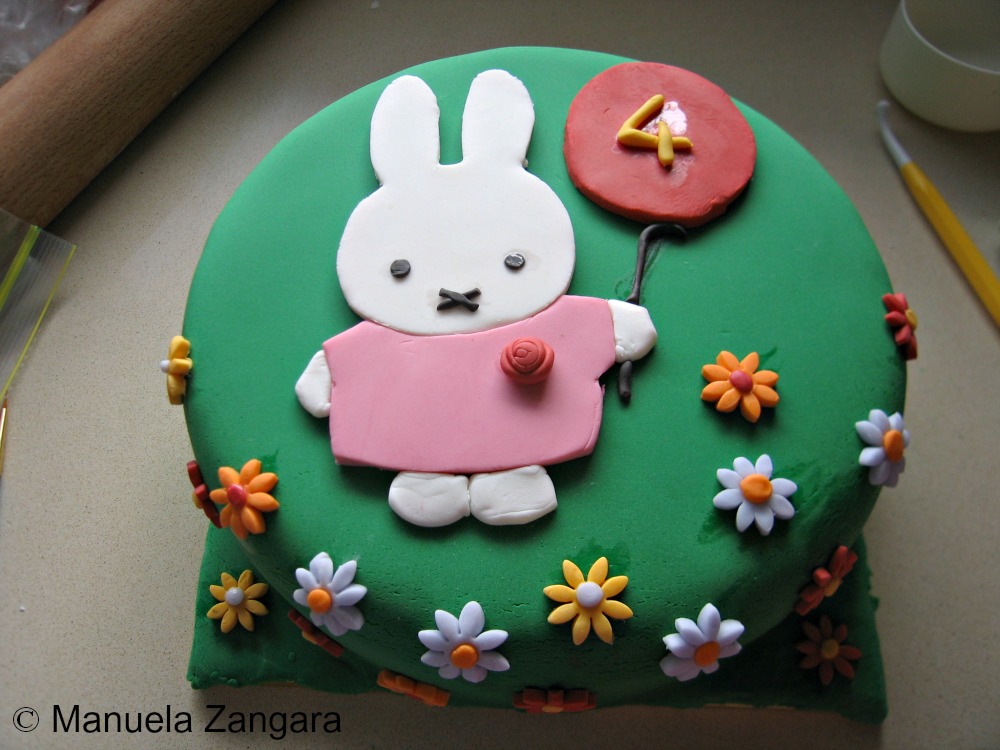
Using some water, I attached all the decorations that I had ready and made Miffy using the stencils.
-
-
The possibilities are endless!