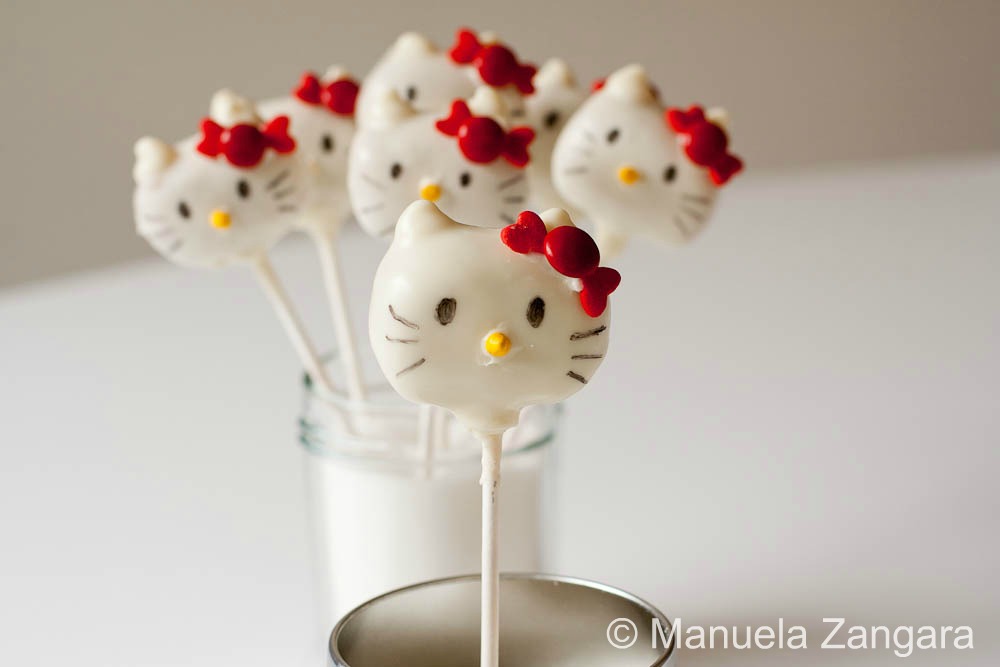
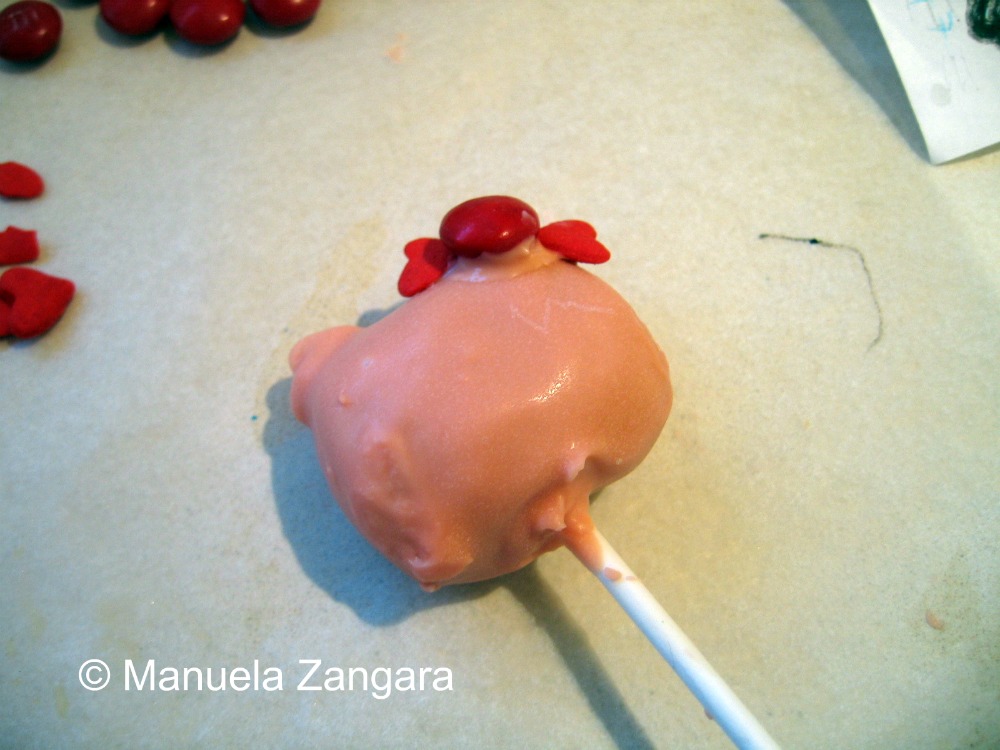
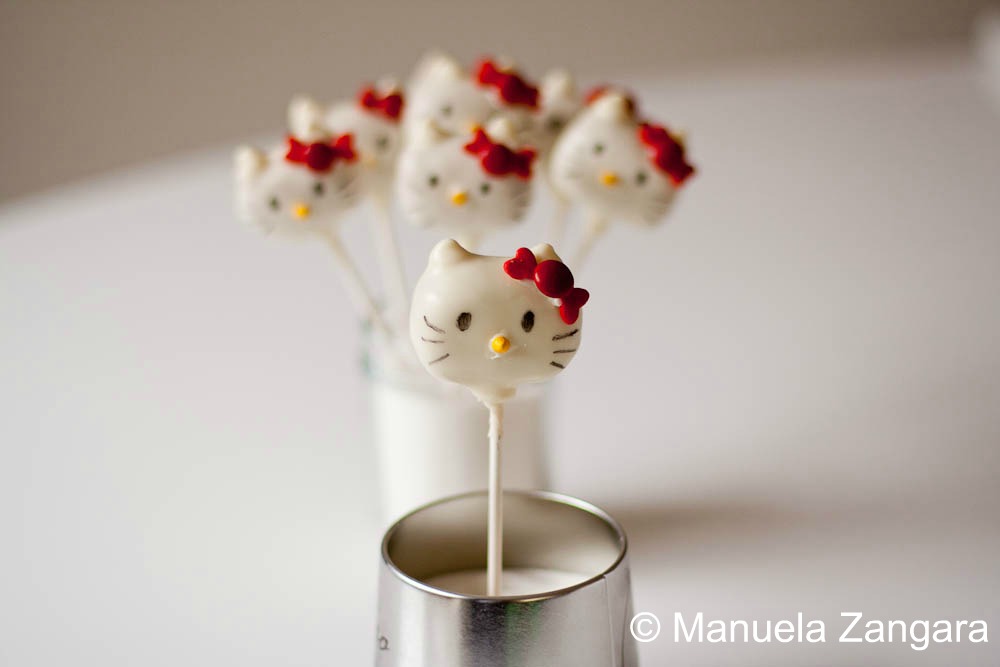
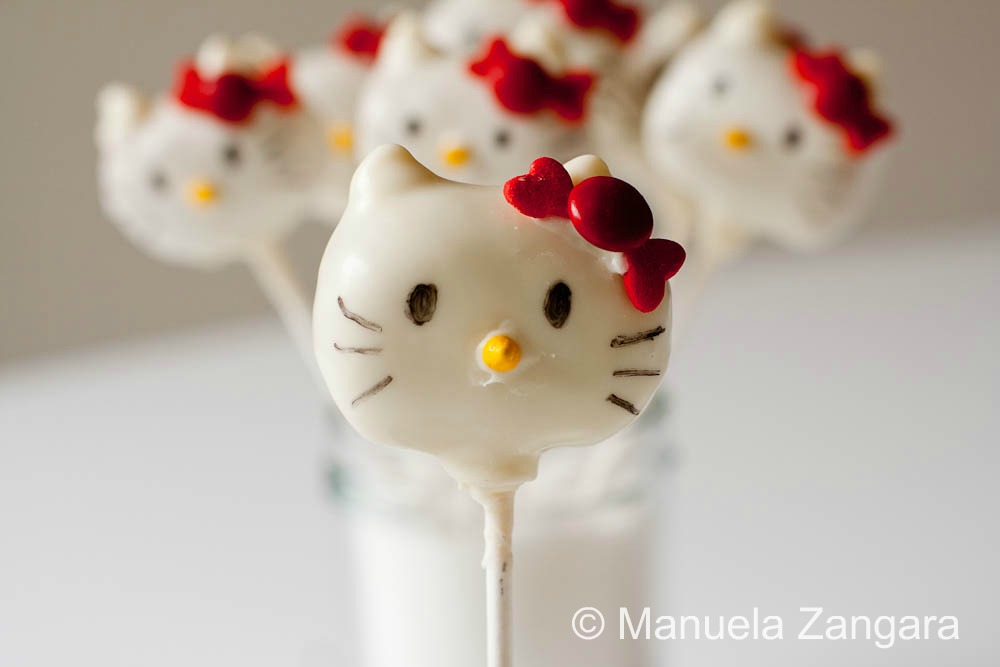
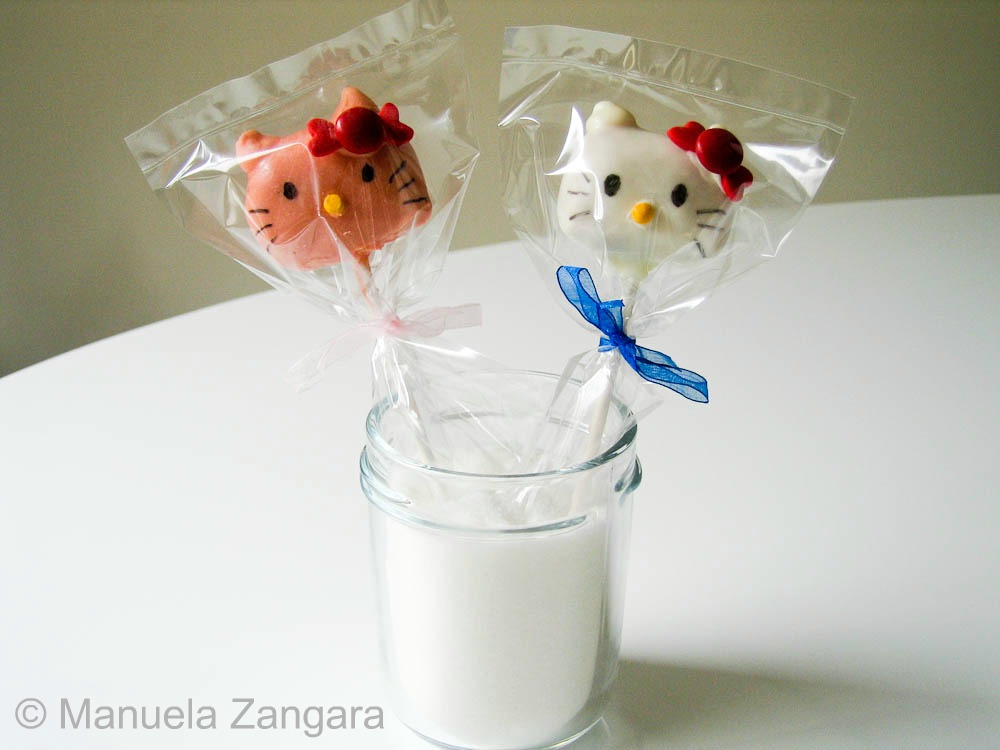
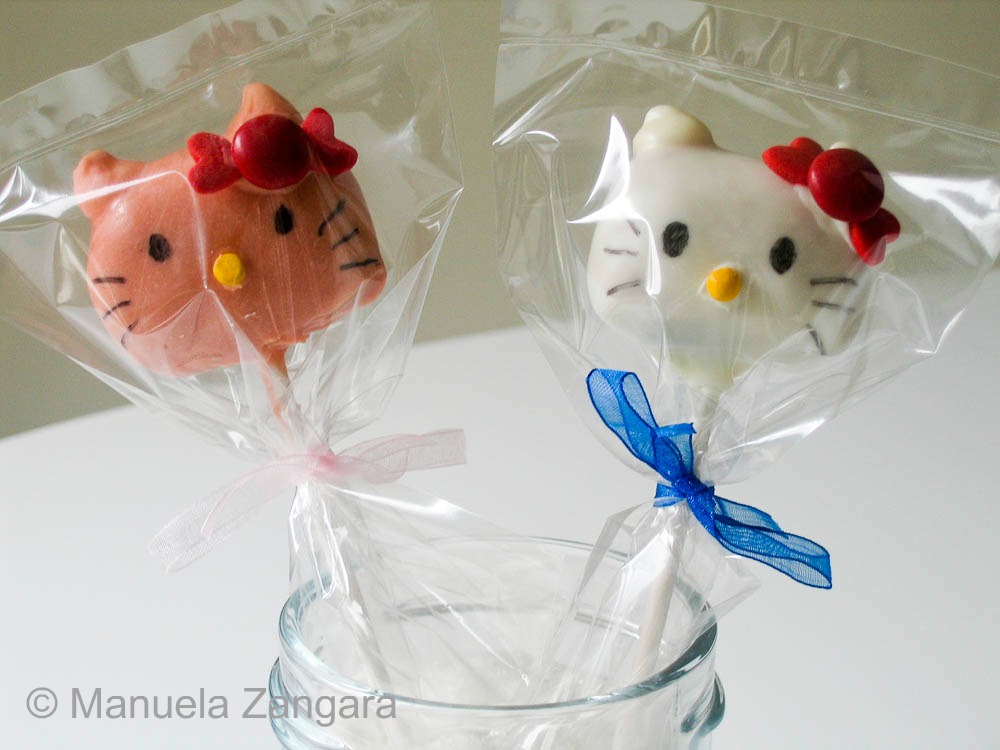
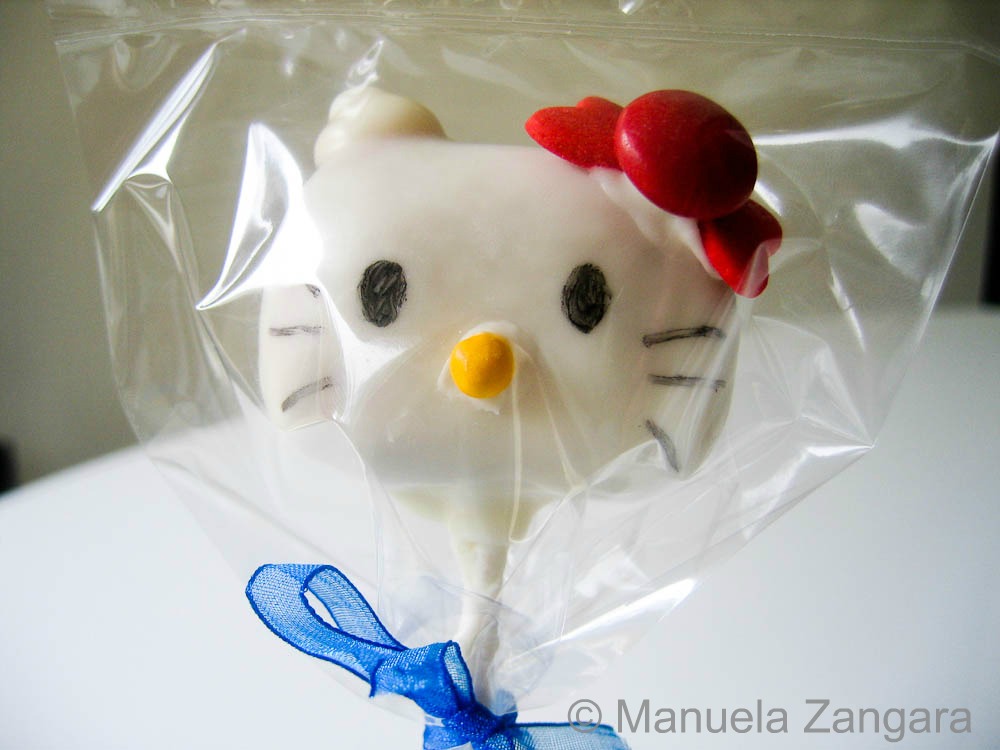
I love Hello Kitty, I always have. When I saw these on Bakerella’s website, it was love at first sight! I knew I had to make them! So I made a list of all the ingredients required and managed to find them (some were harder than others)! I thought of making these to give to Victoria’s school mates, instead of the usual goodie bag, which meant making 20. As I could not find enough white to cover all 20 of them, I made 15 white Kitty’s for the boys and 5 pink Kitty’s for the girls. Yes, you read right… there are 15 boys and only 5 girls in her class!!!! I then covered each of them with a transparent cello bag and tied it with a coloured ribbon. These were so much fun to make!
Recipe adapted from Bakerella
Ingredients: (makes 25)
25 cake pops shaped into semi-flat ovals
White Candy Melts
Mini Red m & m’s (chocolate)
Red Jumbo Heart Sprinkles
Yellow Rainbow Chip Sprinkles
Black Edible Ink Pen
White Chocolate Chips
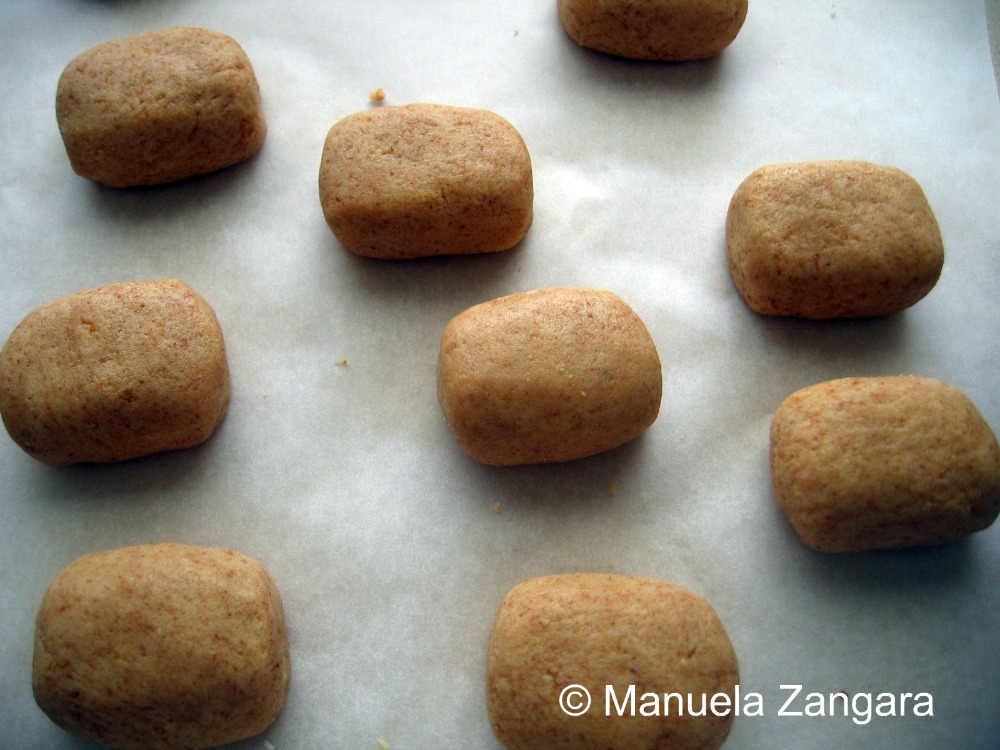
Make the cake pop mix and shape into semi-flat oval shapes to make the Kitty’s face.
Put the cake pops on baking paper. Keep them in the freezer for 15 minutes and start preparing the candy coating.
Melt it following the instructions on the package (I microwave them as I find it easier). Also make sure you use a deep enough plastic container to melt the candy so you can dip the candy pops in it.
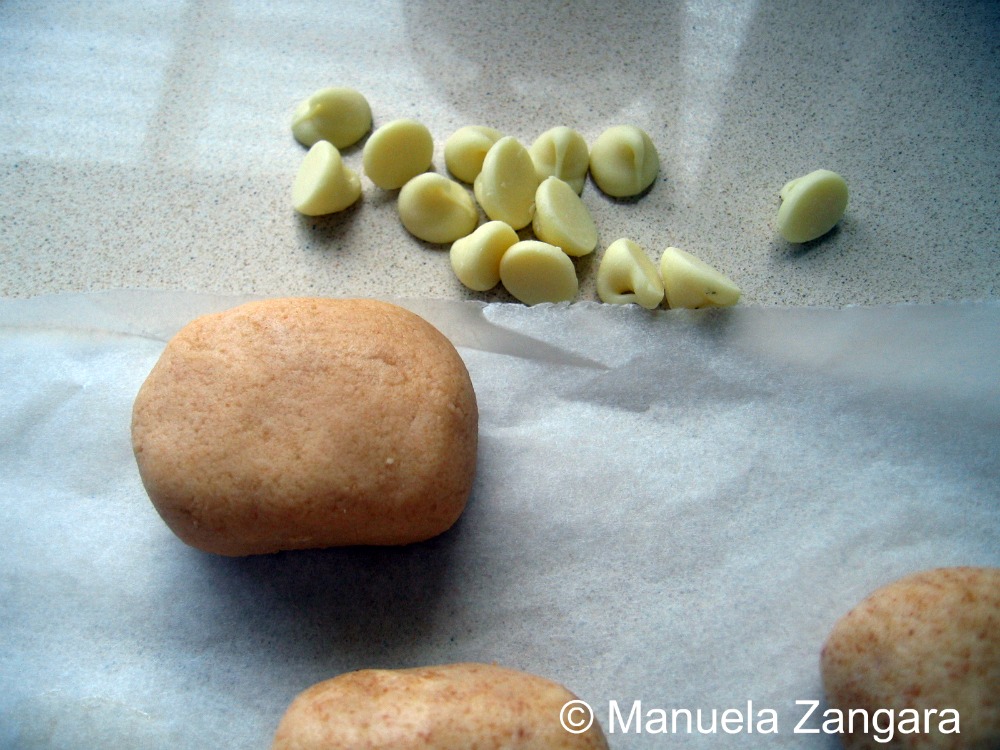
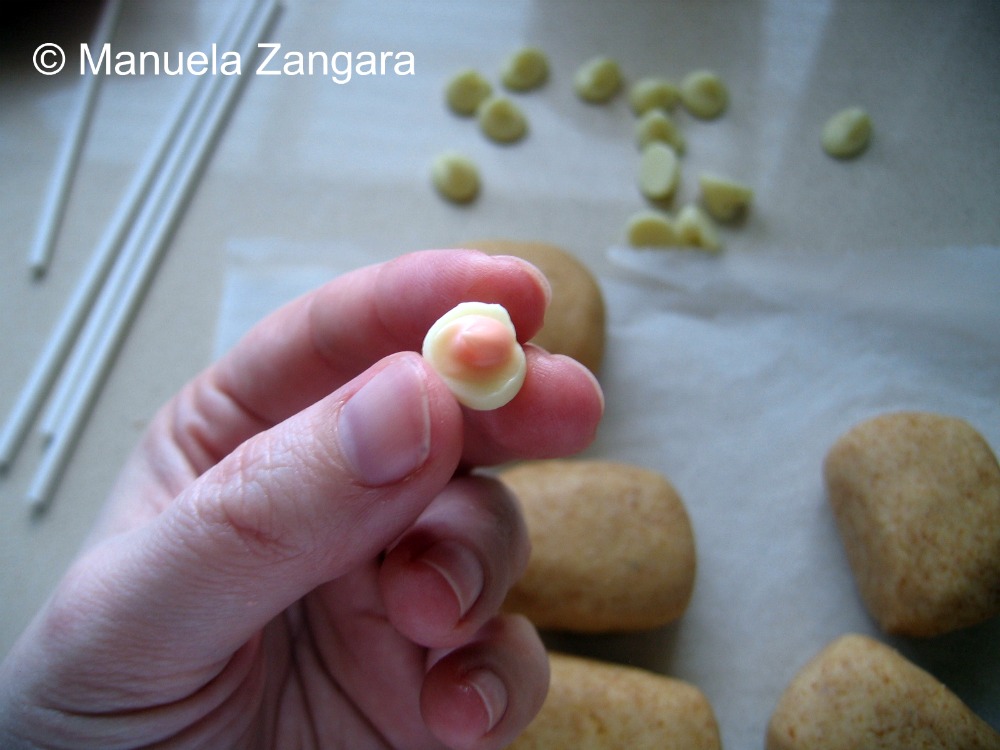
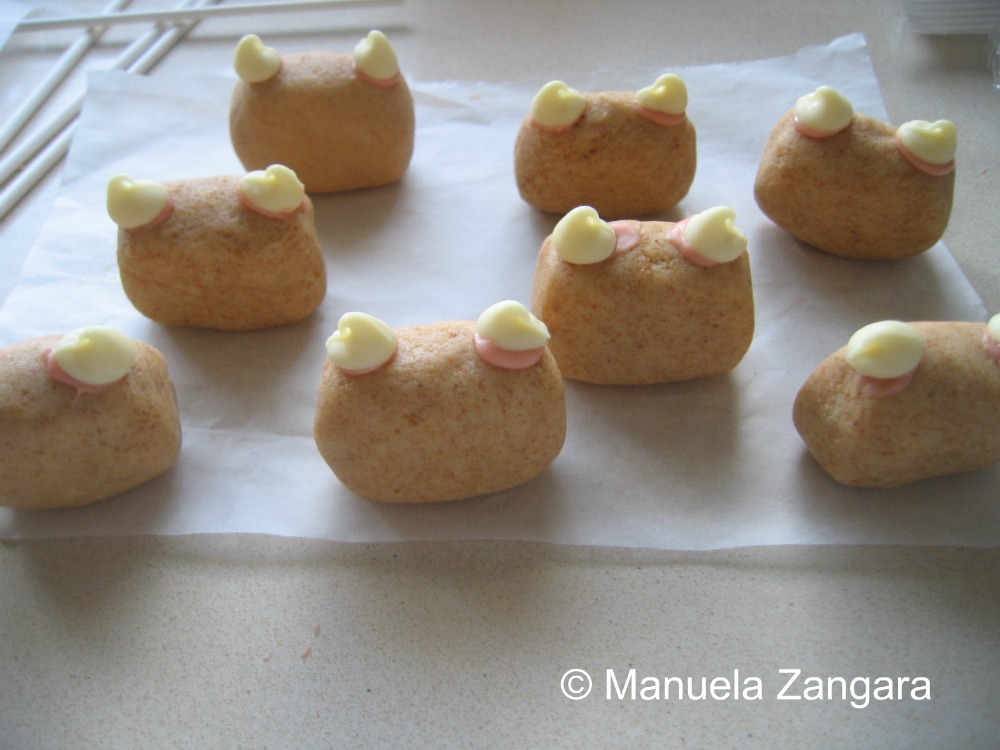
When ready, take all the balls out of the freezer and put them in the fridge. Keep only 5 on the benchtop and start working with these. Take some white chocolate chips and attach two of them on each Kitty heads with a little candy melt to make the ears. Let them dry.
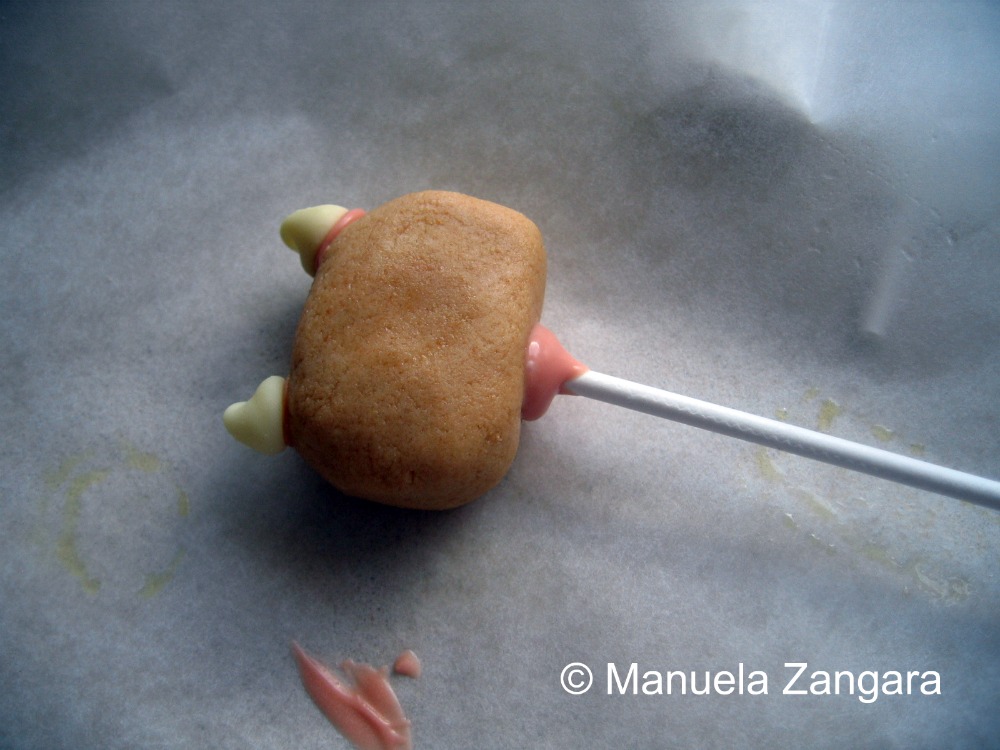
Take a pop stick and dip it in the candy melt (2 cm). Insert it in the cake pops no more than halfway through and keep it aside. Do that for all 5 pops.
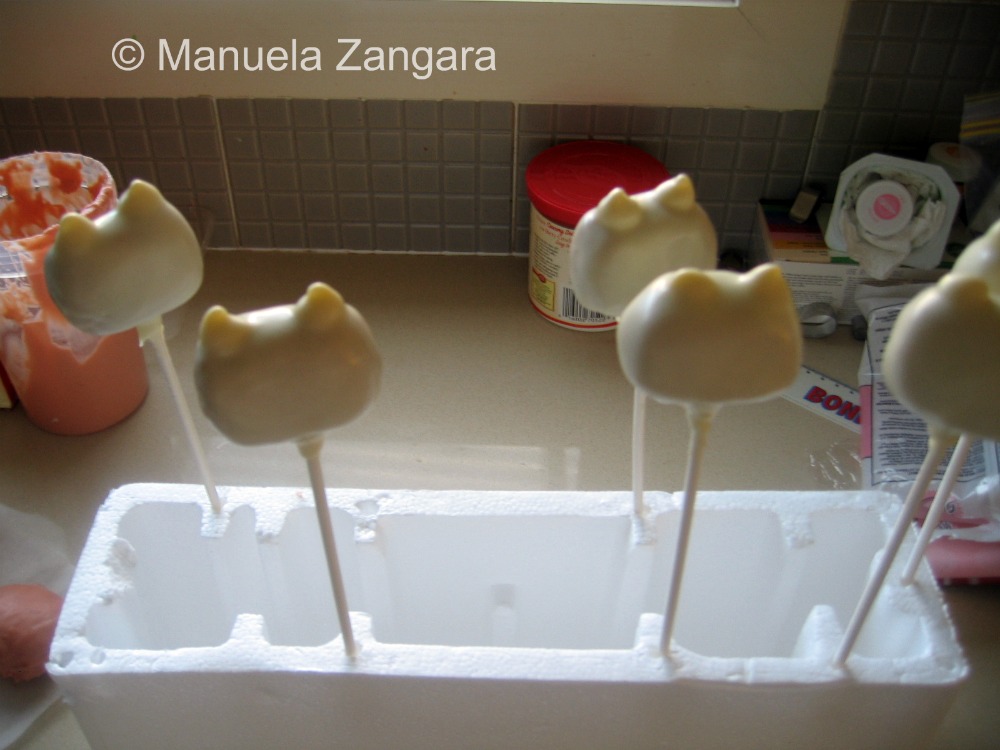
Then take the first cake pop and dip it into the candy melt. Make sure it is fully submerged and that the candy coats the stick. Then pull it out in one movement and remove the excess coating by tapping the left hand on your right wrist and turning the pop at the same time so that the coating gets evenly distributed.
Then put it vertically on a piece of Styrofoam to dry.
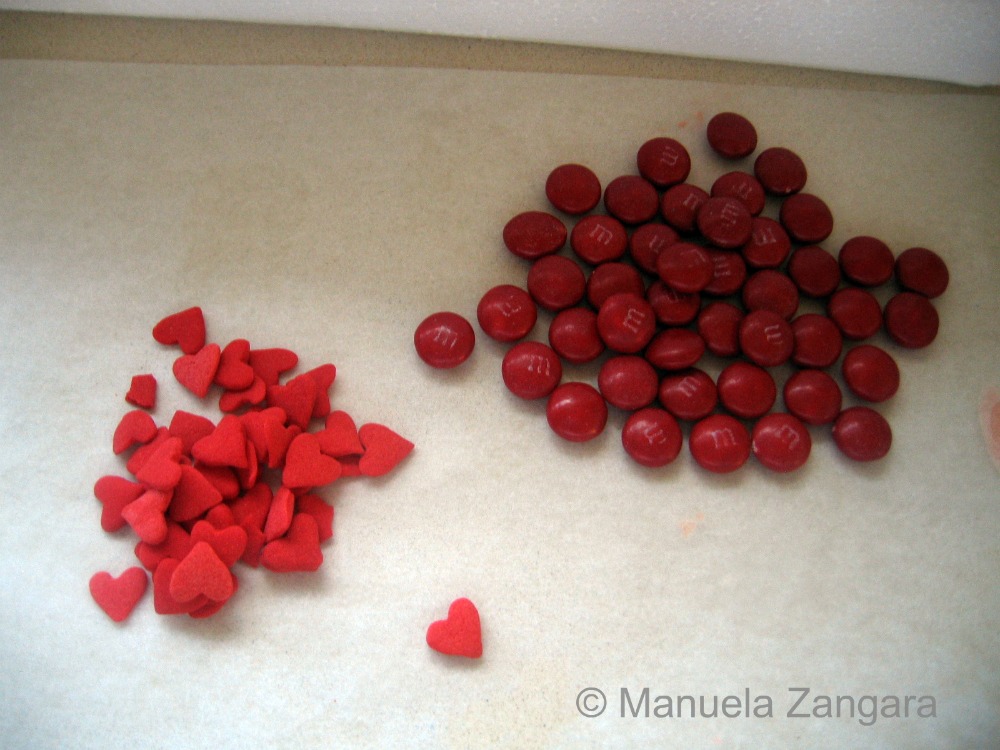
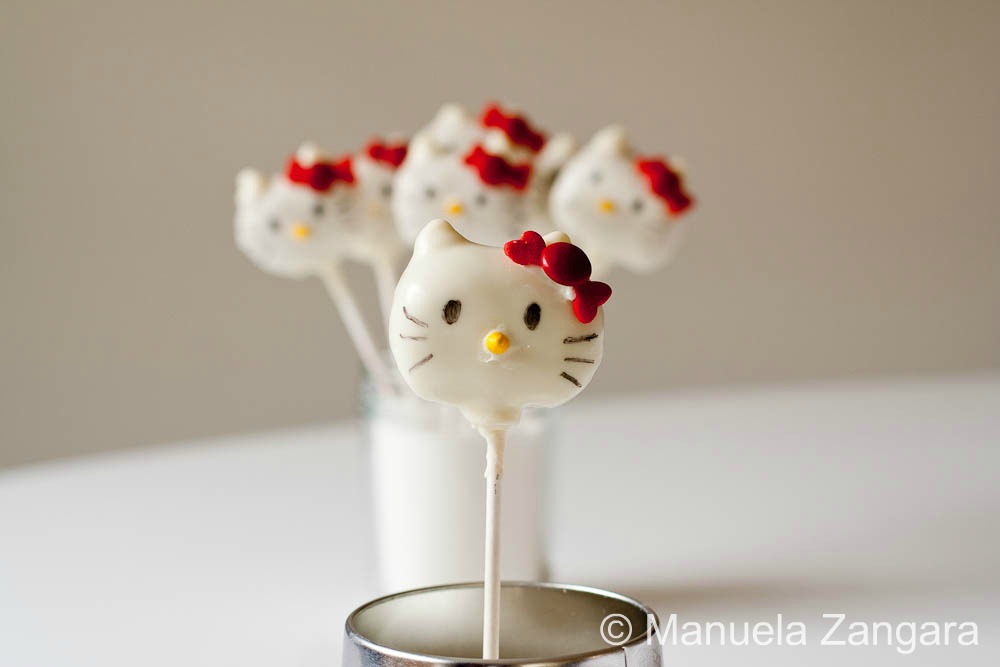
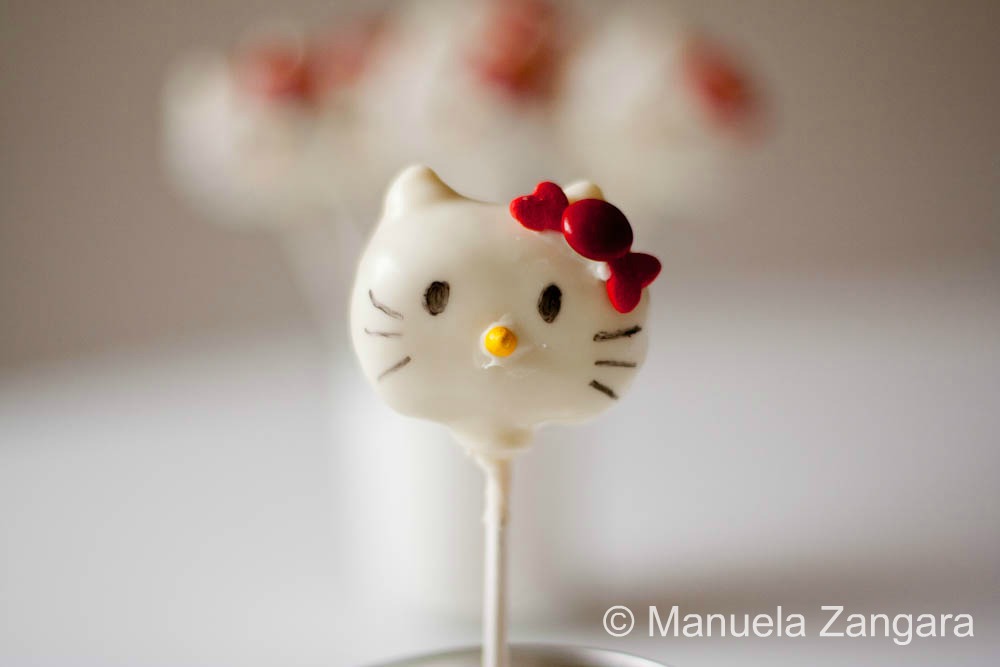
When dry, you can decorate the Kitty’s faces. Use the Red Jumbo Heart Sprinkles and the Mini Red m&m’s to make the bow and the Yellow Rainbow Chip Sprinkles for the nose.
Using a Black Edible Ink Pen, draw the eyes and the whiskers.
Repeat for all the remaining cake pops.
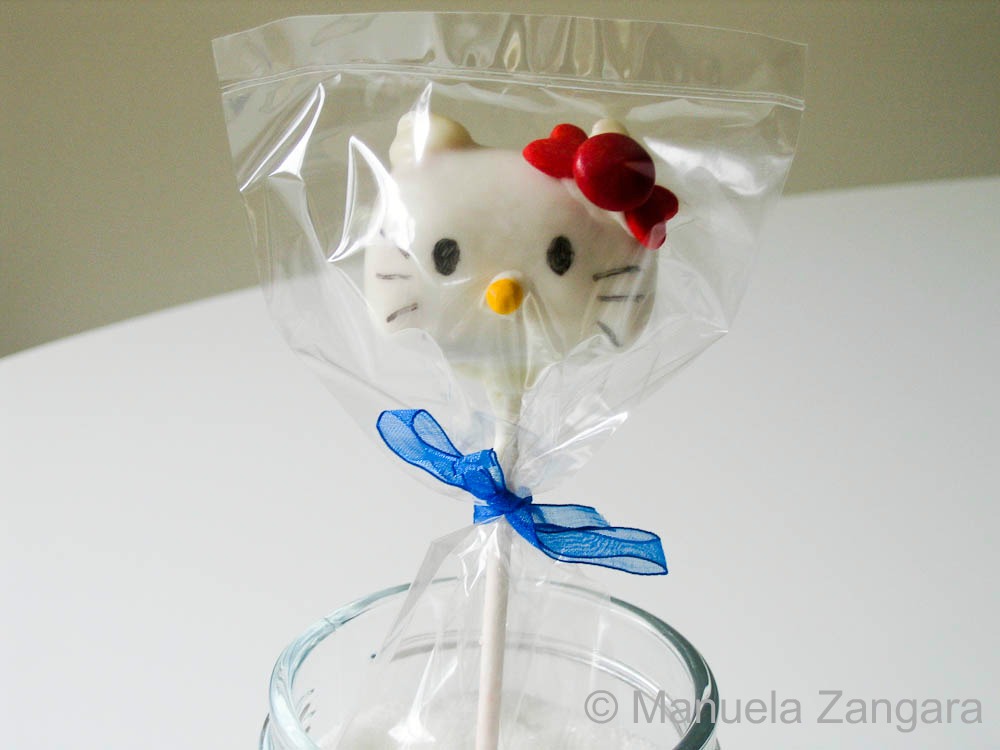
If you give them as presents, wrap them in small transparent cello bags/sachets and tie them with colourful ribbons.







Thank you so much for sharing this cute recipe, now my daughter will be just crazy from such ” kitten candy” 🙂
I actually tried these differently, but love this idea! I will be making them for our bakesale:)
Hi can you tell me how you put the c(with a circle) Manuela Zargara on your pictures. I’d really like to do that with mine, but don’t know how..thanks
You should be able to find it in Word under Insert – Symbol. Or, just copy and paste this into a Word document: © Hope it helps!
thanks sure did
what do you do for the nose? is it a pen, sprinkle or melted candy
Hi Jazmin! For the nose I used yellow rainbow chip sprinkles… they are tiny chocolate chips that come in many colours in the same box. Hopefully that helps. 🙂
LOVE ITTTTTTT <3….. My daughters 5th bday theme is hello kitty going to make these 🙂 thanks:)
wow nice i luv it i tried this 22222222222222
They are so cute but i made them hot pink and purple.
wow.. vielen dank für das Rezept.. ich bin durch Zufall auf deine Seite gestoßen und finde es genial. Habe mir vorgenommen dies für meine Tochter mal zu machen und werde versuchen hier die Utensilien die man braucht mir zu beschaffen.
Thanks for the tutorial. We love Hello Kitty 🙂
Thanks for the tutorial. I made these for a friend who has been helping me with my first semester in grad-school. She loves Hello Kitty, and really liked these. My boyfriend liked eating all the “rejects” too.
You are sooo welcome Brenda! Thank YOU for letting me know you made them and liked them! I am very happy! 🙂
cute! im trying to make these BAD BOYS this weekend!!!
-wish me luck!
Ok, I cant take it anymore with all your amazing little creations. These are so adorable! You are inspiring me to bake and create wonderful little things like this!
How cute! Soooooo cute. I am going to try this.
Manu, these have inspired me to make my own Hello Kitty cake pops for myself, just for fun! For your first time, these look so amazing!
How freakin cute is that! Loving these. 😀
Lo fai sembrare così facile con le tue foto passo passo… bellissime come sempre!
these are so adorable, i love them!
Wow these are too cute. I want to make some of these too as a giveaway for my niece’s upcoming birthday but I might also try other cartoon characters aside from Hello Kitty.
oh so adorable! lovely idea, i love love love hello kitty 🙂
i made hello kitty out of sausages too here! i am mad 😀
http://mochachocolatarita.blogspot.com/2011/06/making-behind-scene-hello-kitty-food.html
It would be hard not to love Hello Kitty, she is everywhere. They look perfect, I’ll have to make them for my sister’s grandaughter.
These cute cakepops are going to shove cupcakes right off the map- super cute!
Ok its official, I’m making these this weekend 🙂 Ever since I saw them on Bakerella I’ve wanted to make them but they look so difficult, you make them look so easy! Great job!! 🙂
Those are the cutest little things! Oh my goodness, I wish I had the time and patience to make something as cute at those. Awesome job!
Totally adorable! My nieces would go crazy for these.
Lovely cake pops-great for the kids. I know there was a lot of time and attention to detail here, but it did pay off-perfectly!
Ahh, too cute! I love the pink ones. You’re so crafty. 🙂
Omg these are so cute!!
Soo cute! my niece bday is coming up and I might have to try this. Thanks!
Adorable! My 4 year old daughter would go nuts over these.
How cute! How creative! Adorable creations 🙂
These are just too CUTE! I love the individual wrappings. Just like little presents.
These look absolutely perfect!
What a lovely Cake Pops, perfectly done Manu…!!!
Wow these came out great! You went from novice to pro in a flash! Didnt you say this was your first time making? One day your daughter will remember this and be like- this one time my awesome mom made me Hello Kitty cake pops for my bday and it was awesome!!!
Ohh thank you sooo much Lindsey! It was the first time I ever made them and I thought of you actually! I started out with the pink melts which were quite messy!!! Luckily I managed to pull it through! 🙂
i cant wait to do this im 13 and i love to bake. and im a big fan of hello kitty so i cant wait to try these out. thank you so much 🙂