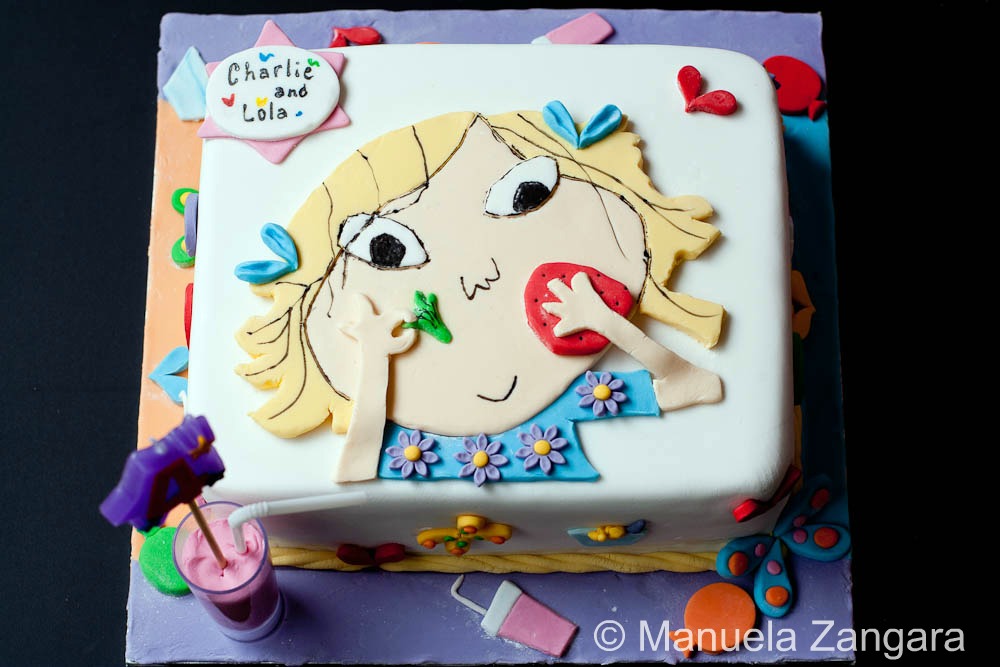
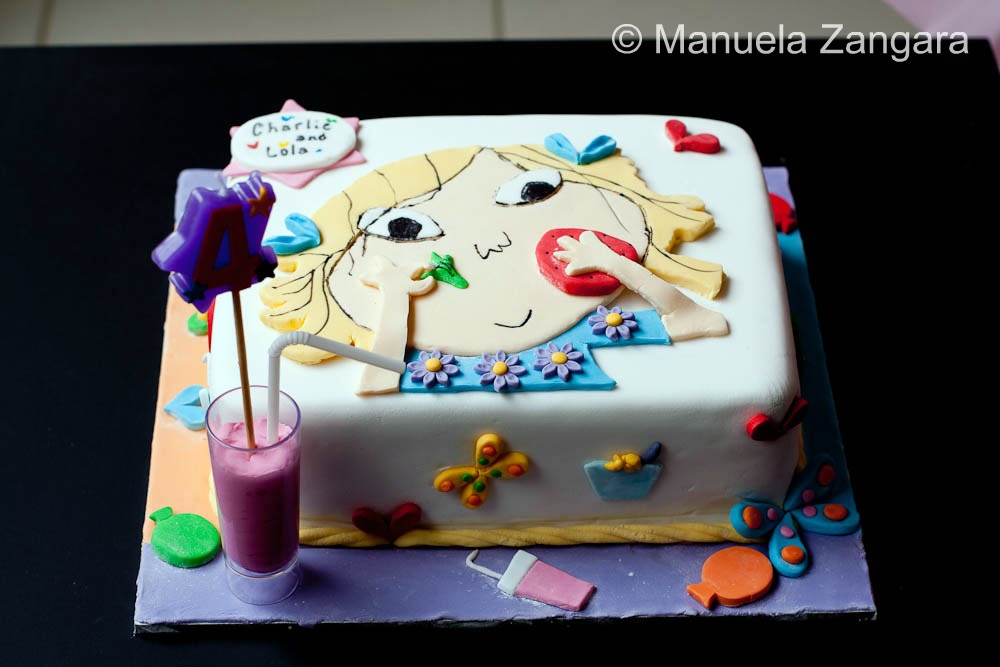
My two little girls adore “Charlie and Lola”. They could watch this TV show non stop if I let them!!! So chosing the right cake for Victoria’s birthday party was quite easy! It took a little prep work, but it was not that difficult to put together!
Ingredients:
2 Butter Cakes (baked in a 23 cm square pan)
Coloured Fondant
Edible Ink pens
Icing for crumb coating
Icing Sugar
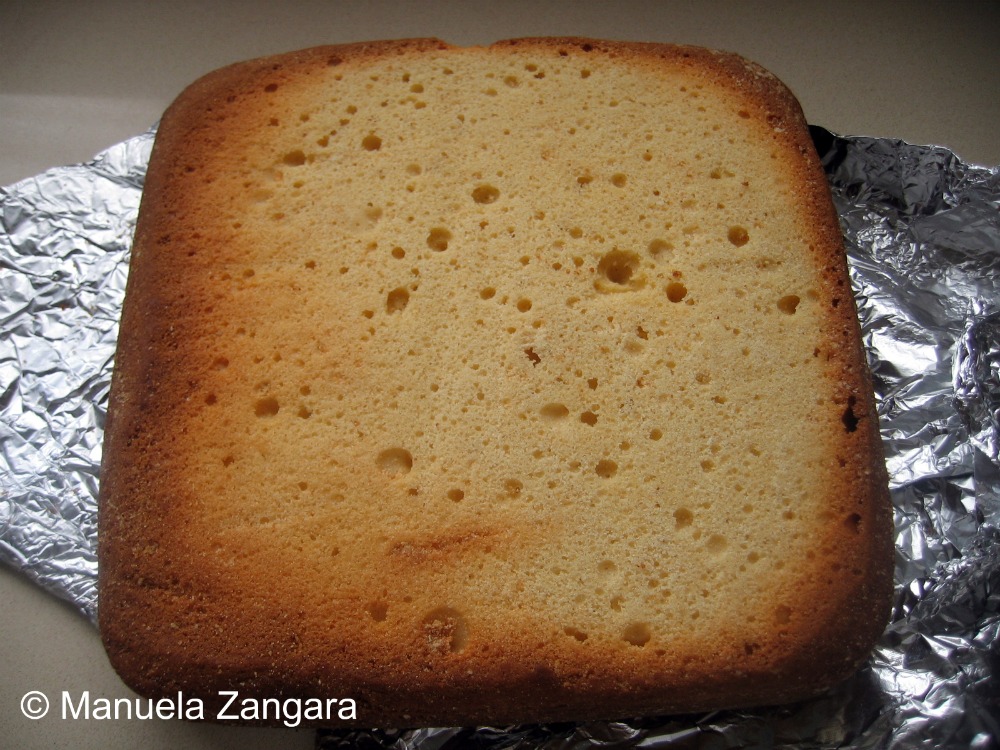
Start by baking the cake. I made 2 butter cakes and froze them.
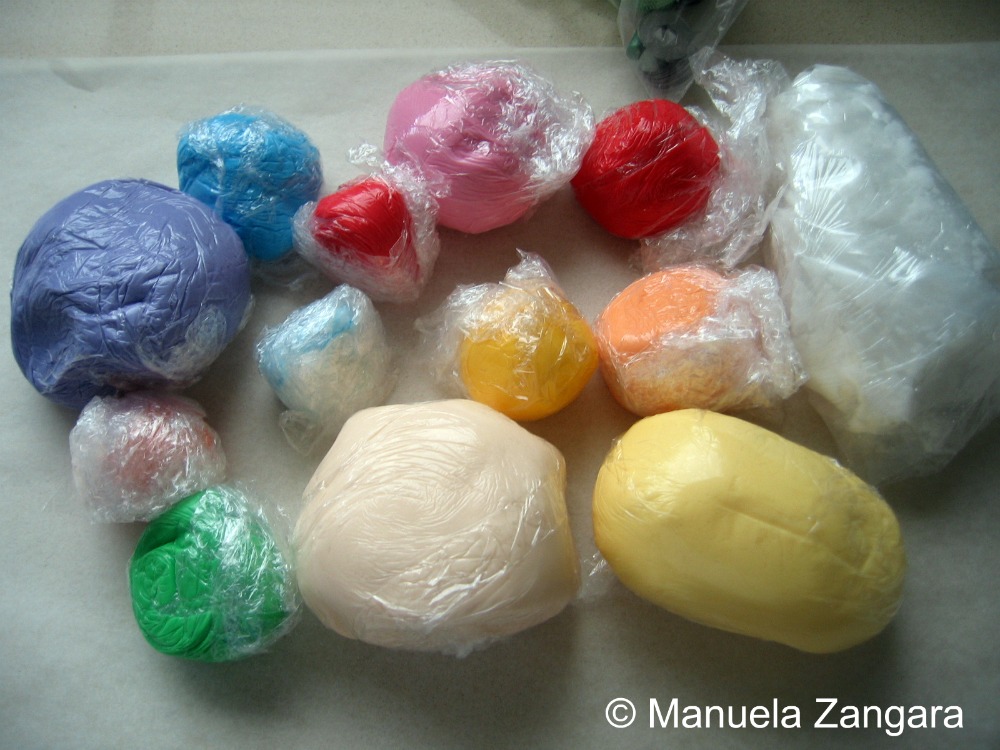
Then colour all the fondant you are going to need.
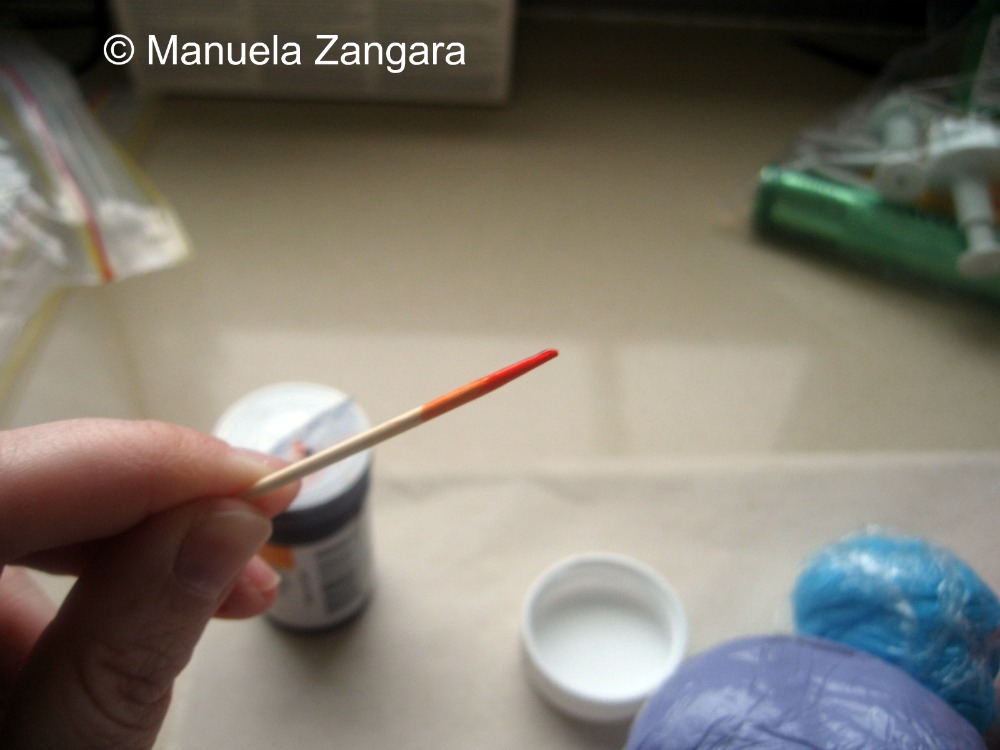
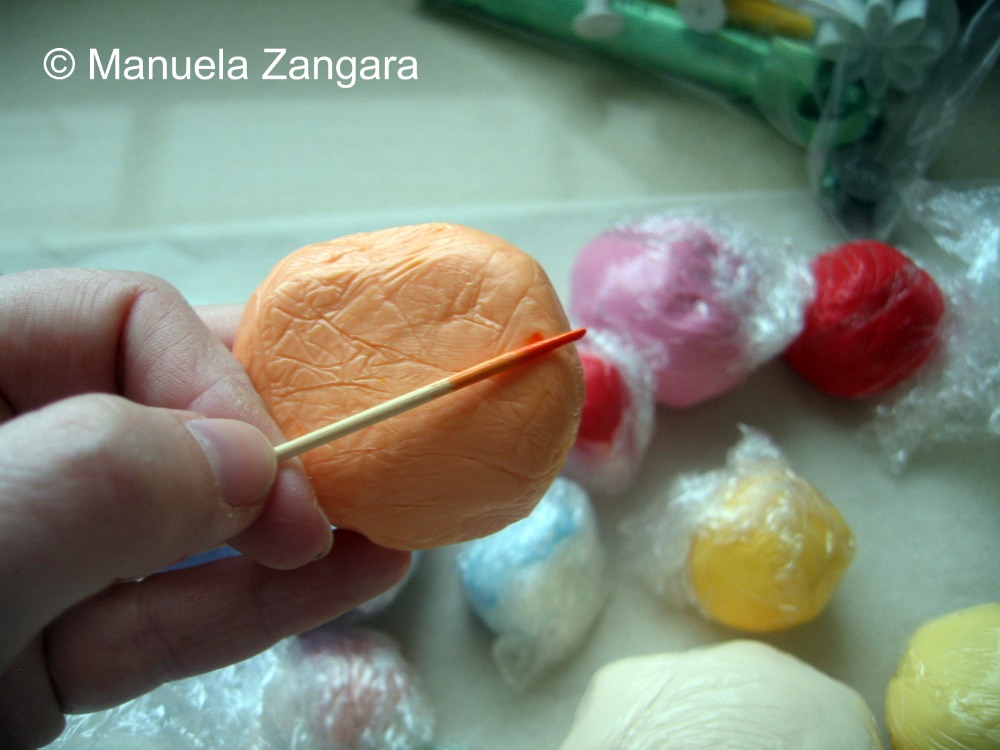
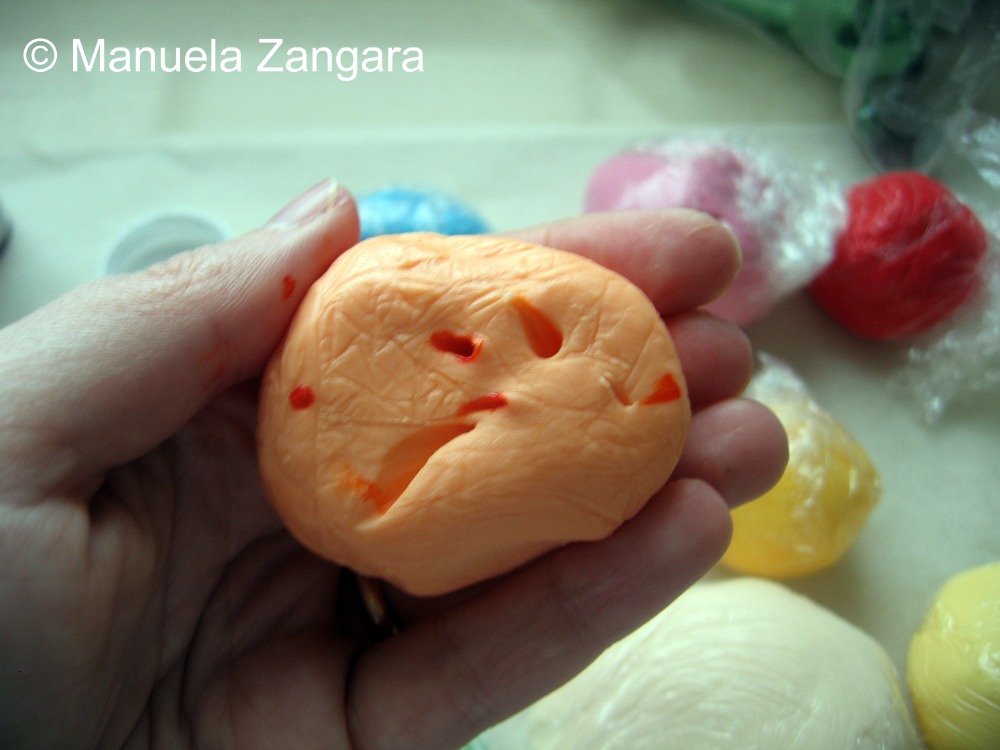
Dip a toothpick in the gel colour and then rub it onto the piece of fondant you want to colour. Then knead until uniformily combined.
3 or 4 days before the party you can start preparing the fondant decorations.
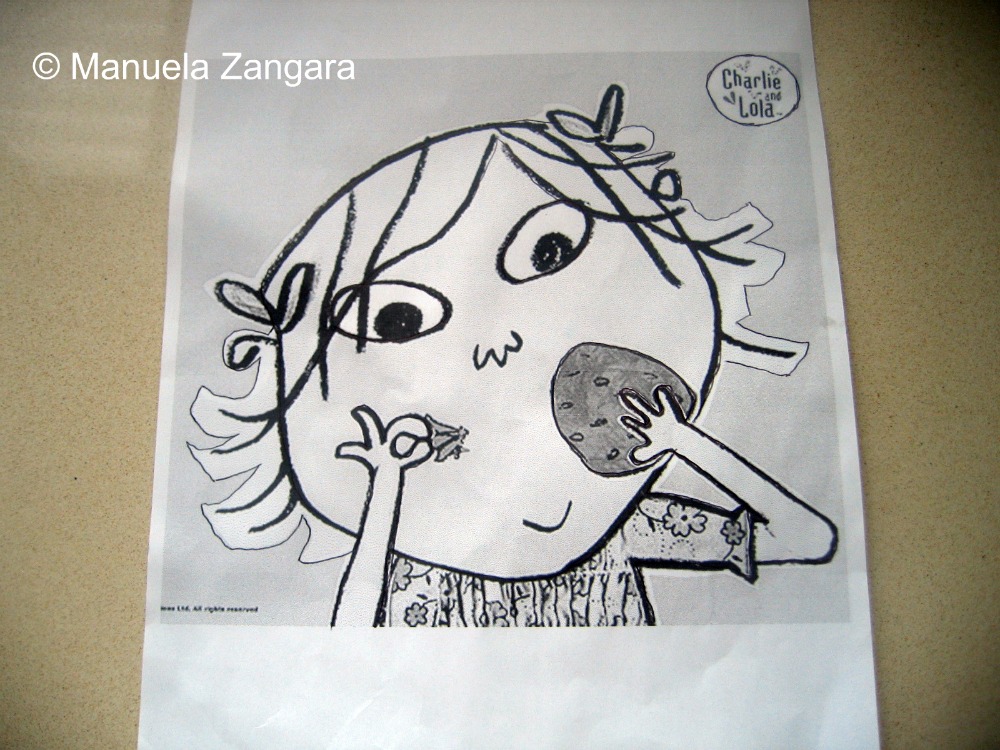
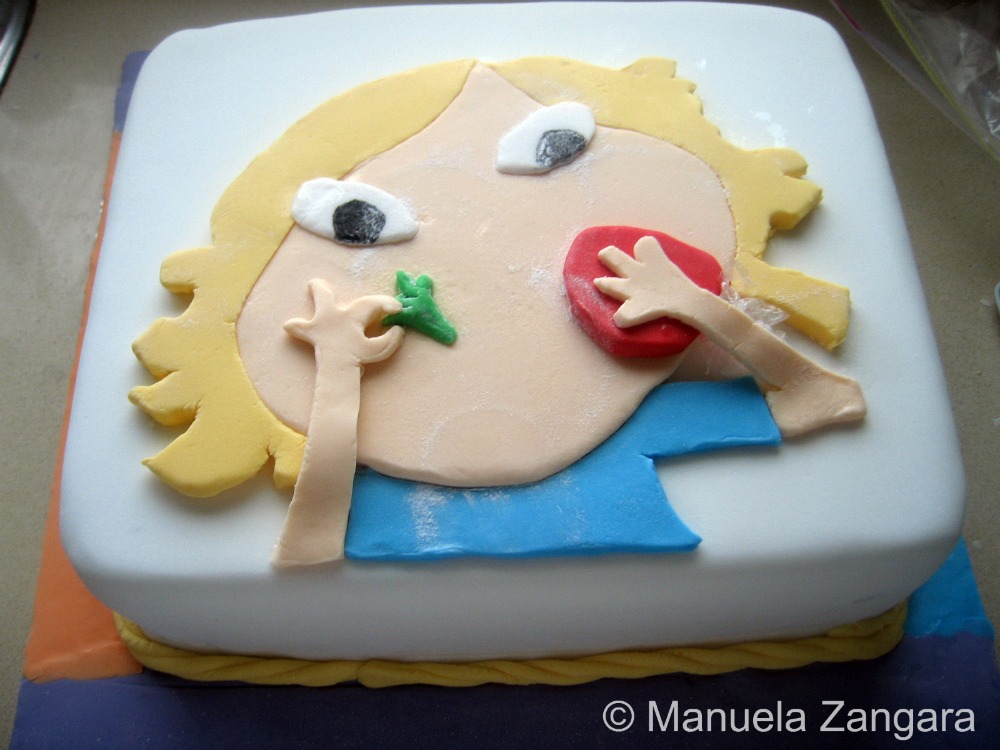
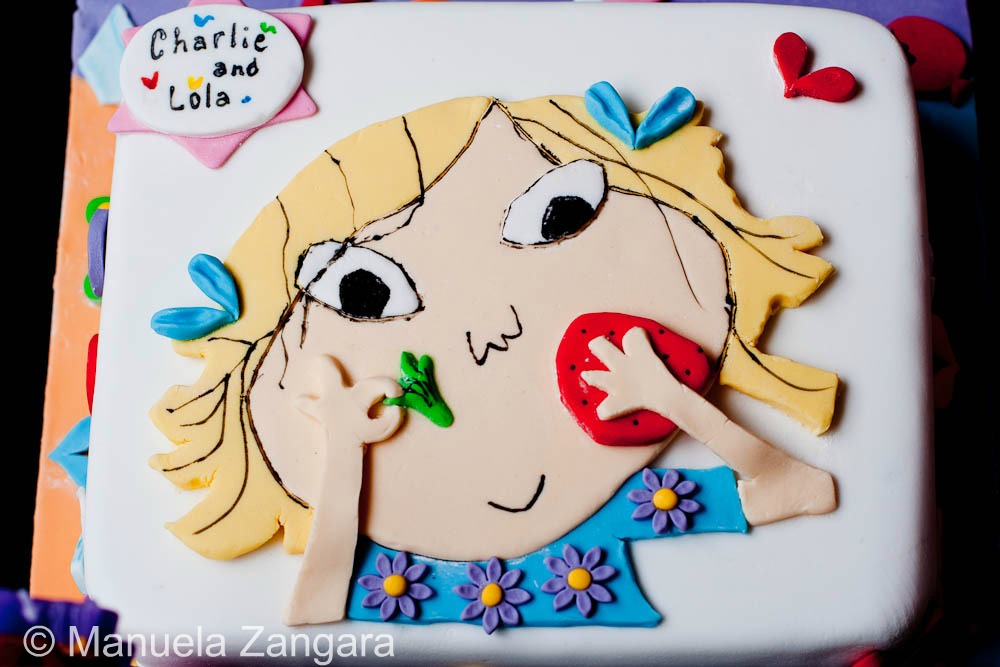
To make Lola’s face I looked for a good image on the internet, enlarged it and printed it out on an A4 paper.
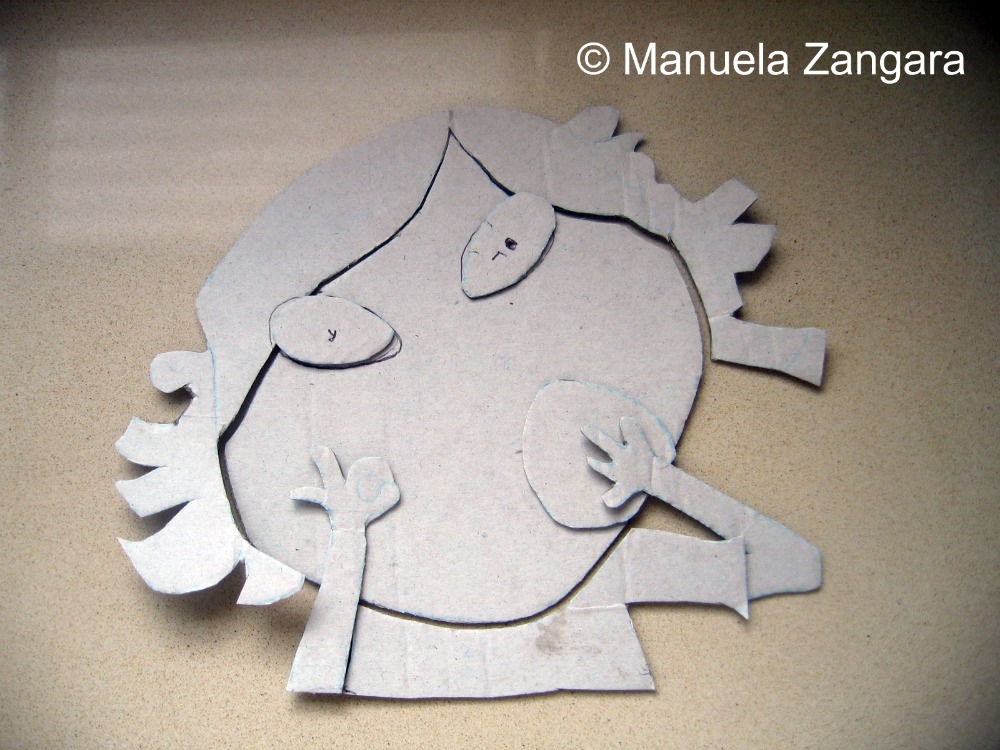
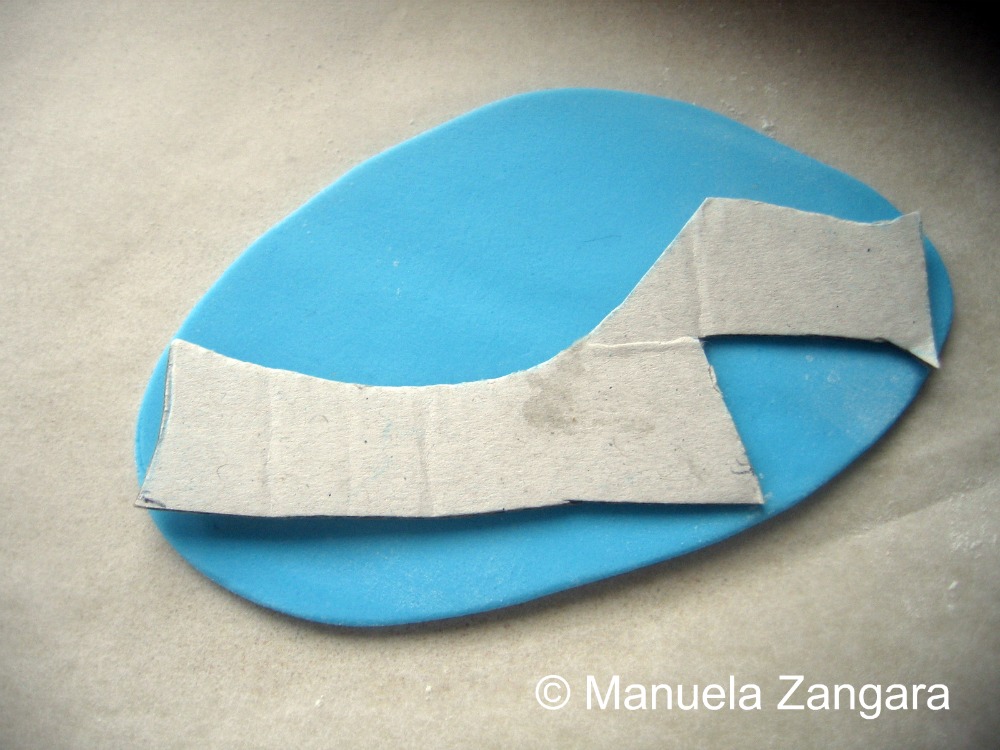
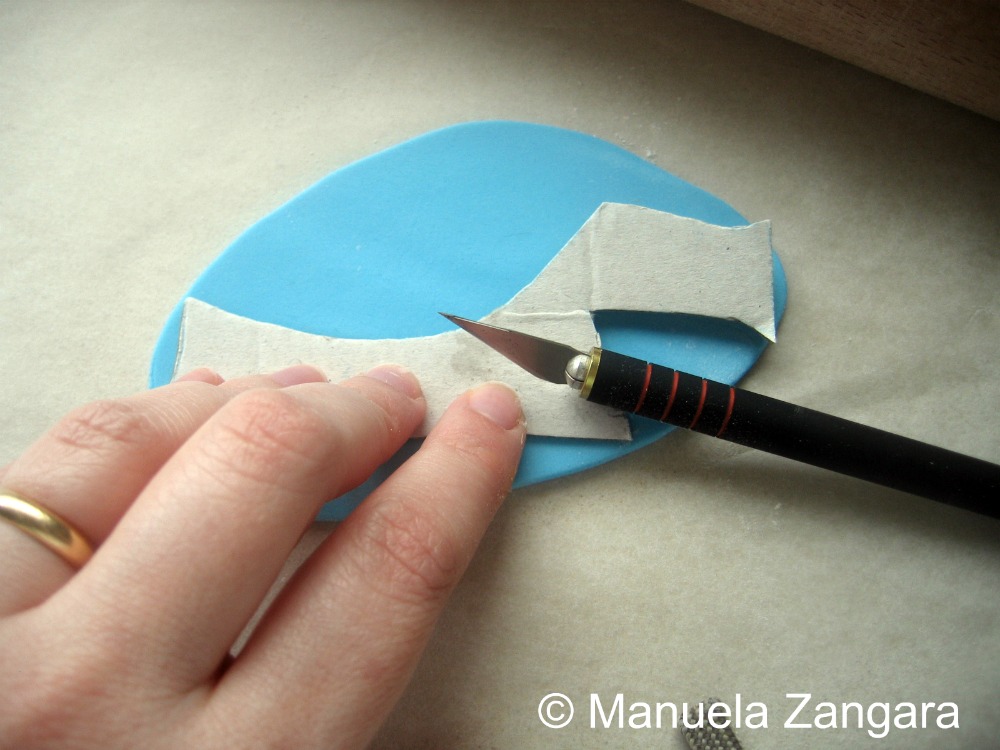
Then I used tracing paper to trace it on a piece of clean cardboard and I cut out all the pieces. It is very easy and you can make anything you like using this method!
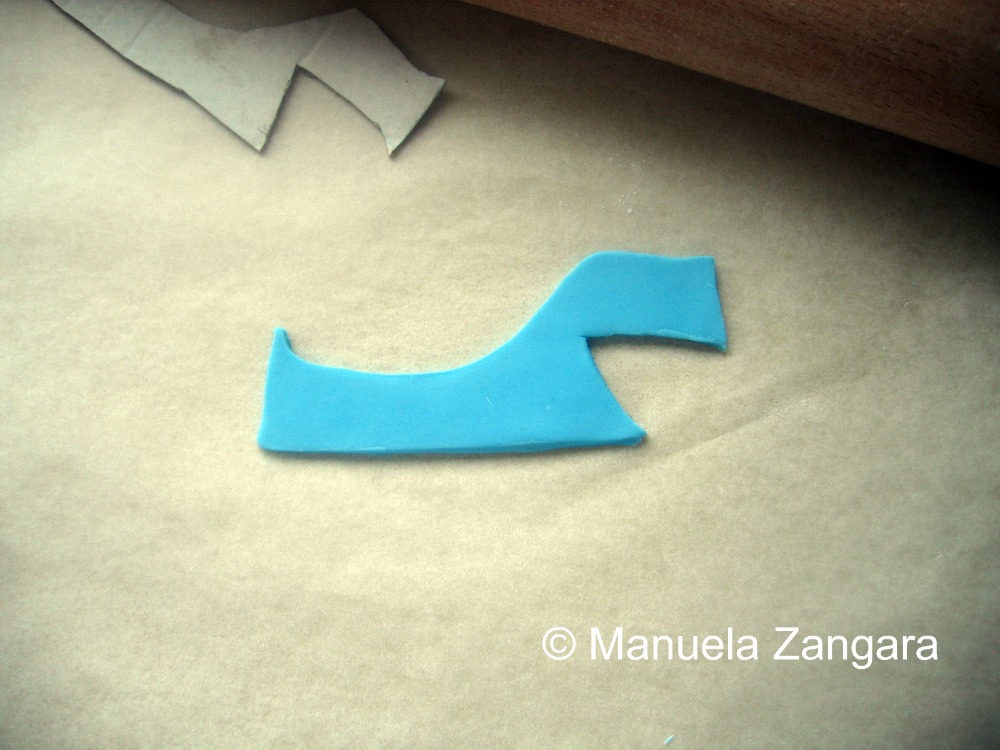
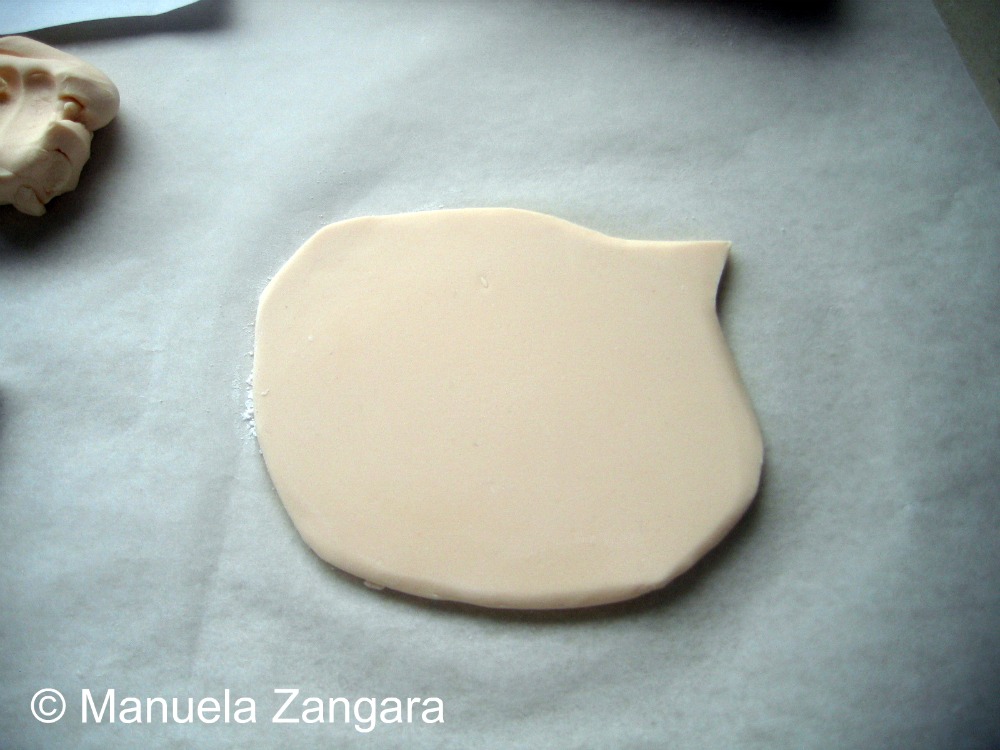
Then I rolled out the fondant, put the cardboard pieces on it and cut around the cardboard shapes.
Do this for all the pieces.
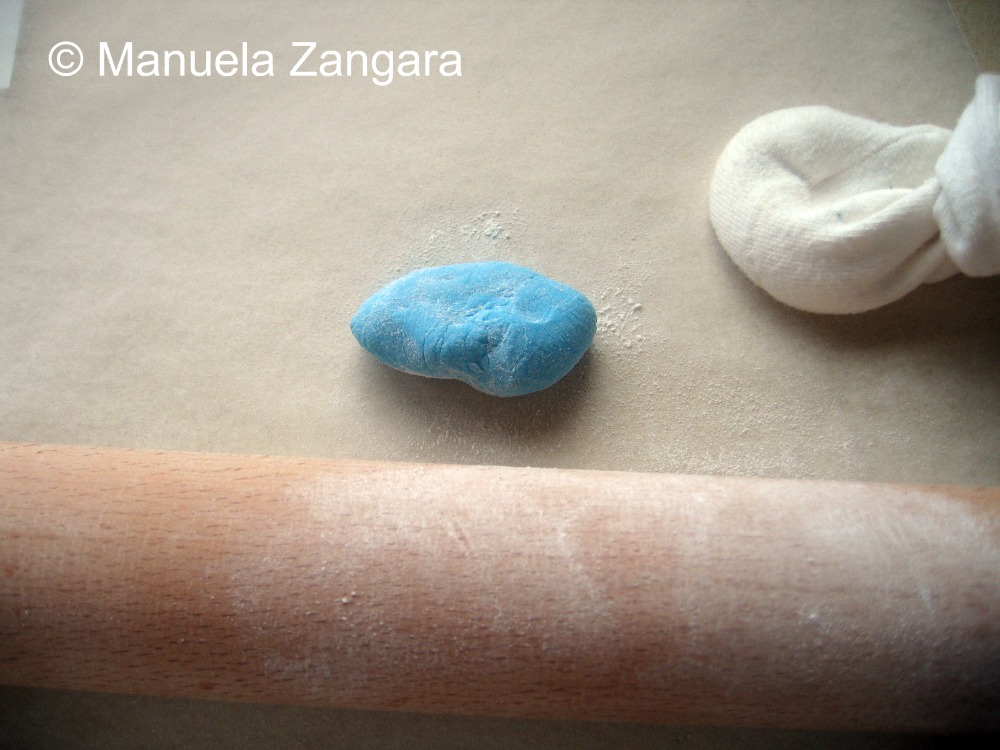
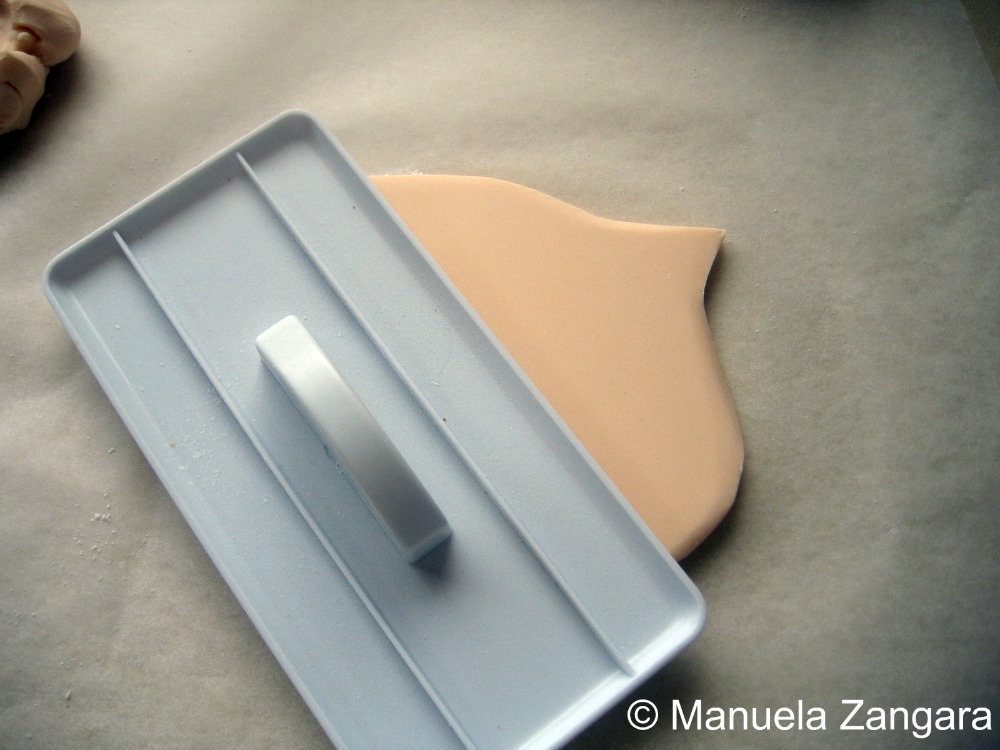
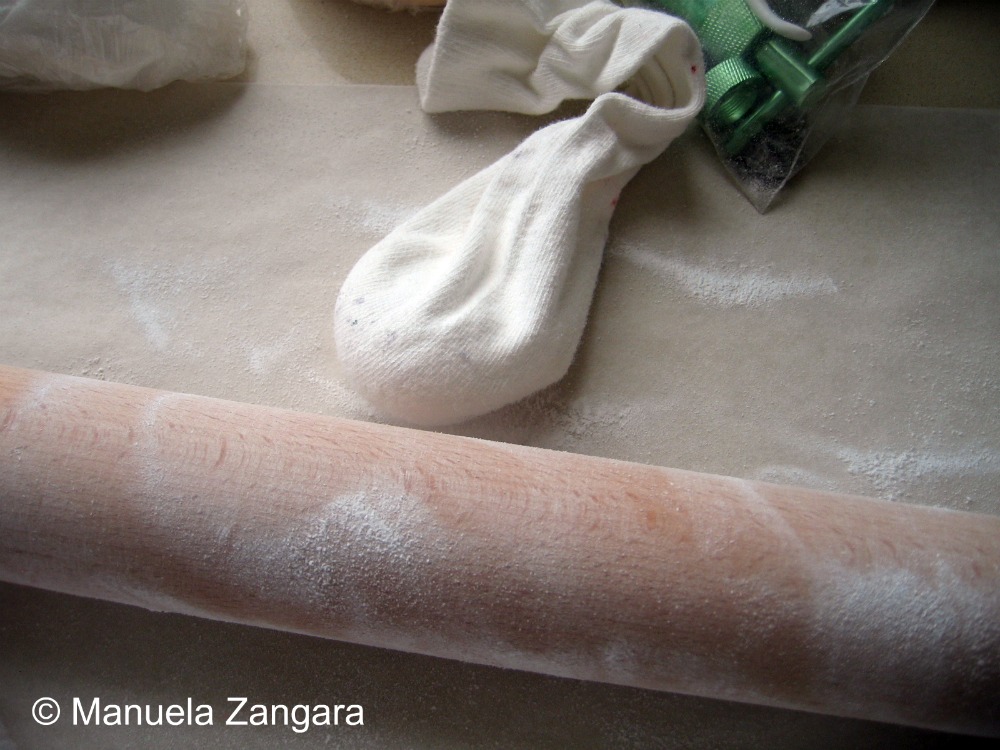
Keep the ready fondant pieces on a tray covered with baking paper to dry. Remember to use finely sifted icing sugar while rolling the fondant so it does not stick to the working surface (I put some in a new sock and pat it on the bench top to get very fine icing sugar to work with).
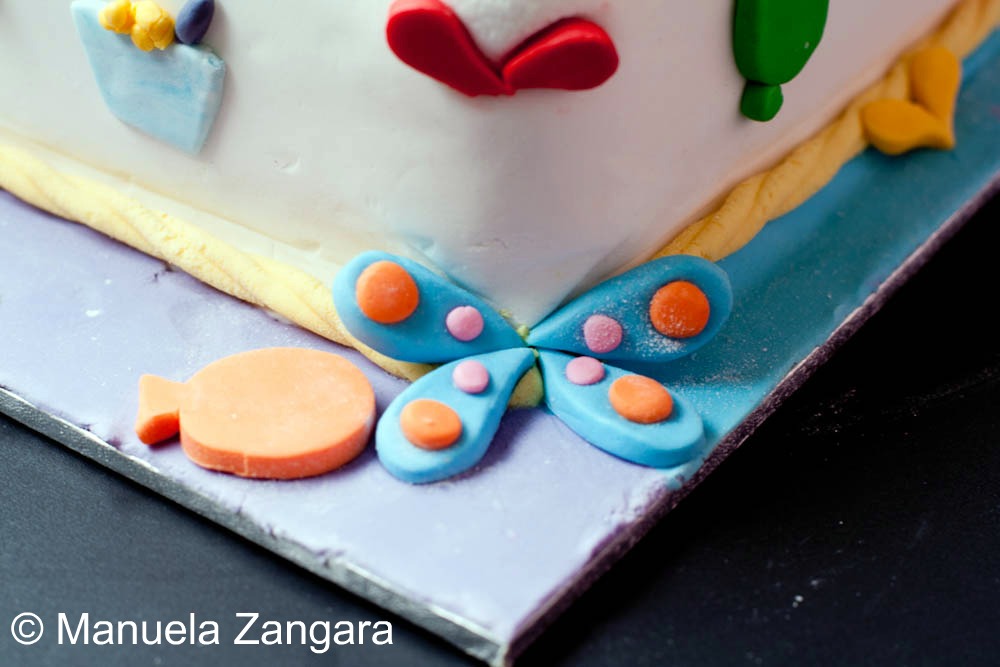
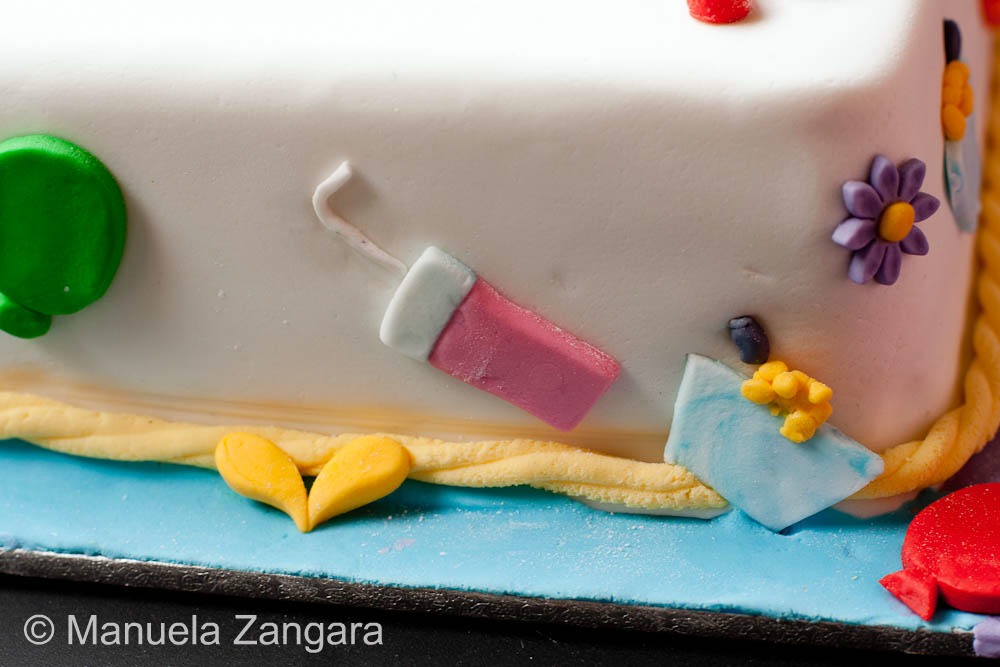
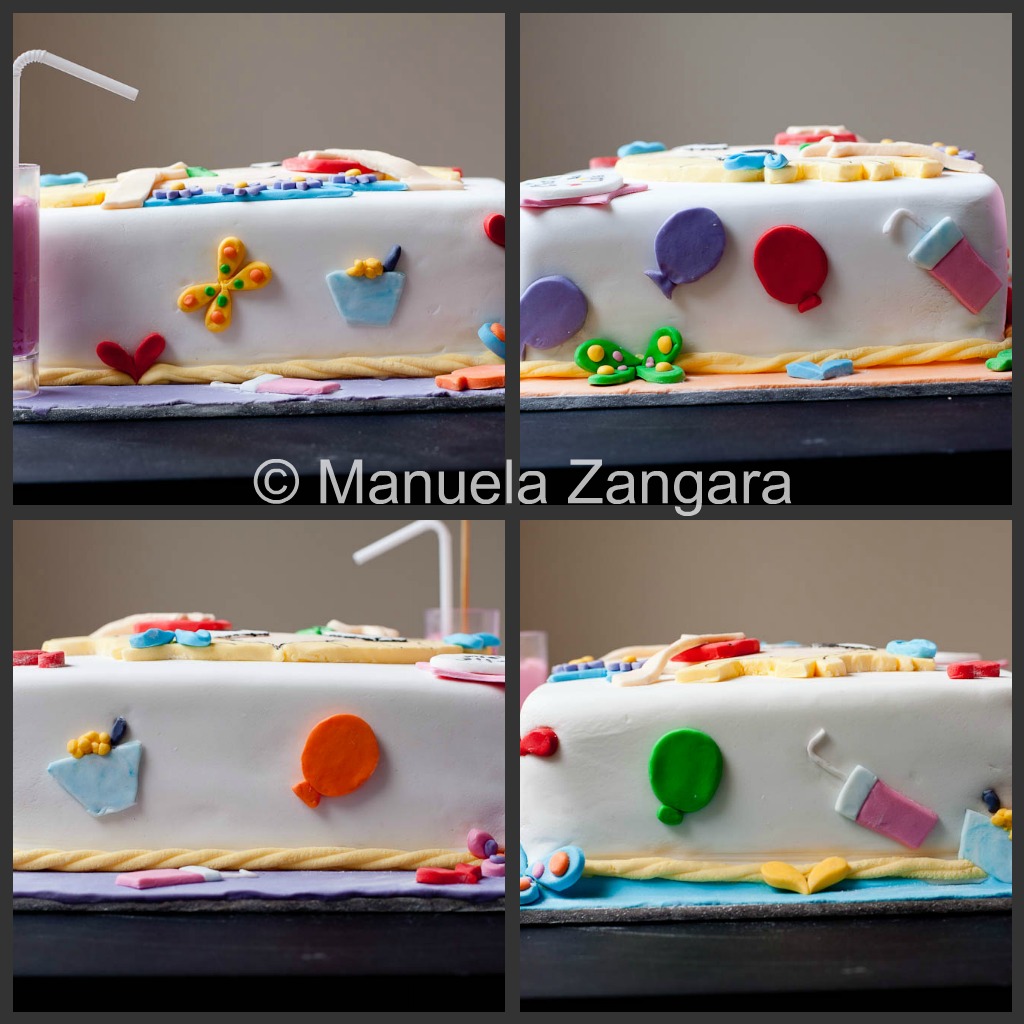
I made some of the smaller decorations by hand without using any cardboard (the pink milk glasses with straws and the cereal bowls) and used cookie cutters for others (balloons, butterflies, hearts).
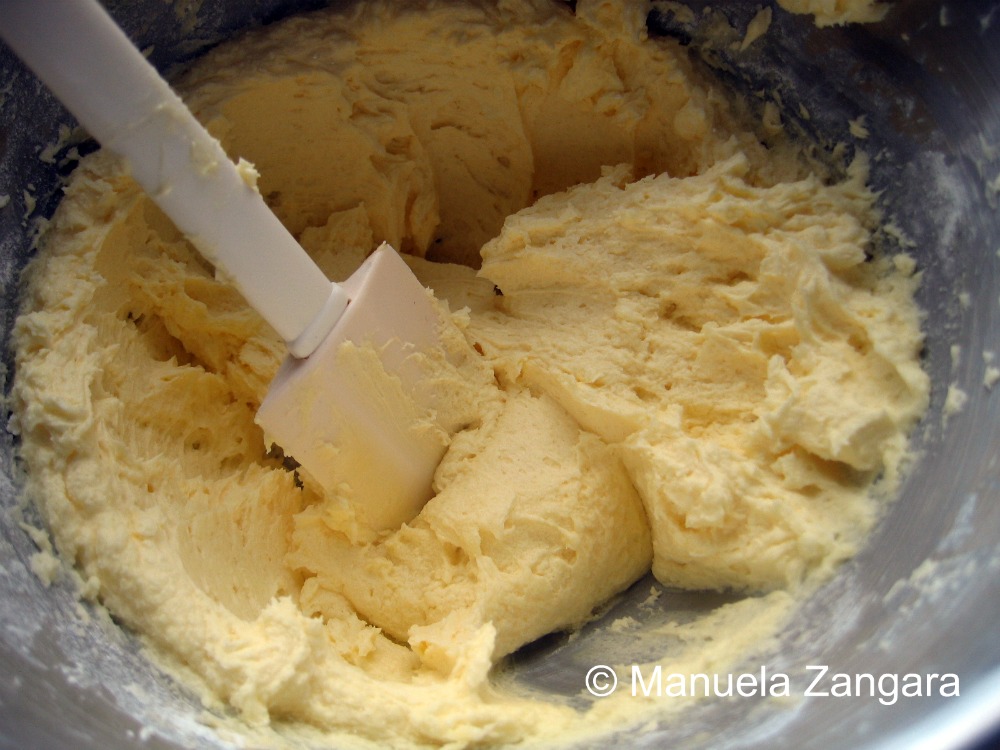
The day before the party I assembled the cake. I made some icing for the crumb coating (the recipe I used was not very good in consistency, so I will not share it, but you can use your favourite icing recipe, just make sure that it is a little less dense as it needs to be smooth and you should be able to apply it easily).
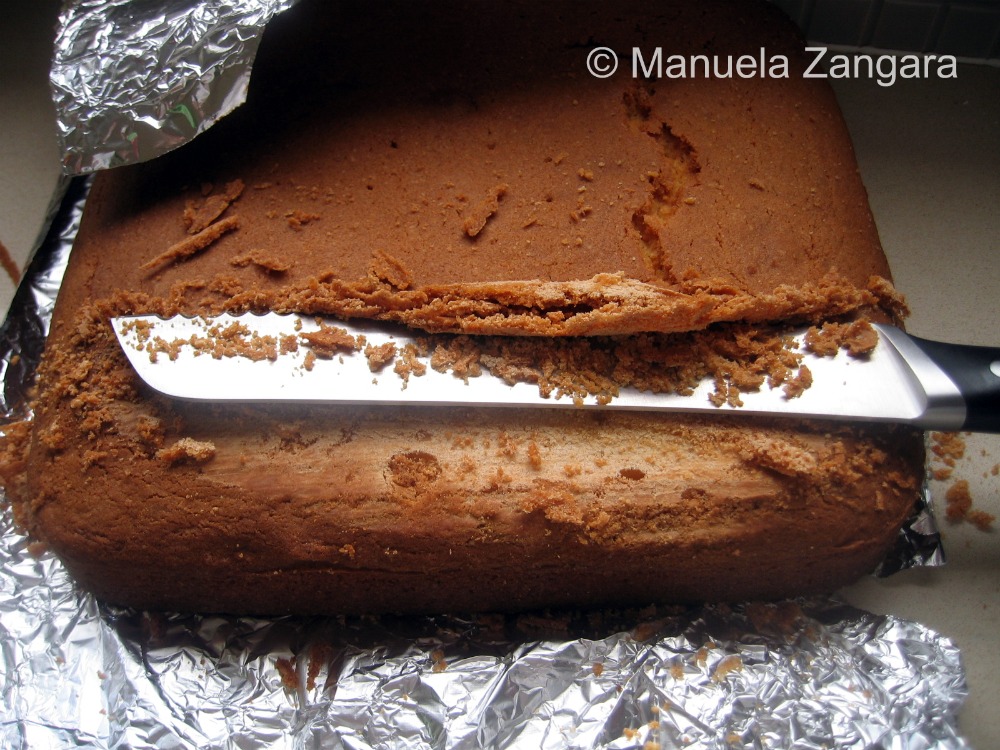
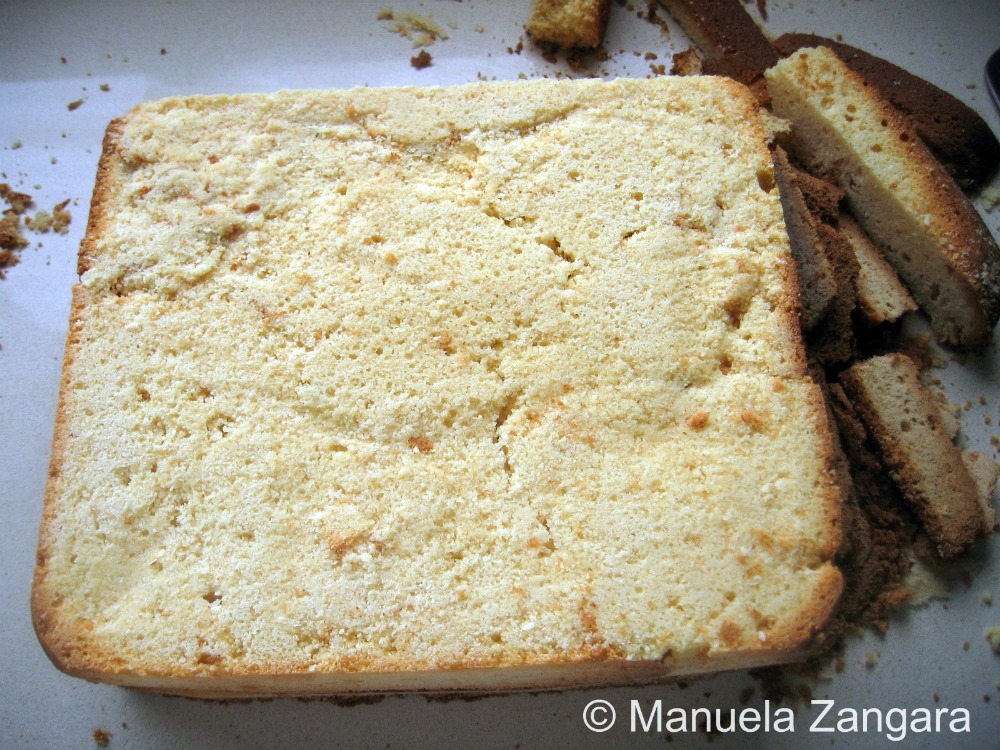
I took the 2 butter cakes out of the freezer and levelled them while still frozen with a sharp serrated knife.
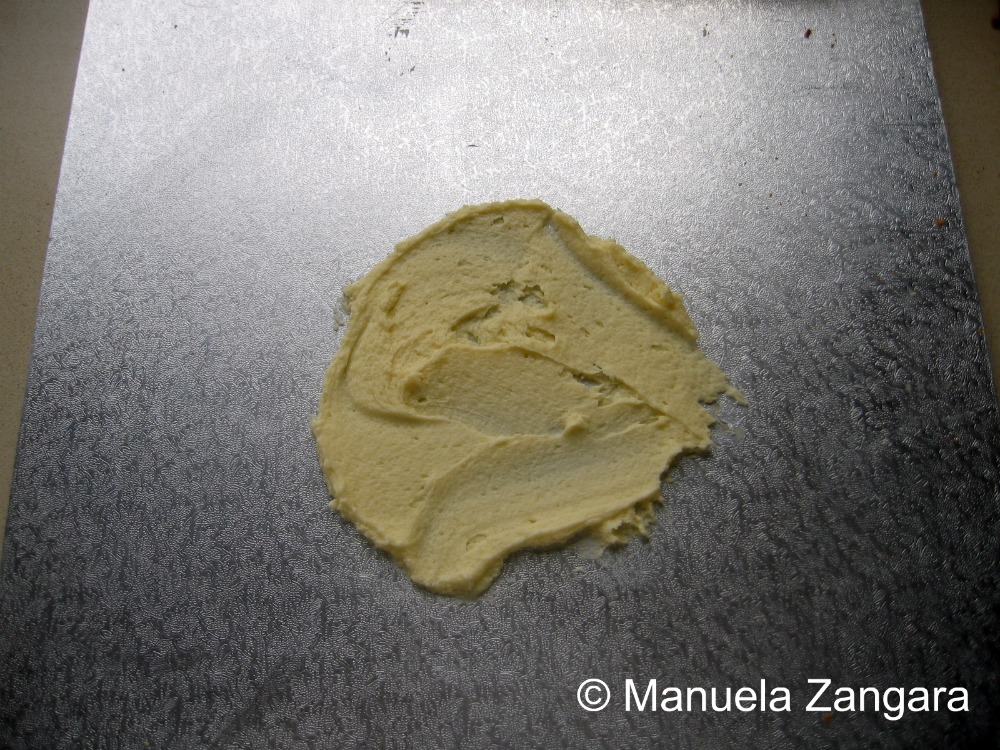
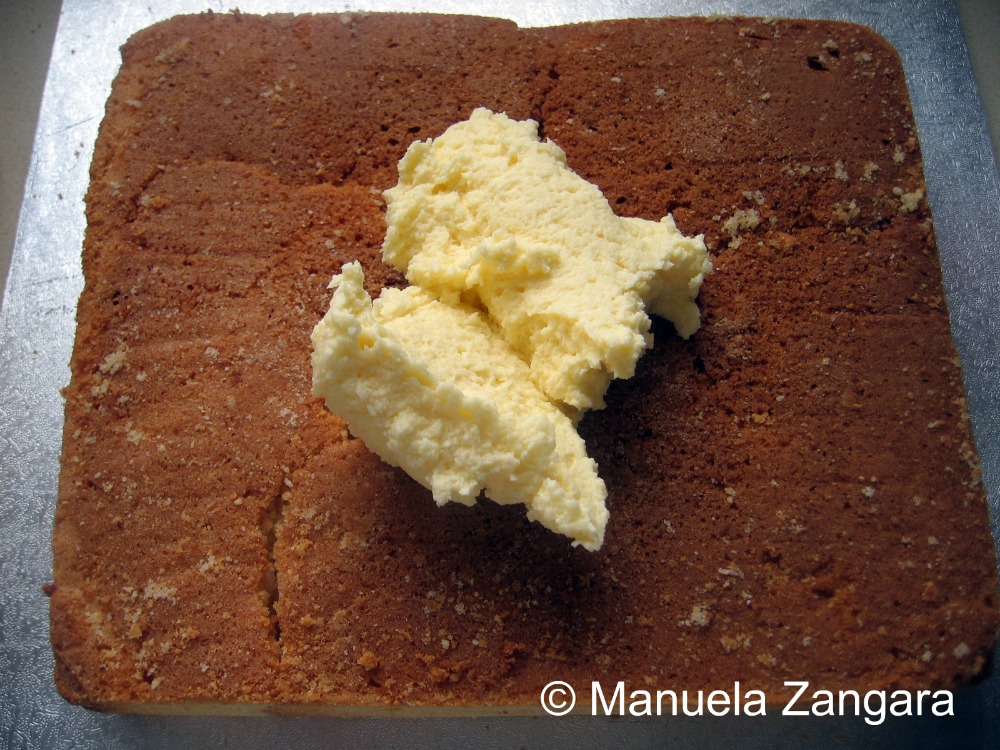
I took a cake board, put some icing at the bottom and put one of the 2 cakes on it.
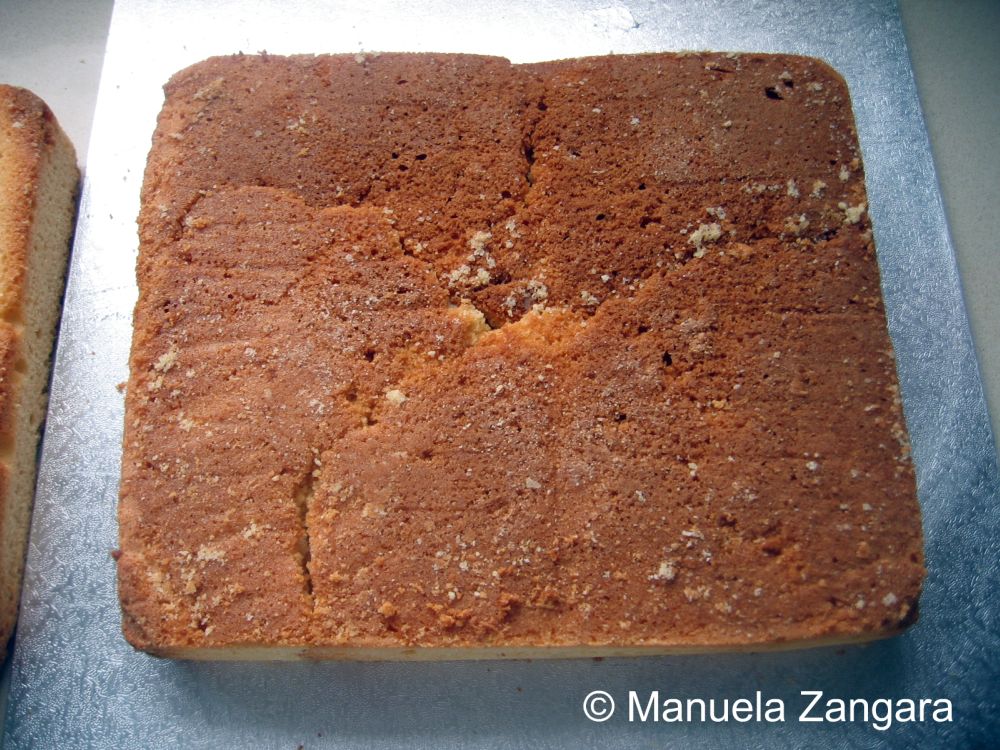
Then I put a layer of icing on the cake and topped it with the other cake.
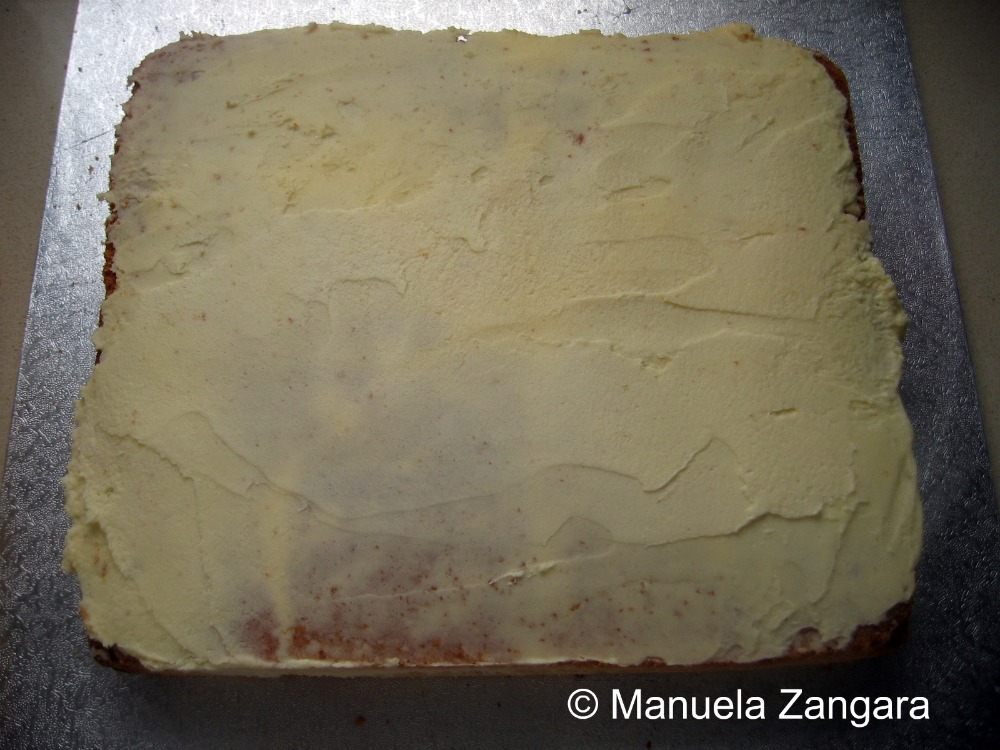
Make sure to choose the smoothest and flattest of the cake surfaces for the cake top (it is very likely going to be the bottom of one of the cakes), this will make it easier to ice and decorate the cake. Now you can trim the cakes to make sure they are flat/uniform on all sides and no part is sticking out. When they look like “one cake”, you are ready to crumb coat it. You can do this while the cakes are still frozen and it is much easier like this. Start from the top, then do the sides. Use a cake spatula to make sure the surface of the cake is as smooth as possible. When the cake is all covered in icing, put it in the fridge to harden. This coating will make the fondant top look smooth and it will ensure that no crumbs will be visible through it.
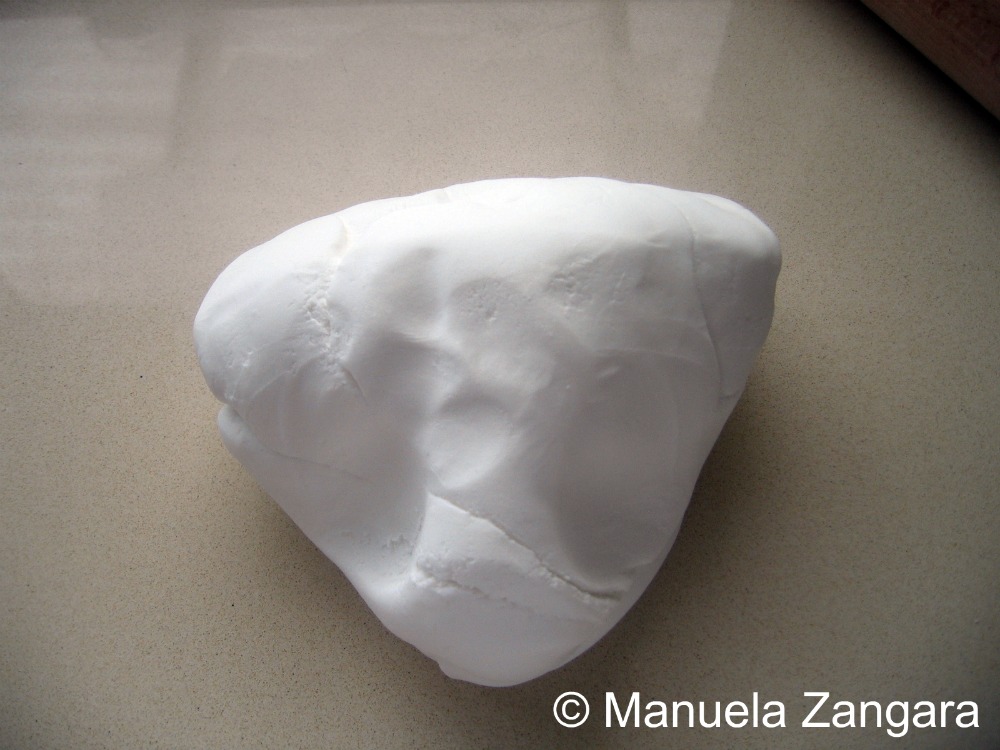
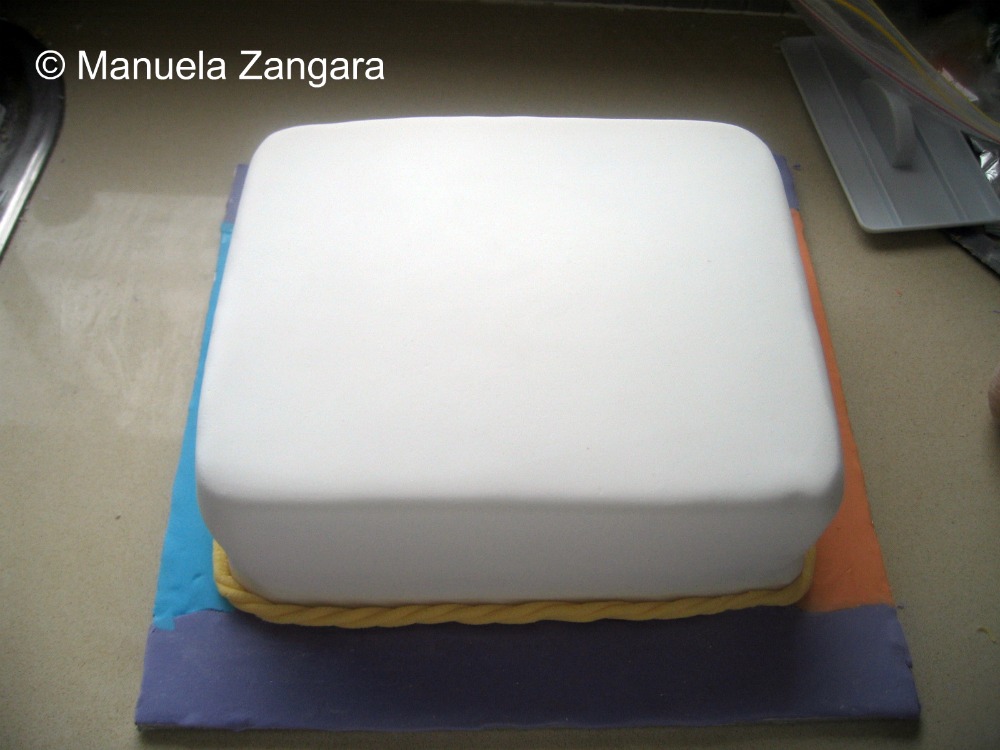
When the icing has dried, roll out the white fondant and cover the cake with it. Smooth it with a fondant smoother and cut out the excess. You can roll out a bigger piece and cover the cake board as well or cut out different coloured fondant pieces to apply to the base.
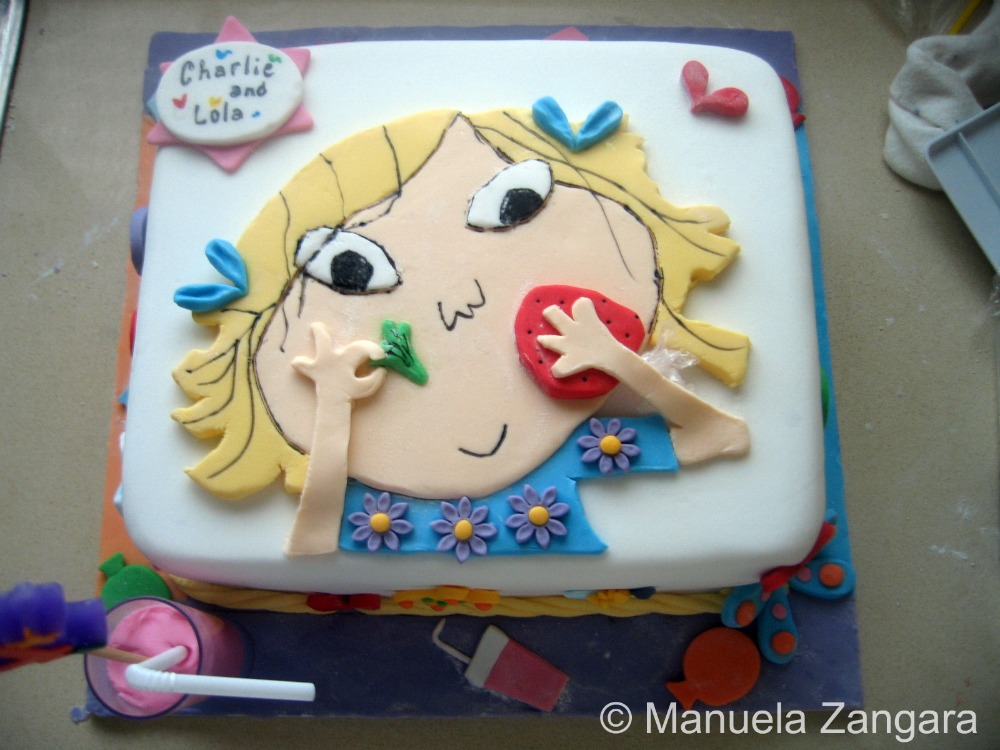
Using a sugar craft gun, I created a long fondant border to put around the cake to make it look neater and then I attached all the decorations to the cake using a little water.
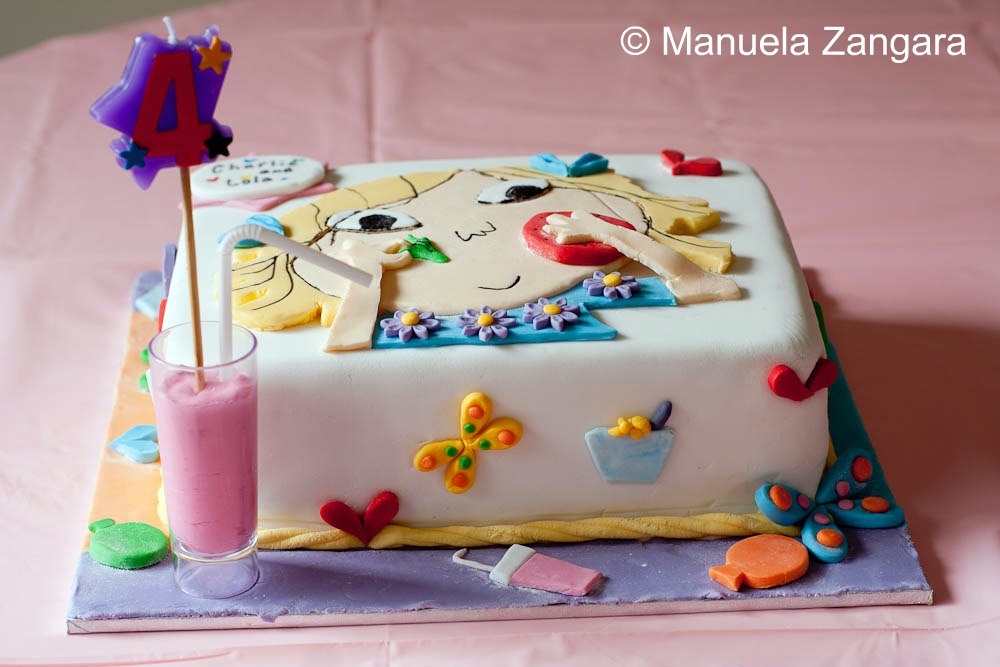
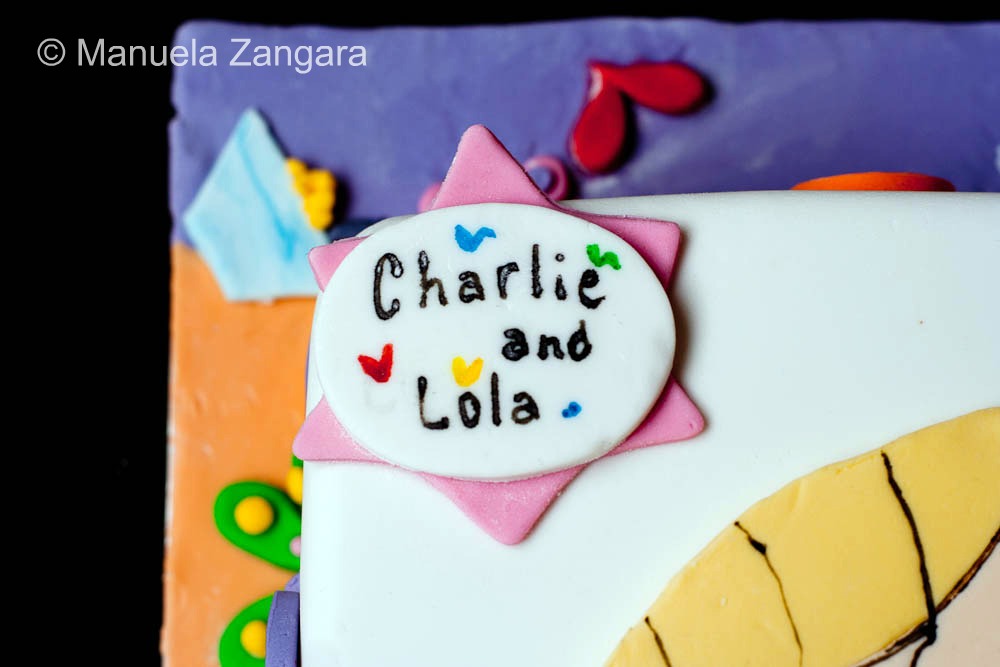
I drew the last details (eyes, hair, mouth, nose…) using an edible ink pen. Since I did not want to affect Lola’s image on the cake with the candle, I took a small plastic “shot” glass, filled it with pink fondant (Lola’s beloved pink milk) and put a straw and the candle into it.
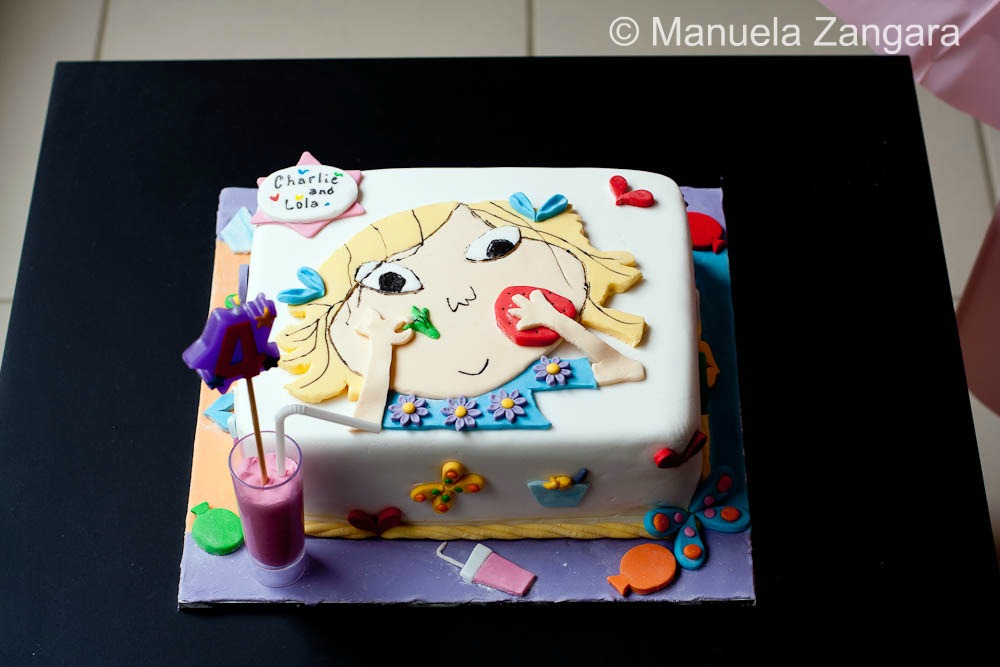
This is the final result:









Hi Manu This is super cool. Hope you don’t mind if I do exactly the same for my daughter’s 2nd birthday. Thanks heaps
Of course, go ahead!!! Have fun and happy birthday to your little one! 🙂
You are so talented!!! This is so beautiful. What an amazing job you did!
Lovely cake!
Manu you’re really so amazing! This is the loveliest, cutest home-made fondant birthday cake I’ve ever seen! I love the idea of using a small ‘shot’ glass to put the candle in as not to ruin the beautiful cake! 😀
Your girls are so lucky to have you, a talented, patient and great cook+baker! 😀
Wow! no words….. u r hard working women really.
Questa torta è bellissima Manu!!
that is a heck of a lot of fondant! Impressive work on that cake!
Manu: in 2 words:so beautiful!!
& the pics are great!!
Thank you soooo much Gis! <3 <3 <3
Manu you did such a fantastic job!!! I can’t get over how talented you are and I can tell you put your heart into each and every detail on this cake 🙂 Looks perfect! What lucky girls you have 🙂
Hi Manu, glad you made your daughters birthday so special with this cute cake. That’s every child’s dream. Thanks for sharing the process of making it. 🙂
Manuela this is soooo cool! Fun and delicious..I am really impressed..you have some skills little lady!:))
WOW WOW WOW!! You are brilliant!! What a gorgeous cake! HAPPY BIRTHDAY VICTORIA! ♥