

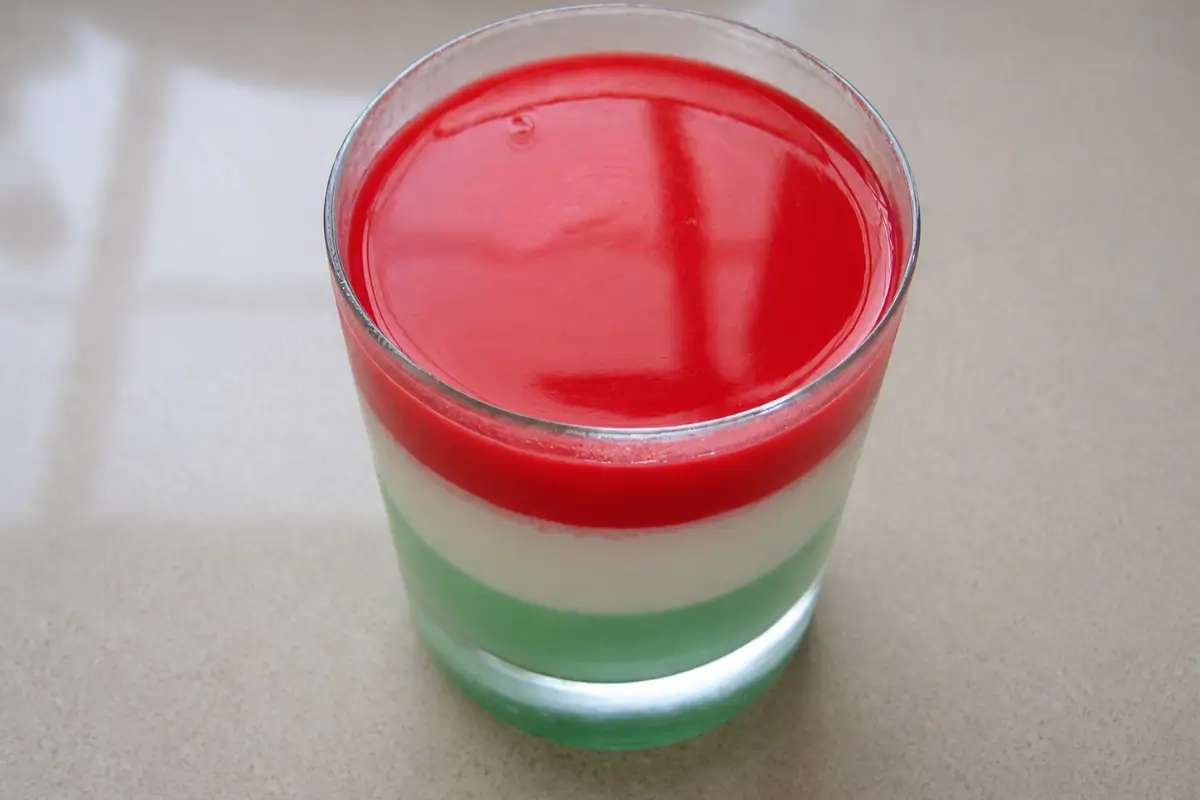
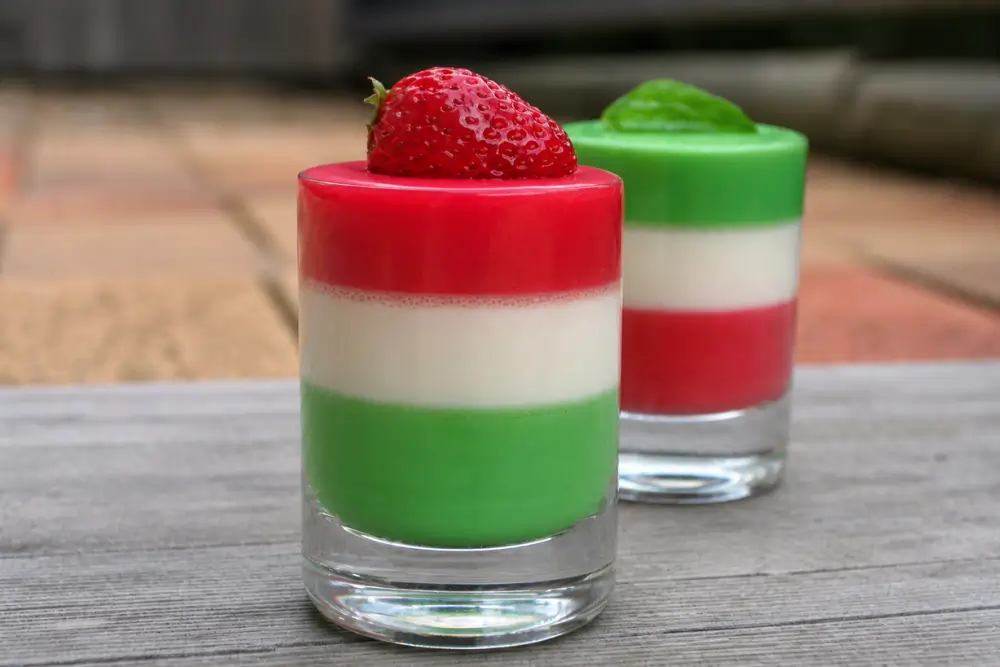
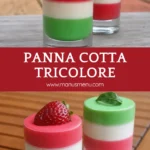
Creamy layers of strawberry, vanilla, and mint panna cotta inspired by the colours of the Italian flag, this Panna Cotta Tricolore looks almost too pretty to eat!
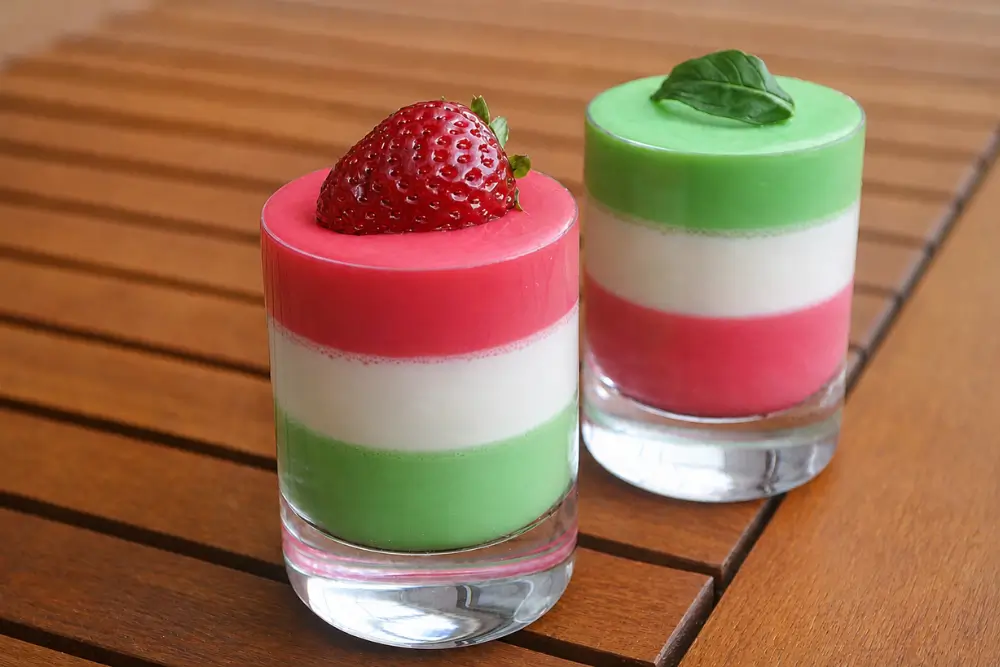
I wanted to create a layered panna cotta inspired by the colours of the Italian flag. Panna cotta felt like the natural choice because it is such a classic Italian dessert.
Its creamy texture works really well with different flavours and colours. At the same time, it keeps the dessert light and simple.
To create the three layers, I used strawberry syrup for the red layer and mint syrup for the green one. I found both in Leichhardt, Sydney’s Little Italy.
Strawberry syrup gives the dessert a soft, fruity sweetness. Mint adds a fresher flavour which balances well with the creamy vanilla layer in the centre. I also added a little food colouring to make the layers more vibrant, although this step is completely optional.
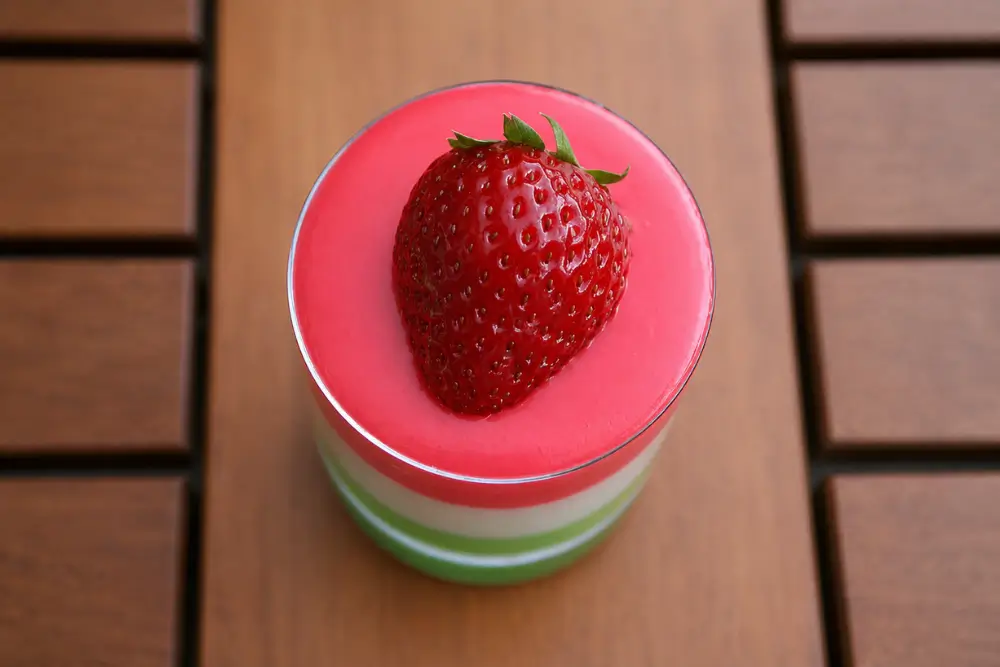
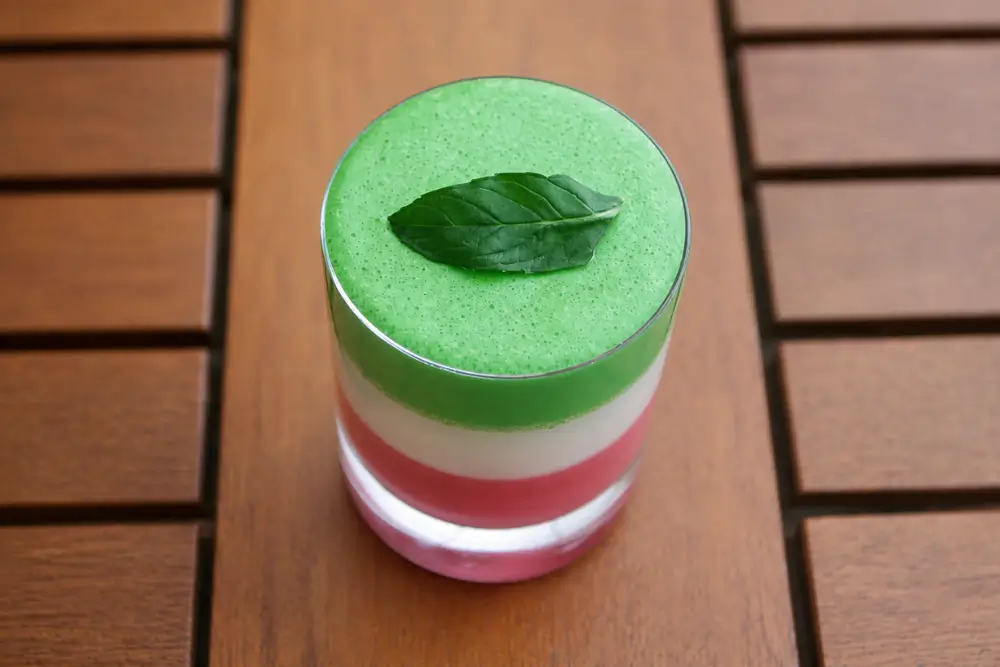
Served in small glasses and topped with fresh mint or strawberries, this dessert always looks elegant on the table. I hope you enjoy it!
Why We Love This Layered Panna Cotta
- Chilled panna cotta feels especially refreshing after heavier Italian meals or summer lunches.
- Soft creamy texture stays consistent for days when stored properly in the fridge.
- Colourful layers make each glass look slightly different and more homemade when served.
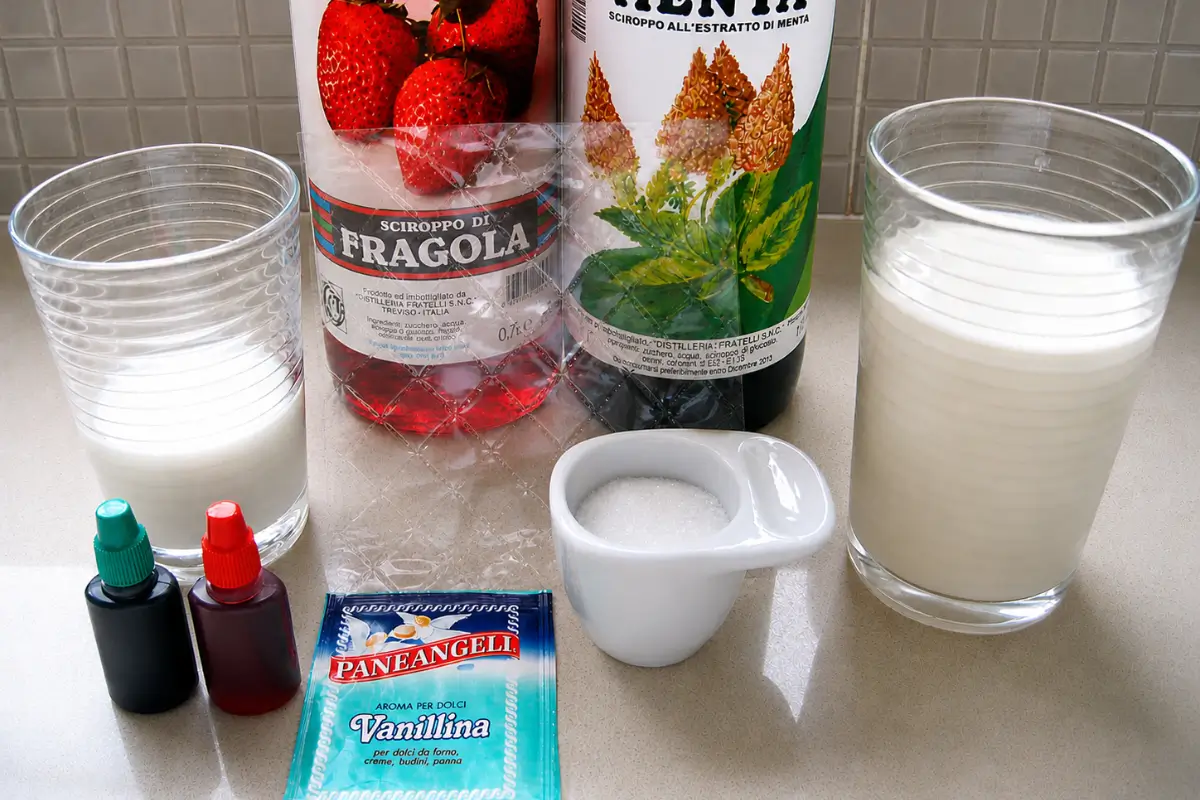
Key Ingredients for Panna Cotta Tricolore
Cream
Cream gives panna cotta its rich texture and smooth consistency. Full-fat cream creates softer layers which set without becoming rubbery. Thickened cream or pouring cream both work well for this recipe.
Milk
Milk lightens the cream mixture slightly and keeps the panna cotta delicate. Full-fat milk gives the smoothest texture, although reduced-fat milk can also be used.
Strawberry Syrup
Strawberry syrup gives the red layer its fruity sweetness and colour. It also adds a softer berry flavour compared to fresh strawberries alone. Choose a syrup with real fruit flavour rather than artificial candy-style varieties if possible.
Mint Syrup
Mint syrup creates the green layer and adds freshness to the dessert. Its flavour contrasts well with the sweeter vanilla and strawberry layers.
Vanilla Extract
Vanilla gives the white layer a warm flavour and balances the fruit and mint syrups. Pure vanilla extract gives a more rounded flavour, although vanillina powder is commonly used in many Italian desserts.
Food Colouring
Food colouring deepens the red and green layers for a stronger tricolore appearance. It does not affect flavour and can be skipped entirely for softer natural colours.
Find the complete list with measurements in the recipe card below.
How to Make Panna Cotta Tricolore
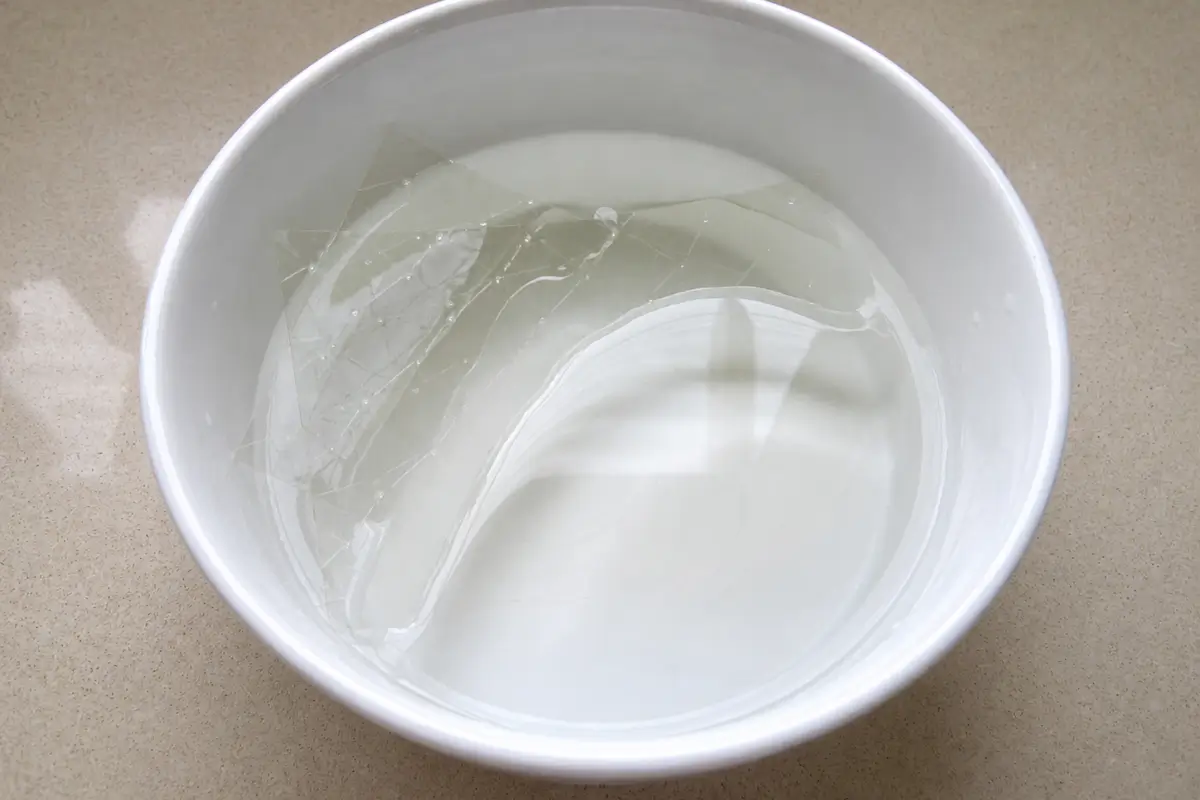
Step 1: Put the gelatine sheets in a bowl filled with cold water for 10 minutes or until softened.
Step 2: Put the cream, milk, and sugar in a pot and cook over low heat until the mixture comes to a boil.
Step 3: Turn the heat off and add the softened gelatine sheets or powder. Mix well until the gelatine has completely dissolved.
Step 4: Divide the mixture into 3 small bowls.
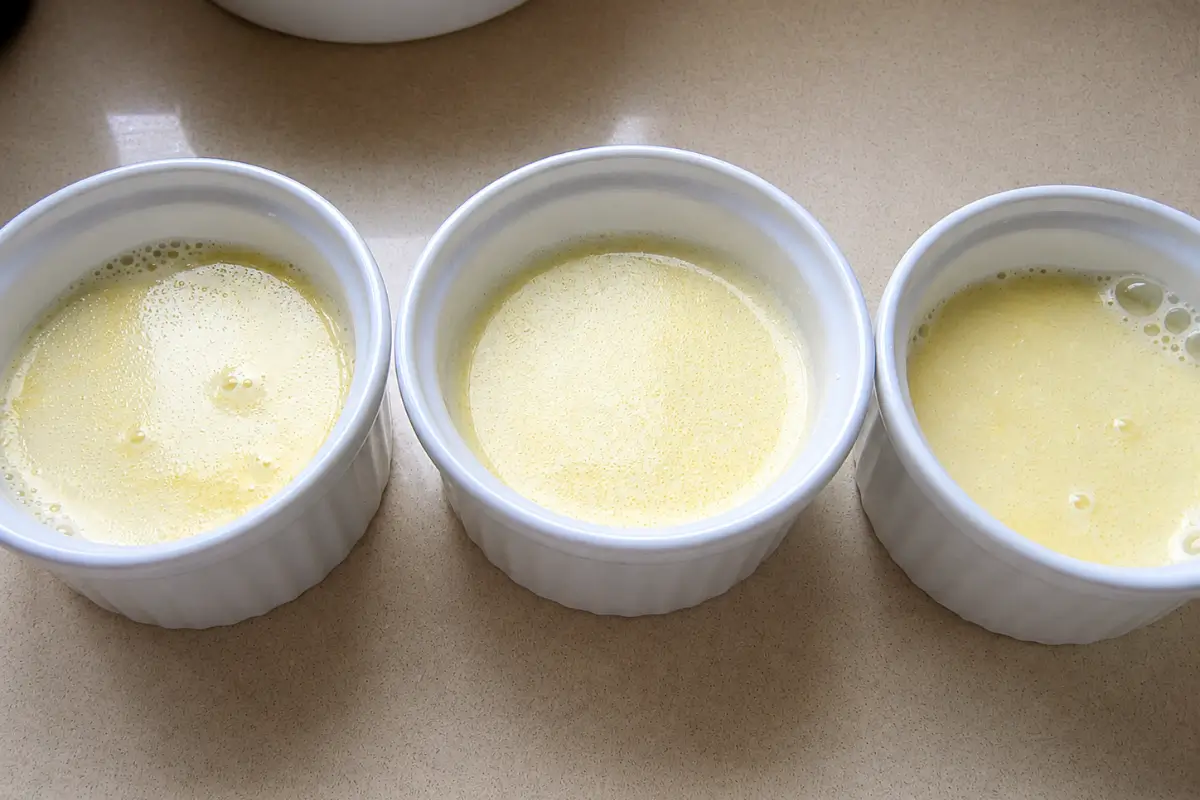
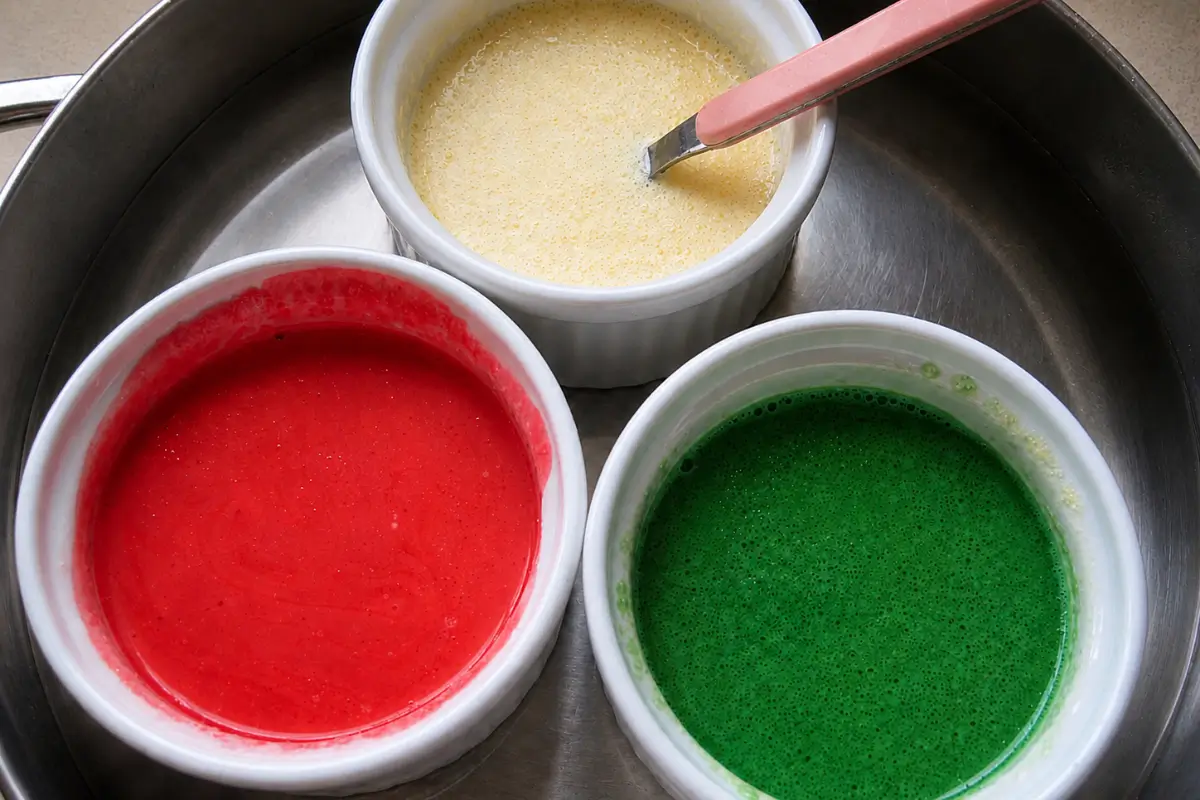
Step 5: Add the vanillina powder to one bowl, the mint syrup to another, and the strawberry syrup to the third bowl. Keep the 3 bowls in a pot filled with hot water to prevent the gelatine from solidifying while preparing the layers.
Note: Food colouring can also be added if desired, but it’s optional. It helps create stronger colours resembling the Italian flag without affecting the taste of the panna cotta.
Step 6: Pour some of the red panna cotta or green panna cotta into a small serving glass and put it in the freezer for at least 10 minutes or until set.
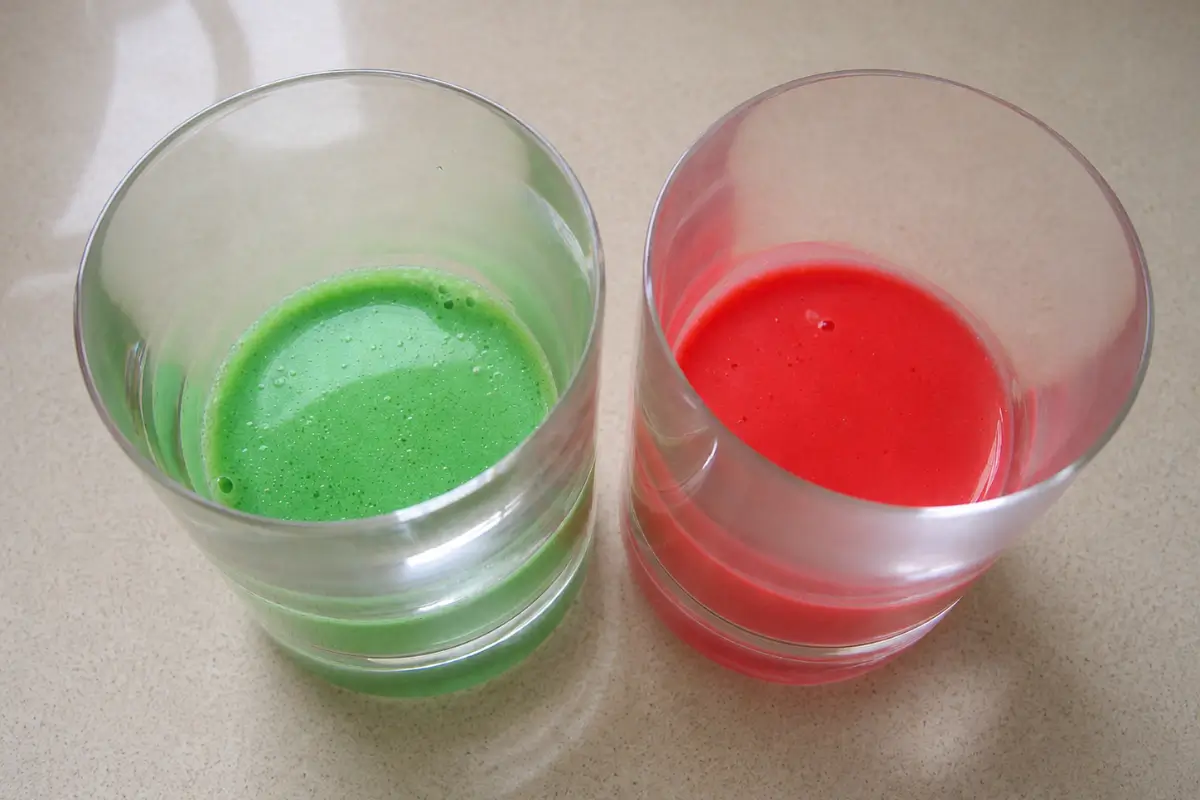
Step 7: Add the white panna cotta and return the glasses to the freezer until set.
Step 8: Add the final layer, either green or red, and refrigerate the glasses for a couple of hours before serving.
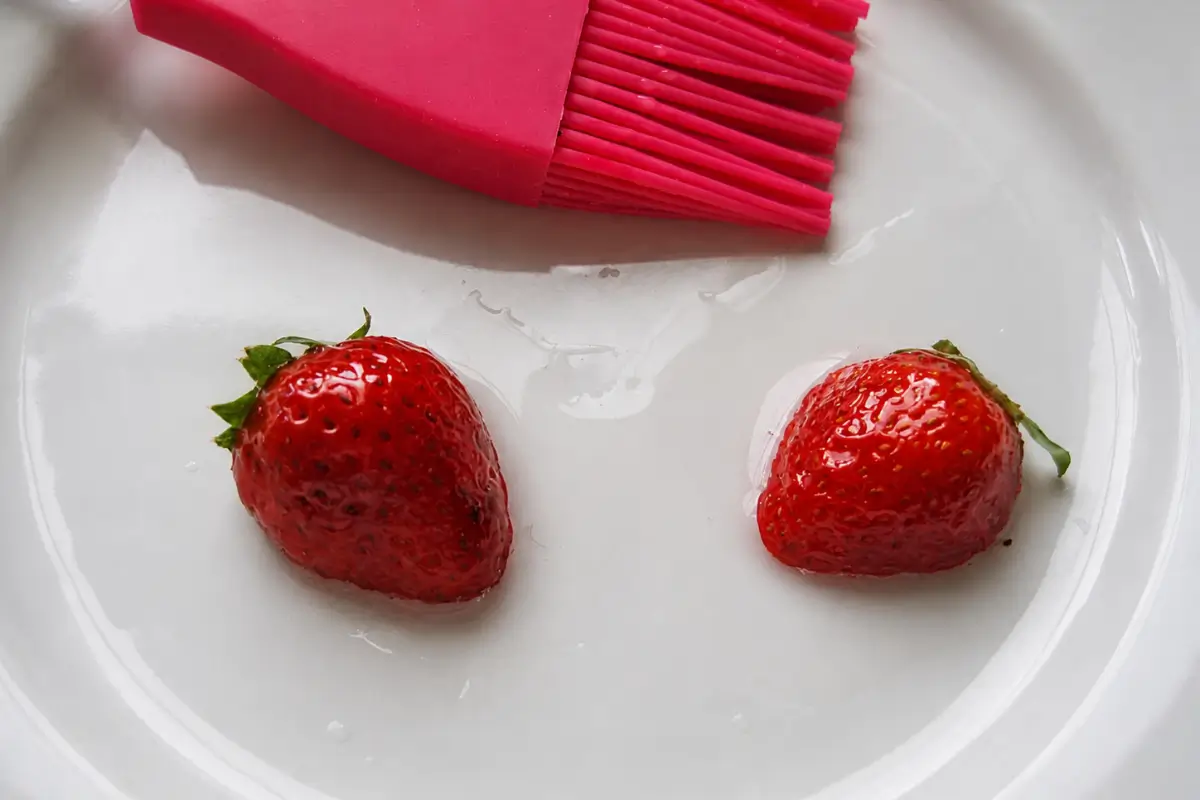
Step 9: Brush the strawberries with a little melted gelatine to give them a shiny finish.
Step 10: Decorate the panna cotta with fresh mint or the glazed strawberries before serving.
Frequently Asked Questions
Yes, both work well in this recipe. Use about 2 teaspoons of powdered gelatine as a replacement for the gelatine sheets.
Let each layer chill until the surface feels set before adding the next one. Pour the mixture slowly over the back of a spoon to reduce the chance of the layers mixing together.
No, the syrups already add colour to the layers. Food colouring simply creates brighter red and green shades.
Yes, you can replace the mint layer with vanilla, pistachio, or another syrup flavour you enjoy. Keep in mind the dessert will lose the traditional green, white, and red tricolore appearance unless green colouring is still added.
Fresh raspberries, crushed amaretti biscuits, white chocolate shavings, or a light drizzle of berry sauce all pair well with the creamy panna cotta layers. For a little crunch, chopped pistachios also work well with the strawberry and vanilla flavours.
Extra Help from the Kitchen
Use a Jug for Pouring – Transfer each panna cotta layer into a small jug before pouring. This gives you better control and helps keep the layers neat around the edges of the glasses.
Chill the Glasses First – Place the serving glasses in the fridge for 10 to 15 minutes before filling them. Cold glasses help the panna cotta start setting more evenly.
Tap the Glasses Gently – After pouring each layer, tap the glasses lightly on the bench a few times to release any small air bubbles trapped in the mixture.
Dissolve the Gelatine Fully – Stir the gelatine carefully into the warm cream mixture until fully dissolved so the panna cotta stays smooth without gelatine lumps in the finished layers.
Tilt the Glasses for Angled Layers – Rest the glasses at an angle in a muffin tin or loaf pan while chilling the first layer if you want a slanted tricolore effect instead of straight layers.
Variations and Twists
Add Fresh Strawberry Sauce – Instead of mixing strawberry syrup into the panna cotta mixture, keep the layer plain and spoon fresh strawberry sauce over the top before serving. It gives the dessert a softer fruit flavour and a more homemade look.
Layer with Strawberry Jelly – For a sharper contrast between the creamy and fruit layers, prepare a separate strawberry jelly with purée or juice and gelatine. Alternate the jelly with the panna cotta layers while chilling.
Use Strawberry Gelée – Add a thin strawberry gelée layer between or over the panna cotta layers for a lighter fruit element and a cleaner presentation. Let the gelée cool before pouring it over the panna cotta so the layers stay separate.
Serve with Macerated Strawberries – Fresh strawberries mixed with a little sugar or honey work well as a topping instead of mint leaves or extra syrup. As the fruit rests, the juices create a light sauce for the panna cotta.
Swap Mint for Vanilla Bean – Replace the mint syrup with vanilla bean paste or fresh vanilla seeds for a more traditional flavour. This creates two pale layers instead of the green, white, and red tricolore effect unless you still add green food colouring.
Storage and Shelf Life
Store panna cotta covered in the fridge in individual serving glasses or airtight containers for up to 3 days for the best texture. It can be frozen, although freezing may slightly change the smooth consistency once thawed.
If freezing, wrap the glasses well and freeze for up to 1 month. Thaw overnight in the fridge before serving.
Different Ways to Serve Panna Cotta
- Matcha Panna Cotta
- Yuzu Panna Cotta
- Lemon Panna Cotta
- Salted Caramel Panna Cotta
- Savoury Parmigiano Reggiano Panna Cotta
Panna Cotta Tricolore Recipe
Ingredients
- 400 ml – 1 ⅔ cups cream
- 100 ml – ⅓ cup plus 1 tbsp milk
- 40 g – 3 tbsp sugar
- 3 gelatine sheets (colla di pesce) – 6 g or 2 tsp gelatine powder
- ¼ tsp vanilla extract or ½ sachet vanillina powder
- 5 tbsp – 75 ml mint syrup
- 5 tbsp – 75 ml strawberry syrup
- red and green liquid food colouring – optional
Instructions
- Put the gelatine sheets in a bowl filled with cold water for 10 minutes or until softened.
- Put the cream, milk, and sugar in a pot and cook over low heat until the mixture comes to a boil.
- Turn the heat off and add the softened gelatine sheets or powder. Mix well until the gelatine has completely dissolved.
- Divide the mixture into 3 small bowls.
- Add the vanillina powder to one bowl, the mint syrup to another, and the strawberry syrup to the third bowl. Keep the 3 bowls in a pot filled with hot water to prevent the gelatine from solidifying while preparing the layers.
- Note: Food colouring can also be added if desired, but it’s optional. It helps create stronger colours resembling the Italian flag without affecting the taste of the panna cotta.
- Pour some of the red panna cotta or green panna cotta into a small serving glass and put it in the freezer for at least 10 minutes or until set.
- Add the white panna cotta and return the glasses to the freezer until set.
- Add the final layer, either green or red, and refrigerate the glasses for a couple of hours before serving.
- Brush the strawberries with a little melted gelatine to give them a shiny finish.
- Decorate the panna cotta with fresh mint or the glazed strawberries before serving.
Notes
This post may contain affiliate links. If you make a purchase through these links, I may earn a small commission at no extra cost to you.

Love travelling as much as cooking?
Many of the recipes I share are inspired by places I’ve visited around the world. On Travel with Manu you’ll find destination guides, itineraries and travel inspiration to help you plan your next adventure.











Hi,
I made the above panna Cotta but in a pale blue color. But mine turned out differently, I added a blue food color and the desired color was only on the bottom and a more lighter color was on top. Almost as if the mixture wasn’t right and it showed two different color although I only wanted one color.
Your comments plz.
Holy Pannacotta!! Mario and Luigi would gobble this up! The garden leaf plonked on top really gives it an earthly feel, not only are you a chef but leonardo da vinci will be dancing in his grave. Phan-acotta-tasic, you are well panacotTALENTED.
Over and out
*salutes*
This dessert is stunning as well as your entire blog. I’m so happy Nancy from Spicie Foodie shared your link on her blog post today. I look forward to getting your posts delivered to me by email so I don’t miss anymore.
Wow, love your blog and passion for the art. Will be following as a regular.
Here’s my blog . http://www.lovearoundtheisland.com/ Comments welcome
From one expat to another, “Alla prossima”
mick
Manu, these are sooooo pretty!! You did such a great job!
Well, what can I say?! Simply wonderful! I’d love to eat this Italian flag 😉
Hey, I’ve seen these beauties before! Worth taking a second look…and even a third!
One word—GORGEOUS! Holy wow! Oops, that was three. Love it Hun!
divine thank you so much
Gorgeous photos and an ingenious way to make panna cotta so fun! Thanks for sharing!
hi! manu, I like ur step by step photo! You pulled this off perfectly, beautiful;)
Thanks Daksha! I really appreciate it! 🙂
Thank you all sooooo much! I am really really happy that you all liked my panna cotta recipe! :-)))))))))))))))))))
I can’t take my eyes off of your panna cottas. I keep on buzzing them till I see them on top 9. This is the most beautiful post I have ever seen on foodbuzz and I wonder if it’s all politics that I never see it on the main page.:-(
:-))))) Thank you so much Visda!!! You really put a smile on my face!!! I truly do not know how the foodbuzz top 9 works (whether they pick them from the posts or from the recipes…), but I am really glad you like my panna cotta so much! :-)))))))))
Lost for words, Manu. Perfection in a glass. Gorgeous to look at and fun for your 150 years of Unification.
It looks absolutely stunning!
Gorgeous! I can’t think of a nice finale to your series on unification. Viva L’Italia!
Yikes! Obviously that is a typo – it should have been ‘nicer finale’!
Your Panna Cotta are just beautiful. Fun fact – I grew up in Leichhardt.
Hehehe did you?? How cool is that!!! I go there every weekend… 🙂
You, my friend, are so very talented. What a gorgeous creation.
Beautiful.
This is drop dead gorgeous! Your layers are so perfect and even – I love it!
you are AWSM !!!
I LOVE pannacotta but your recipe and your colorful pictures exceed my imagination. GORGEOUS!
What a great picture! It really caught my eye on Tastespotting!
Absolutely beautiful! I’m going to have to do this for all Italian holidays! 🙂
Wow!!! Just gorgeous! You pulled this off perfectly~
YAH! I was waiting (and by waiting, I mean hoping) to see a dessert in your Unification tribute! Looks Mmmmm, mmmmmm, mmmmmm!
So simple, so beautiful, so well explained!
Great stuff thank you!
Manu, simply beautiful…
I love these, they are so beautiful I wouldn’t want to ruin them with my spoon. However I wouldn’t mind eating them as a consolation prize, since I will be one of the few working in Italy on the 17th…the world of finance must keep turning.
Ohhh no, I am sorry to hear you had to work!!! 🙁 Un abbraccio!
I am speechless..you are so creative! Love love love this..beautiful colors and great tutorial! I love the photos too!
Love, Love, Love did I mention LOVE this recipe! Pictures are gorgeous as well!
I Might find cremini mushrooms over here, but I see vanillina Pane degli Angeli over there!! No little Italy in this part of the planet 🙁
I love your 150 Years of Unification posts – so much fun to see a series leading up to an celebration. Also, there are some great recipes linked on the event page too, which is a fabulous idea! Thanks for sharing your recipes and allowing others to share too 🙂