
Manu’s Menu

Authentic Italian Home Cooking & More

  • Home
  • About
    • About me
    • About this site
    • About my photography
    • Privacy and Disclosure Policy
  • Recipes
    • Visual Archive
    • Regional Italian Recipes
  • Books
    • The Cool Side of Summer
    • Manu’s Christmas Menus
    • MsM’s Mobile App
  • Work With Me
    • Affiliate Sign-Up
    • Featured On
  • Out & About
    • Africa
      • South Africa 2019
    • Americas
      • Mexico, Guatemala, Honduras and Belize
      • CHILE AND ARGENTINA 2018
    • Asia
      • India
      • Japan 2015
      • Japan 2017
      • Japan 2018
      • Singapore
    • Europe
      • Slovenia and Croatia 2019
      • Italy 2019
    • Oceania
      • French Polynesia (Tahiti) 2017
      • French Polynesia (Tahiti)
      • New Caledonia
      • New Zealand
      • South Island – New Zealand Guide
  • Blogging Tips
    • Blogging Platform
    • Web Hosting
    • Technology Tips
    • Food Photography
    • Increasing Traffic to your Blog
    • Links
      • MsM in Your Kitchen
      • Events
        • 150 years of the Unification of Italy
        • Olio, Erbe e Fantasia – LILT
  • Tips
    • Techniques
      • Pasta and Gnocchi
      • Pizza and Other Doughs
      • Sauces and Other Basics
      • Decorations
    • Cake and Cookie decoration
      • Cake & Marshmallow Pops
        • Flowery Cake Pops
        • Hello Kitty Cake Pops
        • Dorothy the Dinosaur Cake Pops
        • Christmas Tree Cake Pops
        • Sea Marshmallow Pops
      • Fondant Cakes
        • Moo Cake
        • South Pole Cake
        • Lola Cake
        • Hello Kitty Yogurt Cake
        • Dorothy the Dinosaur Cake
        • The Little Mermaid Yogurt Cake
        • The Little Mermaid Fondant Cake
        • Sweet Sushi Mini Fondant Cakes
        • Peppa Pig Cake
        • Tinkerbell Cake
        • Miffy Cake
        • Olaf Yogurt Cake
        • Frozen Cake
      • Sugar Cookies
        • Heart Sugar Cookies
        • Dorothy the Dinosaur Sugar Cookies
        • Christmas Tree Ornament Sugar Cookies
      • Eggless Sugar Cookies
        • Chinese New Year Cookies
        • St. Patrick’s Day Cookies
      • Shortbread Cookies
        • Shortbread and Chocolate Hearts
        • Baby Shower Shortbread Cookies
        • Flounder Shortbread Cookie Pops
      • Easy Chocolate Cookies
    • Conversion Tables
    • Gift Ideas
      • Christmas 2010
      • Christmas 2011
      • Christmas 2012
      • Christmas 2013
      • Christmas 2014
      • Christmas 2015
    • Ingredients
    • Where I Shop for Italian Food in Sydney
  • Contact
You are here: Home / Recipes / Candy / Rock Candy Lollipops

Rock Candy Lollipops

August 6, 2014 Last updated on December 9, 2025 By Manu 4 Comments

Jump to Recipe Print Recipe

Crunchy sugar crystals on a stick never stop being fun, and Rock Candy Lollipops make them magical. Perfect for adding a touch of wonder to birthdays, holidays, or weekend treats.
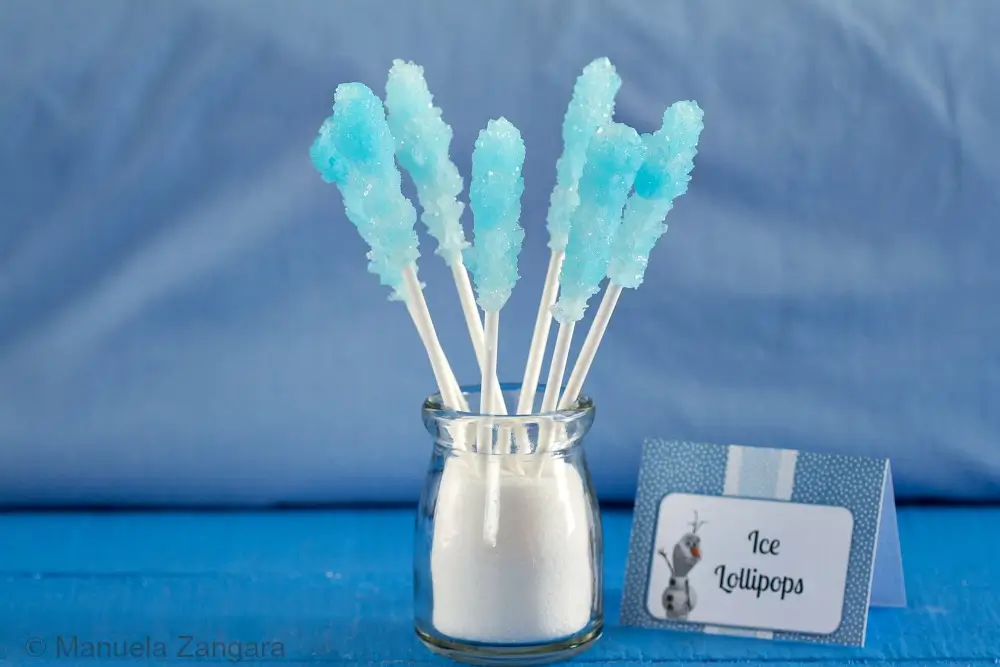
Blue rock candy lollipops displayed in a jar beside a Frozen-themed label.

I made these lollipops for Victoria’s Frozen party. I wanted some candy that looked like ice, and these seemed like such a sweet idea. They turned out even better than I hoped.

The crystals resembled ice and grew in a rough, sparkly way that suited the theme perfectly.
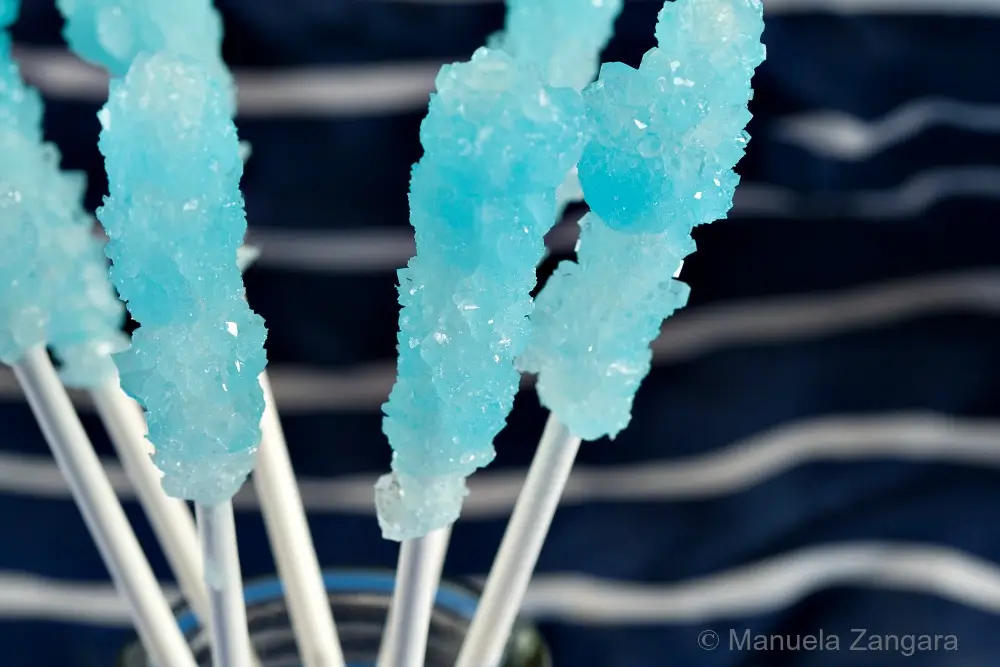
Close-up of a blue rock candy lollipop forming crystals on the stick.

Rock candy is very easy to make, but it needs time because the sugar has to crystallise on its own. Give yourself about a week. Some of mine were ready after three or four days, while others needed a little longer, so it’s worth checking them daily.

This is also a fun project to do with your kids. They can watch the crystals form and feel involved in the whole process. Have fun!

Reasons to Make These Lollipops with Kids

  • A batch adapts easily to holidays or character-themed parties by adjusting colours and flavours.
  • Kids treat the whole process like a fun science project and keep checking their sticks with real excitement.
  • Adults enjoy them as much as kids, especially when used to sweeten warm drinks in a fun way.

Key Ingredients for These Candy Lollipops

Sugar

Builds the sweetness and structure of the crystals. Standard white sugar gives the cleanest taste and produces clear, glass-like crystals, which work well for colour-based designs.

Liquid Food Colour

Tints the syrup and gives the crystals their final look. Liquid colour blends quickly into hot syrup and produces even shades with only a few drops.

Flavouring

Adds aroma and gentle flavour. Essences such as mango, mint, or citrus stay stable in hot syrup and remain noticeable once the lollipops dry.

Find the complete list with measurements in the recipe card below.

How to Make Rock Candy Lollipops

Step 1: Put the water and sugar in a pot and bring them to a rolling boil.

Step 2: Turn the heat off, then add the colour and essence and stir until the mixture is evenly combined.
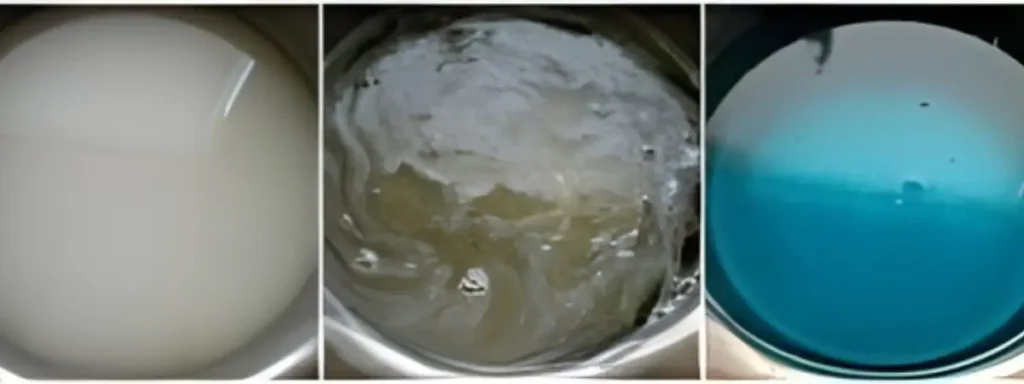
Three stages of sugar syrup: dissolved sugar, simmering syrup, and tinted blue mixture.

Step 3: Place a lollipop stick inside a plastic cup, making sure it does not touch the sides or the bottom. You can suspend it with pegs if needed.
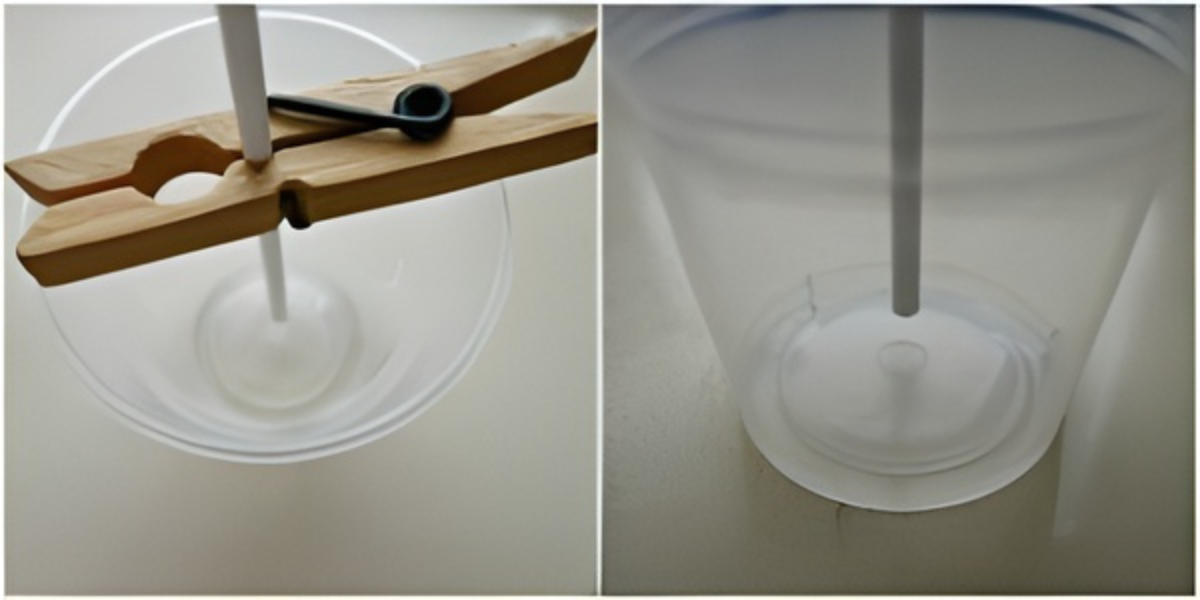
Lollipop stick positioned upright in a clear plastic cup before adding syrup.

Step 4: Dip a lollipop stick into the warm syrup to lightly coat the area where you want the crystals to grow, then roll it in granulated sugar so the first crystals have something to hold onto.

Step 5: Pour the syrup into the cup and fully submerge the coated stick.

Collage showing coated stick, syrup-filled cups, broken crystals, and early crystal formation inside plastic cups.

Step 6: Repeat the process for all the lollipops you want to make.

Step 7: Leave the cups in a dry place for 3 to 7 days. The syrup will gradually set and form sugar crystals. Wipe the rim and inside edge of each cup daily so stray crystals do not cling to the sides or attach to the stick.
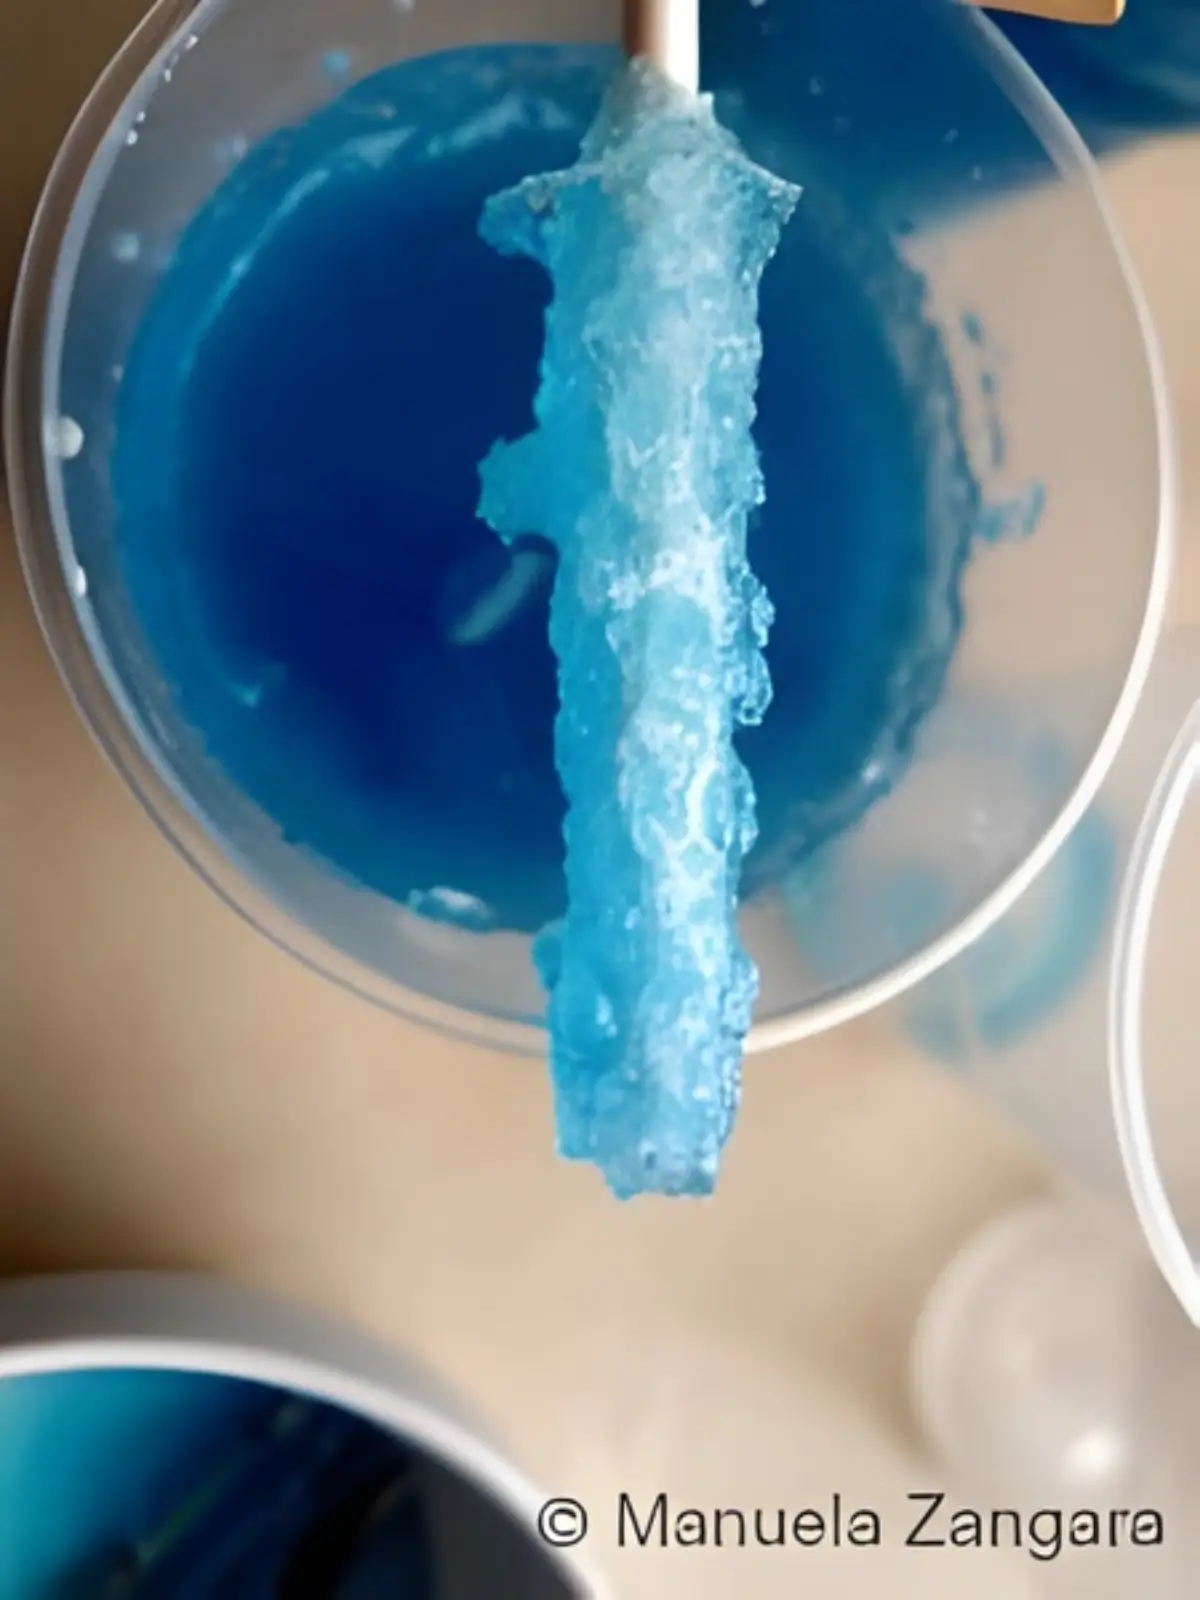
Blue rock candy lollipop forming crystals while hanging in a cup of coloured syrup.

Step 8: Once the sugar has crystallised, lift the lollipops out and let them dry for a couple of hours before serving.
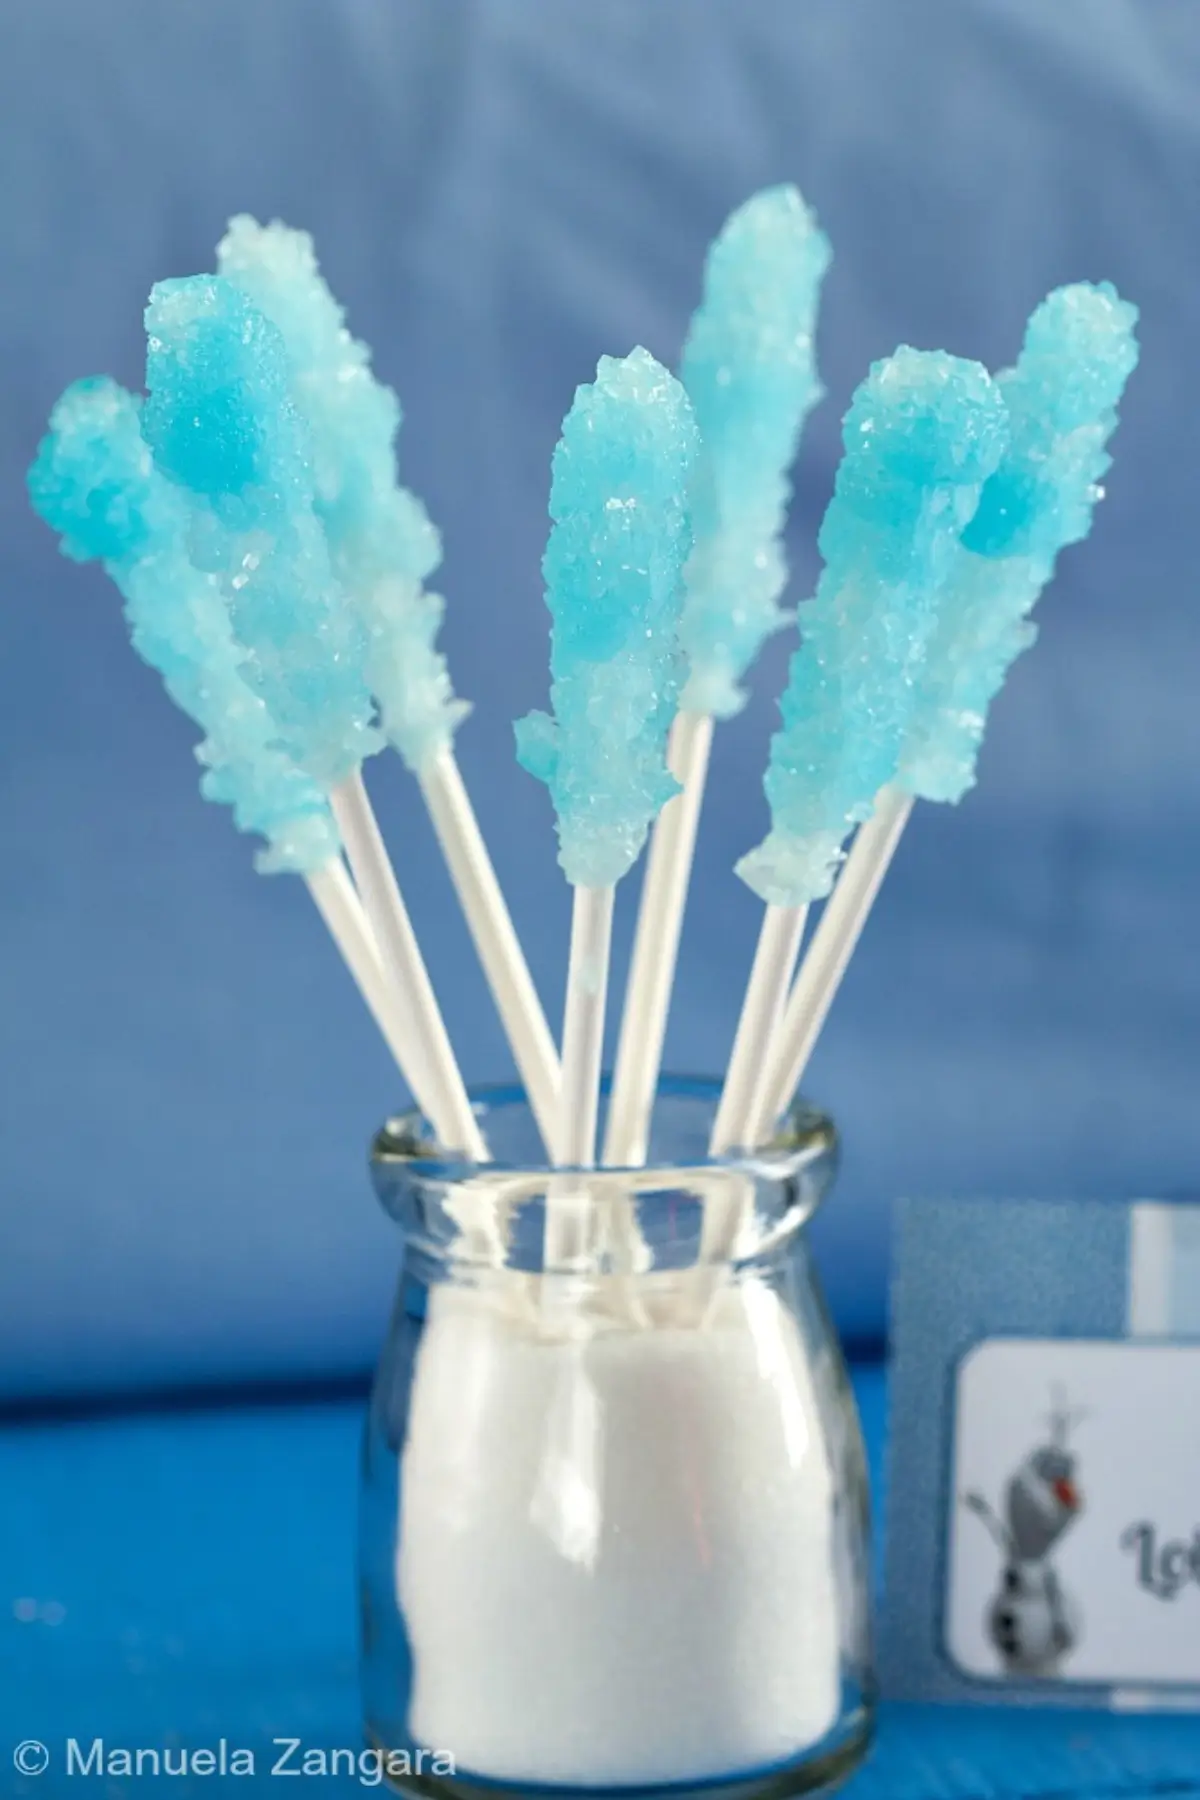
Finished blue rock candy lollipops arranged in a small jar filled with sugar.

Frequently Asked Questions

What flavours work well in Rock Candy Lollipops?

Fruit essences such as lemon, orange, strawberry, and mango stay clear and bright in sugar syrup. Mint and vanilla also hold their aroma without fading during crystallisation.

Can I use wooden sticks instead of lollipop sticks?

Yes. Smooth wooden sticks work well as long as they are sturdy and stay straight once coated in syrup. They give the crystals a firm surface to cling to and are easy to suspend in the cups.

What other decorations work well once the lollipops dry?

Small sprinkles, edible glitter, and fine sanding sugar sit neatly on the surface without weighing down the crystals. Add them once the lollipops are fully dry and press gently so they hold without breaking the structure.

Extra Help from the Kitchen

Use Clear Cups – Clear plastic cups make it easier to check crystal growth each day without disturbing the syrup or moving the sticks.

Warm the Sticks Before Coating – Rest the lollipop sticks near the stove so they’re slightly warm. A warm surface helps the sugar syrup cling evenly before dipping into granulated sugar.

Avoid Stirring Once Poured – After you fill the cups, avoid swirling or shifting them. Movement disrupts early crystal formation and slows the process.

Cover Cups Lightly – Place a breathable cloth or paper towel loosely over the cups to keep dust out while still allowing moisture to escape.

Give Each Cup Space – Arrange the cups with gaps between them rather than crowding them together. Better air circulation helps the crystals grow more evenly.

Variations and Twists

Use Fruit Essences for Added Flavour – Swap the optional flavouring for lemon, orange, strawberry, mint, or vanilla. Each one brings a different aroma once the crystals dry and pairs well with coloured syrup.

Divide the Syrup for Multi-Colour Batches – After preparing the syrup, split it into small heatproof bowls and tint each one differently. This method creates a range of colours from a single batch and suits themed celebrations.

Create Small Stirrers for Warm Drinks – Use shorter sticks to make crystal clusters for hot chocolate, tea, or flavoured milk. They dissolve slowly and add sweetness with a bit of visual appeal.

Tint the Syrup with Natural Colours – Plant-based colouring powders such as beetroot, butterfly-pea, or spirulina give softer tones and a more natural look, though shades may vary.

Storage and Shelf Life

Store the finished Rock Candy Lollipops in an airtight container at room temperature for up to 1 month. Keep them in a dry place and away from humidity, as moisture softens the crystals over time.

Avoid refrigerating or freezing them, because sugar crystals attract moisture when chilled and lose their structure once brought back to room temperature.

Sweet Ideas for Your Next Party

  • Snow Cupcakes
  • Frozen Cake
  • Pixie Dust Marshmallow Pops
  • Honey Hard Candy
Blue rock candy lollipops displayed in a jar beside a Frozen-themed label.
0 from 0 votes
Print

Rock Candy Lollipops Recipe

Crunchy sugar crystals on a stick never stop being fun, and Rock Candy Lollipops make them magical. Perfect for adding a touch of wonder to birthdays, holidays, or weekend treats.

Course: Candy
Cuisine: International
Prep Time: 15 minutes
Cook Time: 5 minutes
Resting Time: 7 days
Total Time: 7 days 20 minutes
Author: Manuela Zangara

Ingredients

  • 250 ml – 1 cup water
  • 600 g – 3 cups sugar
  • Liquid food colour – I used 5 drops of blue
  • Flavouring – optional, I used 1 tbsp mango essence
  • Plastic cups – pegs, and lollipop sticks

Instructions

  1. Put the water and sugar in a pot and bring them to a rolling boil.
  2. Turn the heat off, then add the colour and essence and stir until the mixture is evenly combined.
  3. Place a lollipop stick inside a plastic cup, making sure it does not touch the sides or the bottom. You can suspend it with pegs if needed.
  4. Dip a lollipop stick into the warm syrup to lightly coat the area where you want the crystals to grow, then roll it in granulated sugar so the first crystals have something to hold onto.
  5. Pour the syrup into the cup and fully submerge the coated stick.
  6. Repeat the process for all the lollipops you want to make.
  7. Leave the cups in a dry place for 3 to 7 days. The syrup will gradually set and form sugar crystals. Wipe the rim and inside edge of each cup daily so stray crystals do not cling to the sides or attach to the stick.
  8. Once the sugar has crystallised, lift the lollipops out and let them dry for a couple of hours before serving.

Filed Under: Candy, Dairy-free, Desserts, Gluten Free, Snack, Vegan, Vegetarian Tagged With: birthday, candy, Frozen, kids, Lollipops, party, Rock Candy, rock sugar, sugar, sweets

« Snow Cupcakes
Cucumber Sandwiches »

Comments

  1. Bea says

    September 30, 2015 at 6:44 pm

    I was looking for a totally different recipe and found this! I was going to look for a recipe for rock candy a while back but had forgotten about it. I should have known, when in doubt always check here first! I love the blue and MANGO is my fave.

    Reply

Leave a Reply Cancel reply

Your email address will not be published. Required fields are marked *

Recipe Rating:


Welcome to Manu’s Menu!

Hi! I am Manu, the author of Manu's Menu. I was born and brought up in Italy and my blog can show you how to create authentic Italian food in your own home! Read More…

  • Email
  • Facebook
  • Instagram
  • LinkedIn
  • Pinterest
  • RSS
  • Twitter
  • YouTube

HOMEMADE PASTA MADE SIMPLE – THE BOOK. CLICK TO BUY IT FROM AMAZON NOW!

Homemade Pasta Made Simple

Archives

Categories

  • Email
  • Facebook
  • Flickr
  • Instagram
  • LinkedIn
  • Pinterest
  • RSS
  • Twitter

Video Recipe: Orecchiette with Crudaiola Sauce

https://www.youtube.com/watch?v=QqSyzFElbRY
foodgawker bowls-150x150
tastespotting150
Tasteologie badge
Pasta & Gnocchi

The Cool Side of Summer e-Book – Click to buy it now! On SALE for only $9.99!

The Cool Side of Summer e-Book

MsM’S EBOOK – CLICK TO BUY IT NOW!

MsM’S EBOOK – CLICK TO BUY IT NOW!
Community Table Contributor Badge
Sunday Supper Movement

manusmenu

Food blogger, cookbook author, food photographer & stylist.

A batch of homemade flaxseed crackers is always ha A batch of homemade flaxseed crackers is always handy to have in the kitchen.

They're crisp, easy to store, and pair well with dips, soft cheeses, fresh vegetables, or your favourite toppings whenever you need a quick snack.

#flaxseedcrackers #mealprep #healthysnacks #homemade #manu #manusmenu
Creamy goat cheese, crunchy pistachios, and a driz Creamy goat cheese, crunchy pistachios, and a drizzle of honey 🍯

The combination of creamy, sweet, and crunchy textures makes this such an easy appetiser to put together when you want something simple but a little different.

Serve with crusty bread or your favourite crackers and enjoy. 

#pistachios #HoneyDrizzle #sharingplatter #manusmenu
After sharing the scrambled eggs and tomato toast After sharing the scrambled eggs and tomato toast recently, I thought it would be a good time to highlight one of my favourite herb blends 🌿

Herbes de Provence is a traditional French herb blend usually made with herbs such as thyme, rosemary, oregano, and savoury.

It's a simple way to add extra flavour to everyday ingredients and works especially well with eggs, tomatoes, roasted vegetables, potatoes, chicken, and soups.

Have you used Herbes de Provence before?

#herbesdeprovence #frenchcooking #mediterraneanfood #herbblends #manu #manusmenu
Scrambled eggs with tomato on toast is one of thos Scrambled eggs with tomato on toast is one of those simple meals that always works 🍅

Warm, savoury, filling, and made with ingredients most people already have at home.

#scrambledeggs #QuickMeals #breakfastideas #homemademeals #manu #manusmenu
This calamari risotto turned out creamy, rich, and This calamari risotto turned out creamy, rich, and so satisfying 🍚

Made as a low FODMAP recipe, it’s a homemade seafood dinner option that feels filling and easier to enjoy for those with sensitive stomachs or lower FODMAP dietary needs.

 #lowfodmap #calamaririsotto #seafoodrecipes #homemademeals #manu #manusmenu
Pumpkin has a naturally gentle sweetness, which is Pumpkin has a naturally gentle sweetness, which is why ingredients like ginger, coconut cream, herbs, curry paste, or lime work so well with it.

Those subtle layers of flavour help create soups that feel comforting, warming, and more rounded 💛

 #pumpkinsoup #thaifood #homemademeals #homemade #manusmenu
Smooth, creamy, and filled with delicious Thai-ins Smooth, creamy, and filled with delicious Thai-inspired flavours 🍲 This pumpkin soup makes such a lovely homemade dinner idea ✨

#PumpkinSoupRecipe #homemadefood #thaifood #manu #manusmenu
A sweet homemade treat for the person who made lif A sweet homemade treat for the person who made life sweeter first 💖
These chocolate date hearts are filled with soft dates, rich chocolate, and a little homemade love for Mother’s Day 🌷

 #mothersday #mothersdaygiftideas #datehearts #manusmenu
more stories beyond the menu ✈️ #MatchaMoments #t more stories beyond the menu ✈️

#MatchaMoments #travelreels #travelwithmanuela
A simple treat for Mother’s Day 🌸 These chocolate A simple treat for Mother’s Day 🌸

These chocolate covered dates pair perfectly with a warm cup of tea and make a lovely homemade gift or afternoon treat.

Simple, sweet, and easy to make at home.

#mothersday #chocolatecovereddates #HomemadeTreats #dessertideas #teatime #manusmenu
This iced chai is simple to make and perfect when This iced chai is simple to make and perfect when you want something calm and comforting.

Made with a few ingredients and warm spices, it’s a drink you can easily prepare at home without much effort.

Sometimes it’s the simple drinks that you keep coming back to. 💓

#icedchai #homedrinks #teatime #homemade #manu #manusmenu
Ever wondered why your iced matcha tastes differen Ever wondered why your iced matcha tastes different every time?

It’s not just about the ingredients. Small details like the quality of the matcha, how you sift it, and how you whisk it can completely change the result.

Even the texture and colour can tell you a lot before you even take a sip.

Once you start paying attention to these steps, it becomes much easier to get a smoother, more balanced matcha at home 🍵

 #matcha #icedmatcha #Matchalatte #JapaneseTea #manusmenu
Follow on Instagram

Privacy Policy

Copyright © 2011–© 2026 - Manu's Menu and Manuela Zangara. All rights reserved.
Blue rock candy lollipops displayed in a jar beside a Frozen-themed label.

Rate This Recipe

Your vote:


A rating is required
A name is required
An email is required
We use cookies to ensure that we give you the best experience on our website. If you continue to use this site we will assume that you are happy with it.