

Leftover veggies? This Bibimbap turns them into a cosy, colourful warm bowl with crisp vegetables and savoury sauce, perfect for relaxed weeknight meals.
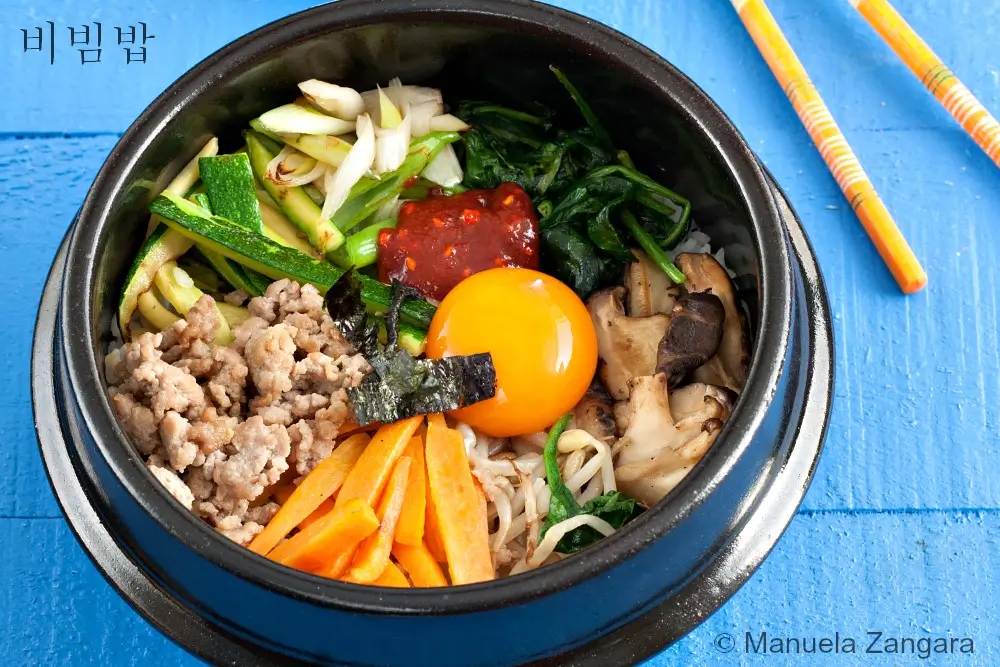
The July Daring Cooks’ Challenge took us to Korea, where Renata of Testado, Provado & Aprovado taught us to make bibimbap. This colourful rice dish can be customised to suit any taste and is as much fun to eat as it is to say.
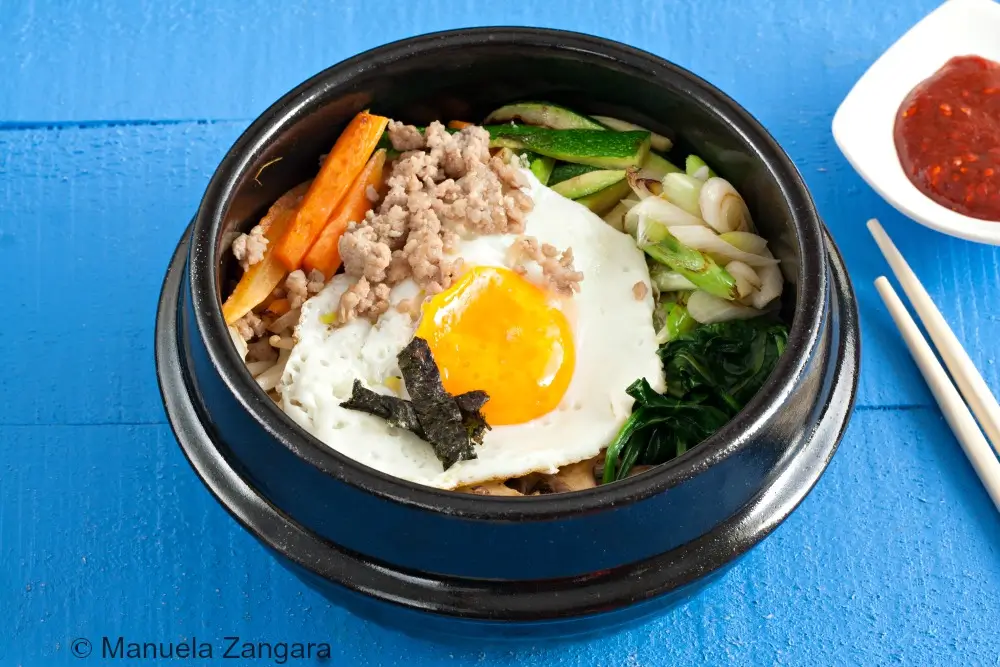
Bibimbap (비빔밥), which literally means “mixed rice”, is one of Korea’s most famous dishes. It consists of steamed rice topped with stir-fried vegetables, meat, and a fried or raw egg, all mixed together just before eating. It is traditionally served in individual bowls, and the way the toppings are arranged in a chromatic circle creates a striking visual effect.
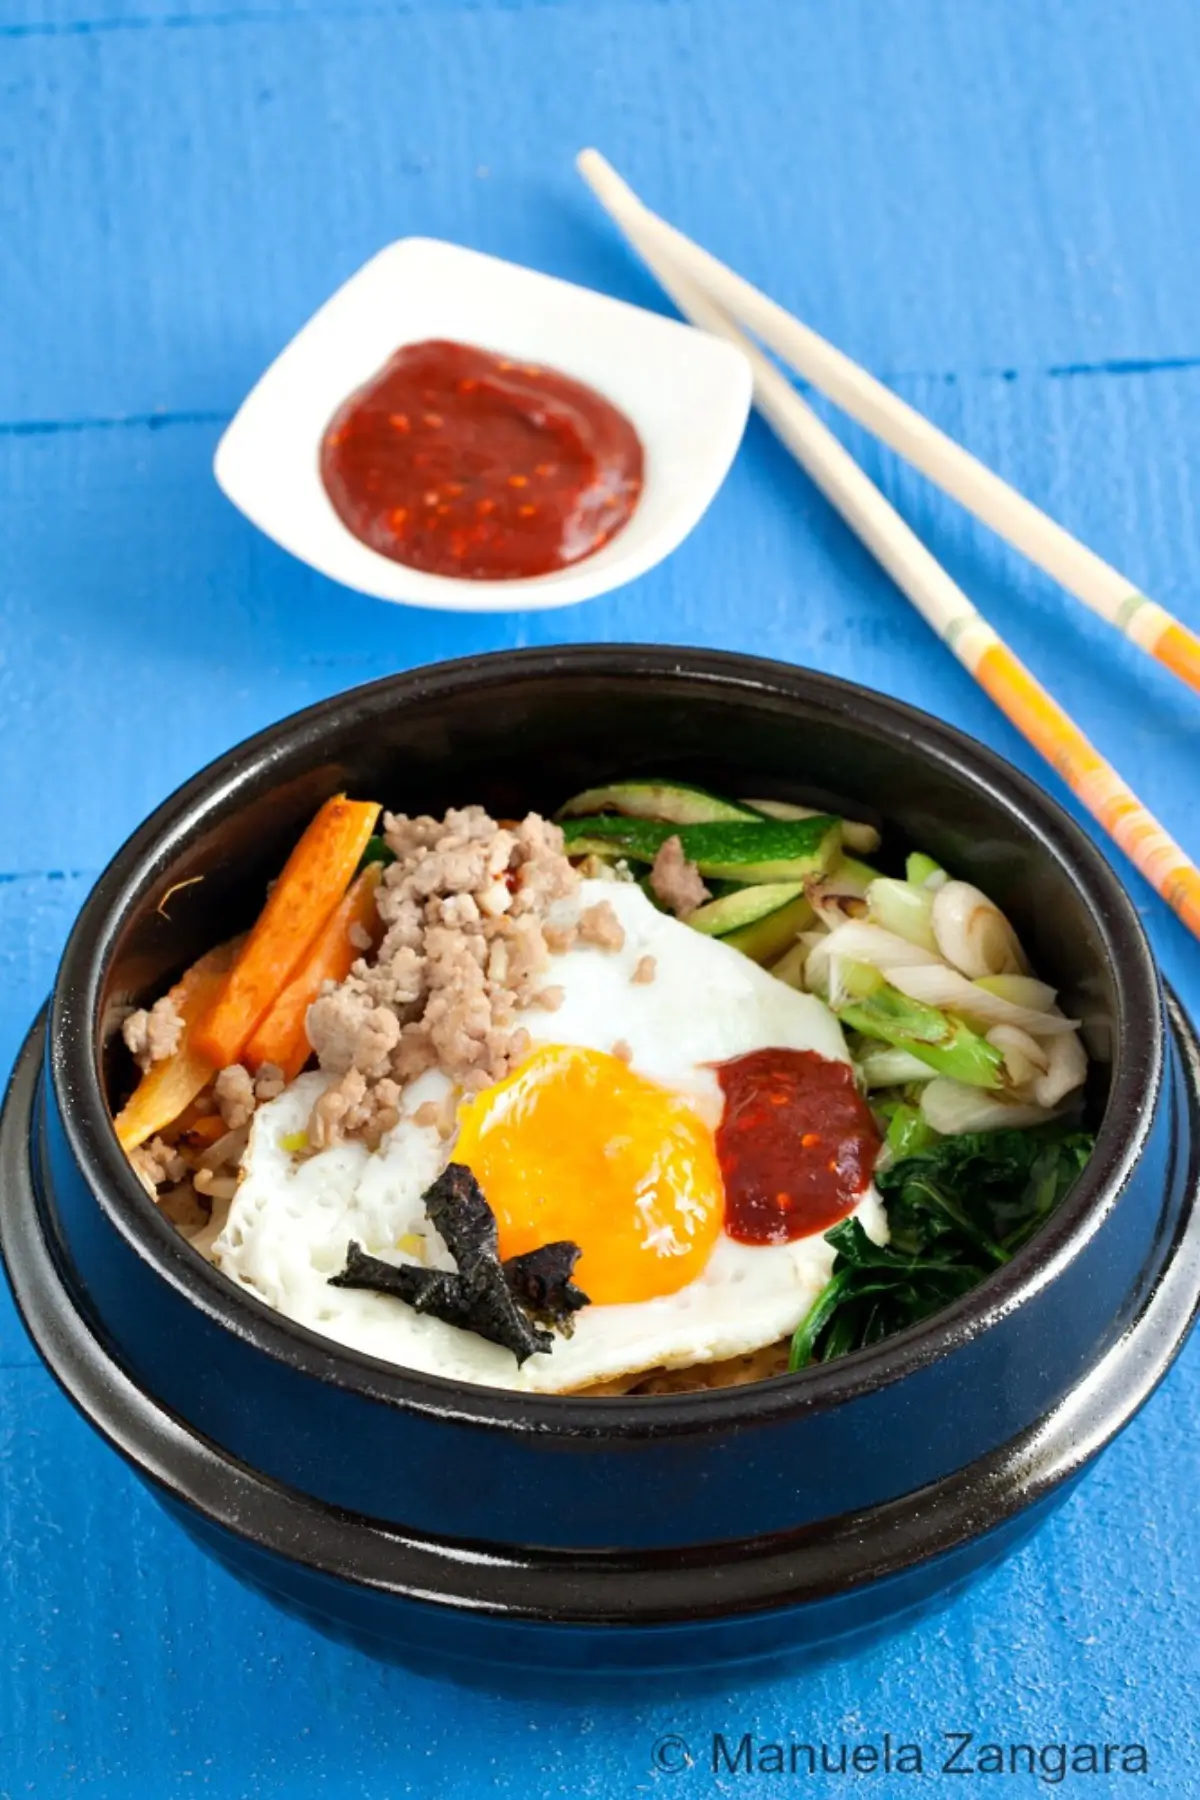
The trick behind a well-composed bibimbap is to place similar colours opposite each other, creating an immediate visual impact. It is a simple dish, yet it looks like a masterpiece. I like the sound and taste of that.
Bibimbap is usually served with a spicy sauce made from a Korean red pepper or capsicum paste called gochujang (고추장). The heat level can easily be adjusted to suit personal taste.
A variation of the classic dish is dolsot bibimbap. In this version, everything is assembled in individual stone pots brushed with sesame oil. The pot is then heated on the stove until it starts to sizzle, forming a thin, crunchy layer of rice at the bottom.
I had never eaten bibimbap before this challenge, but I live in a suburb with a large Korean community. My next-door neighbours are Korean, so it felt like the perfect opportunity to try cooking Korean food at home. I also knew finding the ingredients would be easy, thanks to the excellent Korean shops nearby.
Although I did not find a traditional dolsot stone pot, I did come across a beautiful ttukbaegi pot, which worked perfectly for this dish. As expected, I managed to source everything I needed, with a little help from my friend Victoria, who gave me the ingredient names in Korean.
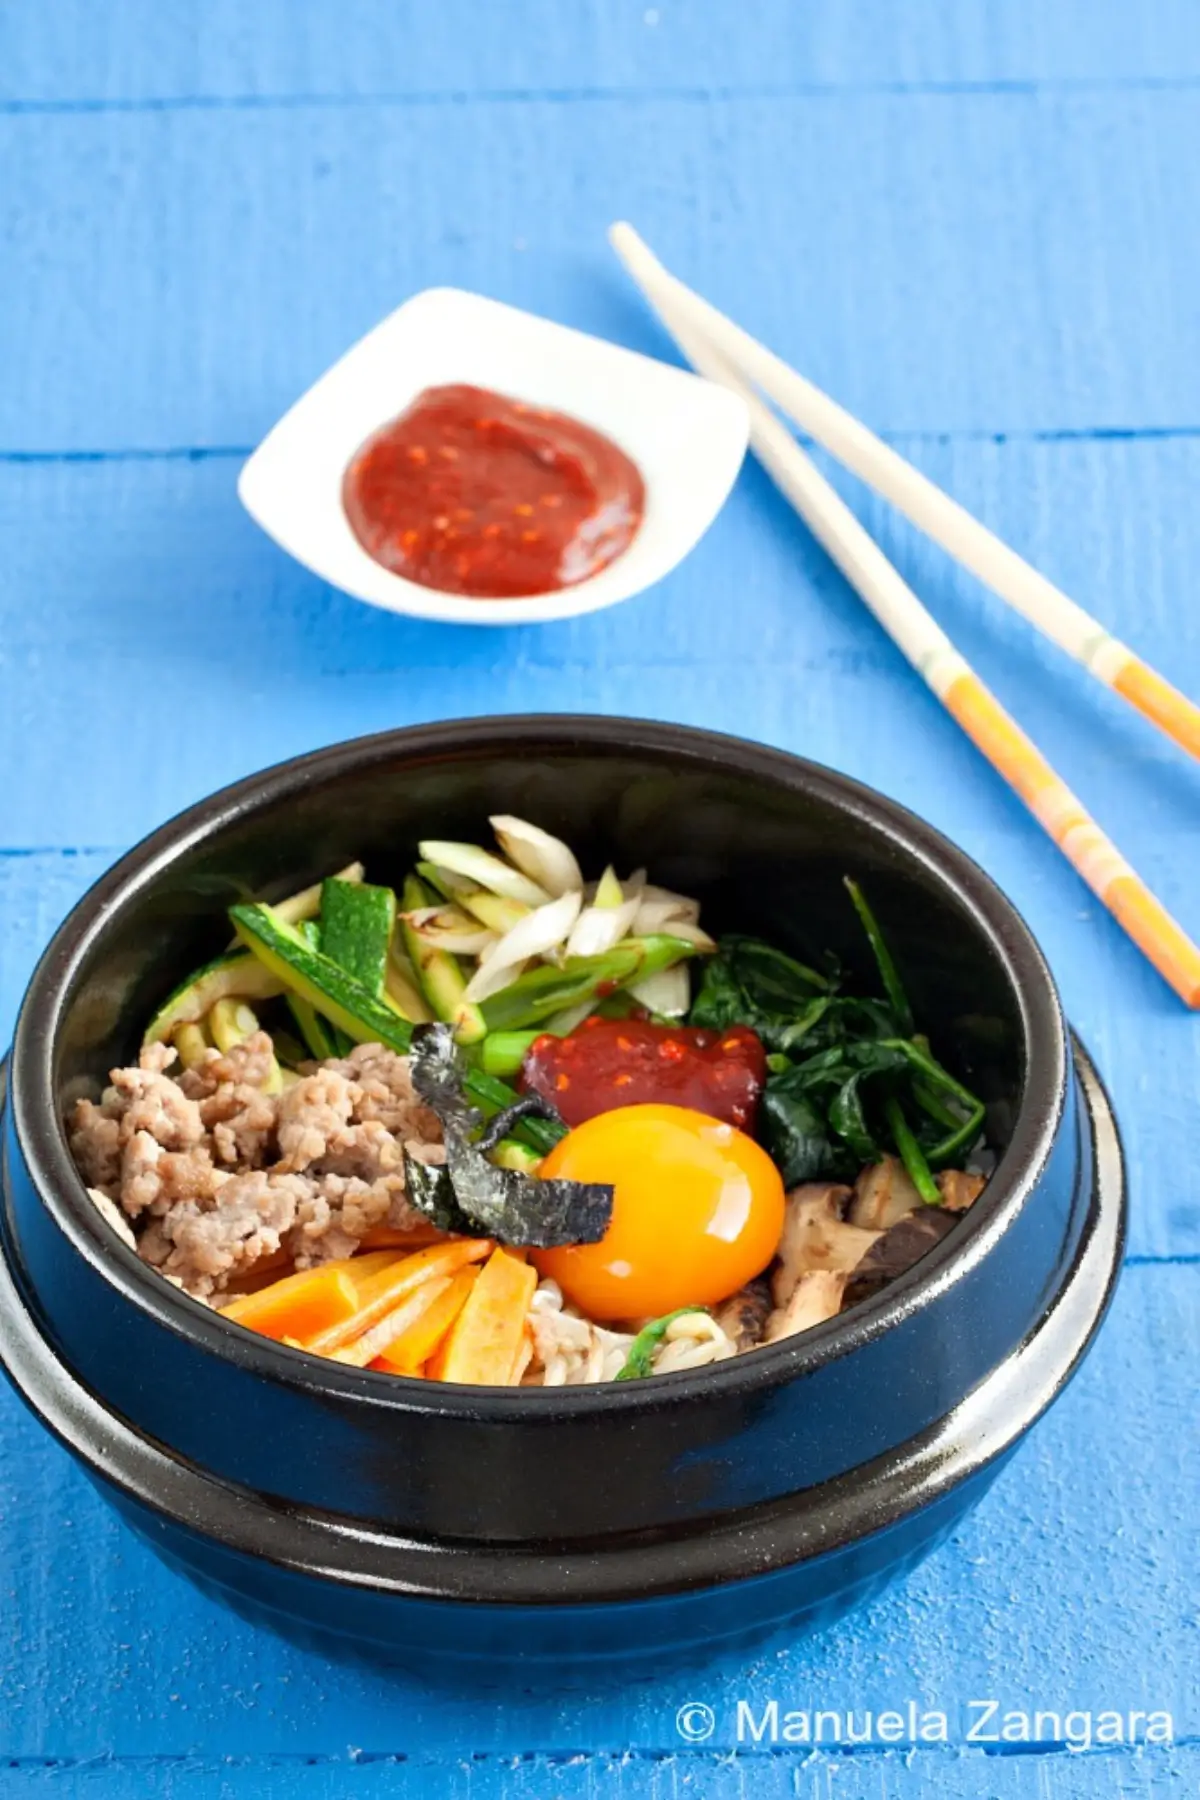
Why We Love This Classic Bibimbap
- Feels like a complete meal in one bowl, so there is no need to plan extra dishes or sides.
- Works well for both lunch and dinner without needing changes to portions or timing.
- Brings variety to everyday cooking without making the meal feel complicated.
Key Ingredients for Bibimbap
Korean Short Grain Rice
Cooked until tender with a slight chew, this rice stays moist and holds together well under the toppings without turning heavy. Korean short grain rice or sushi rice both give reliable results and crisp neatly in a hot stone pot.
Mixed Vegetables
Prepared separately, each vegetable keeps its colour and bite. Carrots, zucchini, spinach, mung bean sprouts, mushrooms, and green onions are common choices. Shiitake mushrooms add depth, though button or oyster mushrooms work well as alternatives.
Gochujang
This Korean red pepper paste brings heat, salt, and a fermented note. Spice levels vary between brands, so tasting before mixing the sauce makes it easier to adjust seasoning.
Find the complete list with measurements in the recipe card below.
How to Make Bibimbap
Korean-Style Steamed Rice
Step 1: Measure the rice and place it in a bowl. Fill the bowl with water and gently swirl the rice with your hand, without scrubbing. Strain the water and repeat this process three more times. The final water will not be crystal clear, and that is normal. Strain the rice well and immediately return it to the bowl.
Step 2: Measure the water used for cooking and pour it over the rice. Let the rice soak for 30 minutes.
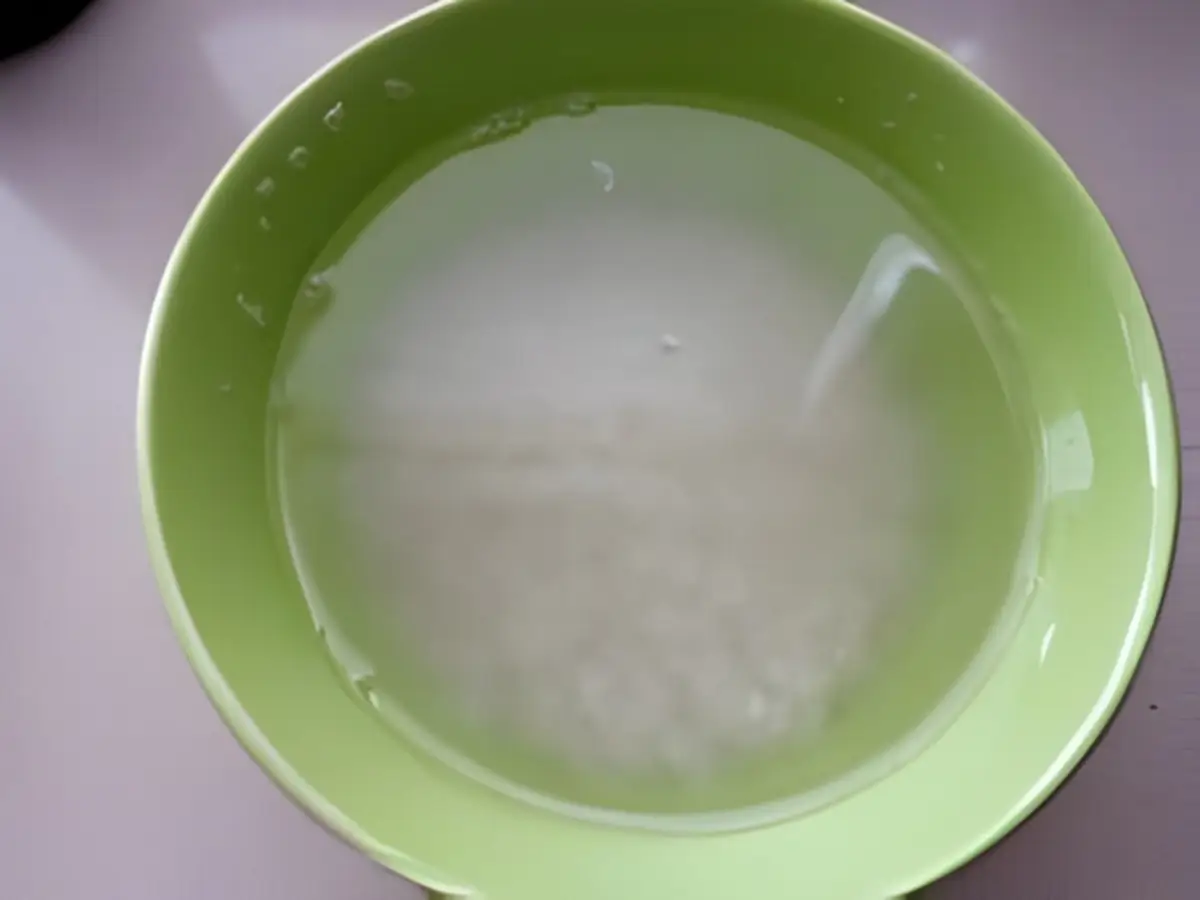
Step 3: After soaking, transfer the rice and water to a heavy-bottomed saucepan. Bring it to a boil over medium heat, then immediately reduce the heat to the lowest possible setting. Cover and simmer gently until all the water has evaporated, about 5 minutes. Watch closely.
Step 4: Turn off the heat and leave the rice covered for an additional 15 minutes to finish cooking.
Step 5: Gently stir the rice so the moisture is evenly distributed.
Meat and Vegetables
Step 1: Marinate the meat by mixing it with all the marinade ingredients. Set aside while you prepare the vegetables.
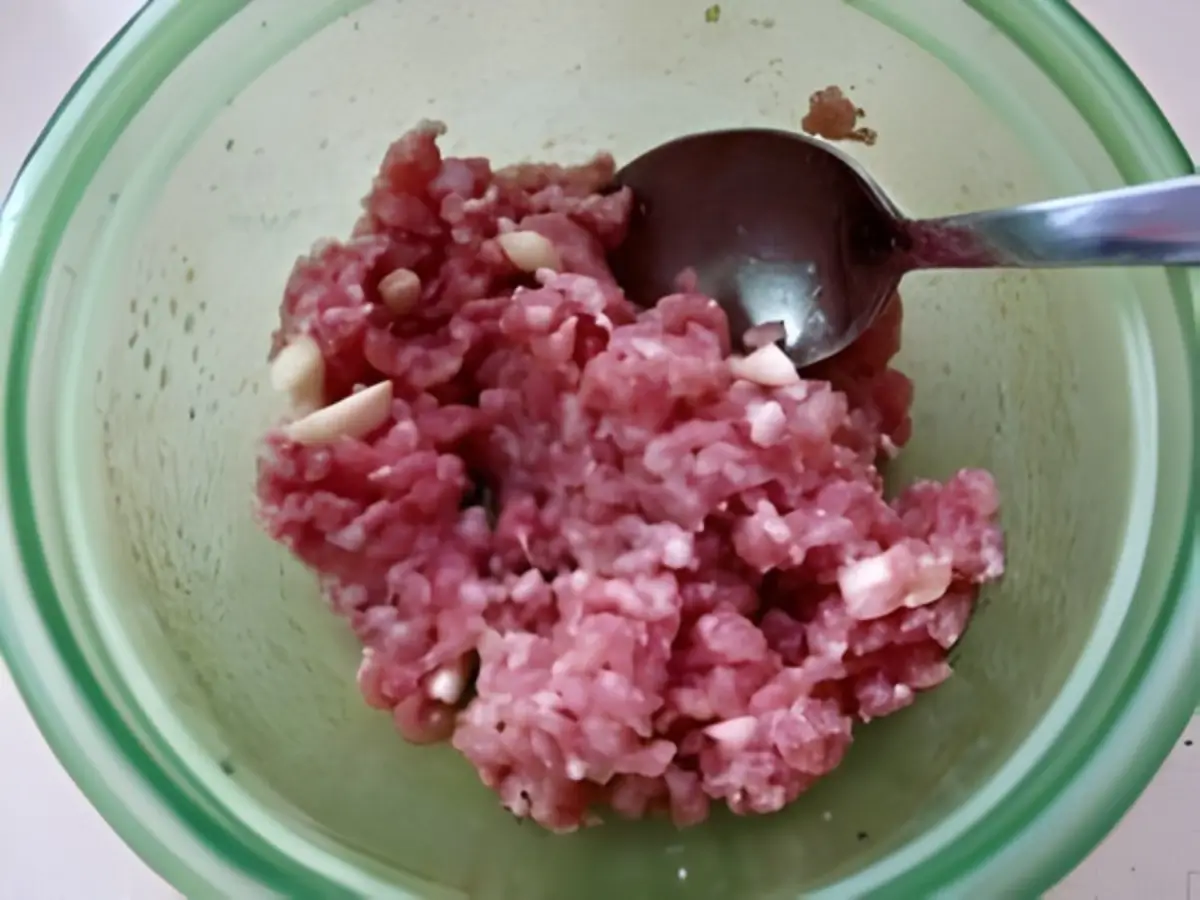
Step 2: Wilt the mung bean sprouts, strain them, and immediately immerse them in cold water to stop the cooking. Strain again, then season with a pinch of salt and ½ teaspoon sesame oil. Use the same process for the spinach.
Step 3: Sauté the remaining vegetables very briefly, one at a time, in a pan lightly greased with sesame oil over medium-high heat. The vegetables should remain crunchy. Season each with a pinch of salt and set aside separately.
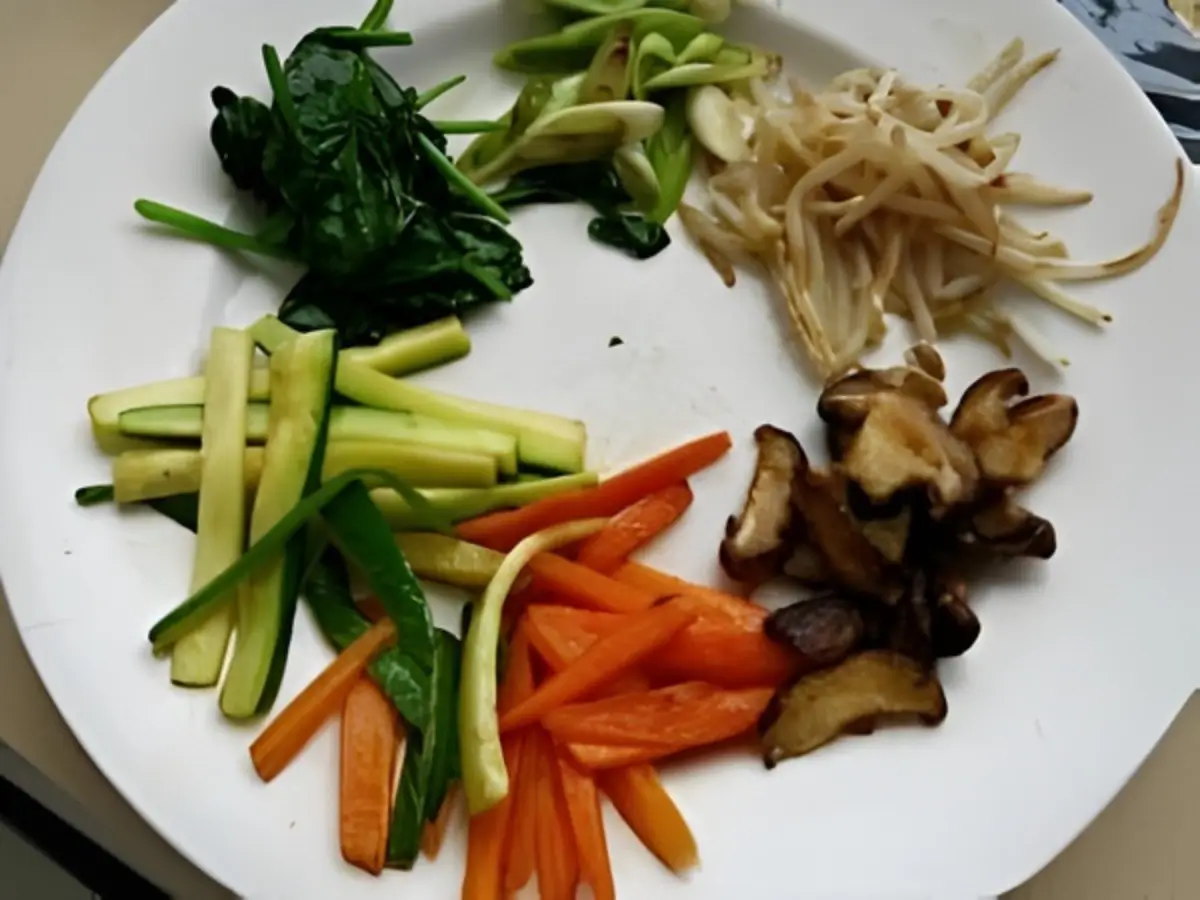
Step 4: Using the same pan, sauté the meat over high heat until fully cooked.
Gochujang Sauce
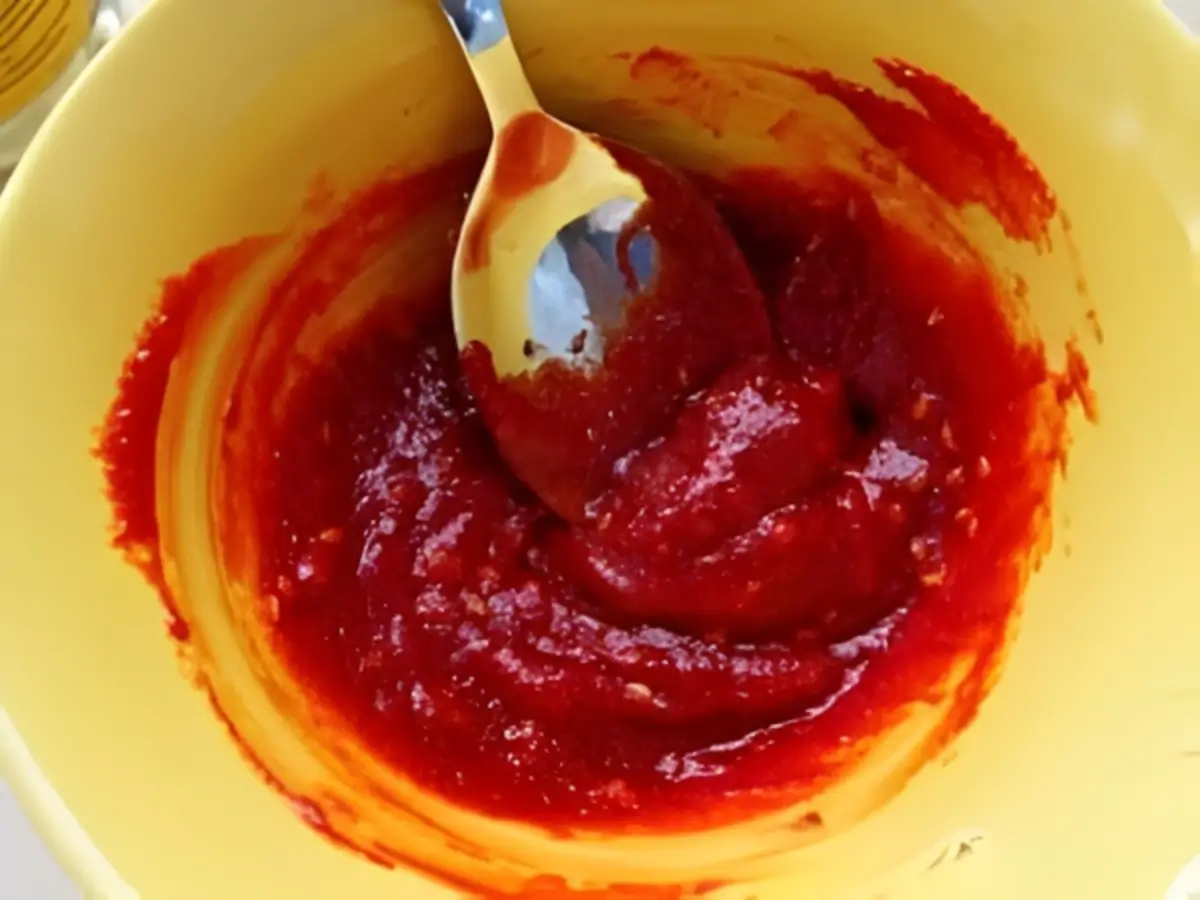
Step 1: Combine all the ingredients and set aside. Serve the sauce separately so each person can adjust it to taste.
Assembling
Step 1: Make a bed of steamed rice in each bowl, using about ½ to 1 cup per serving.
Step 2: Arrange the warm vegetables on top of the rice, placing them side by side around the bowl as shown in the pictures. For a more traditional presentation, arrange similar colours opposite each other. Place the meat either in the centre or alongside the vegetables.
Step 3: Carefully place the fried egg, or raw egg yolk if using, in the centre so the yolk does not break.
Step 4: For Dolsot Bibimbap, brush the bottom of a stone pot or skillet with sesame oil. Add the rice and arrange all the other ingredients as above.
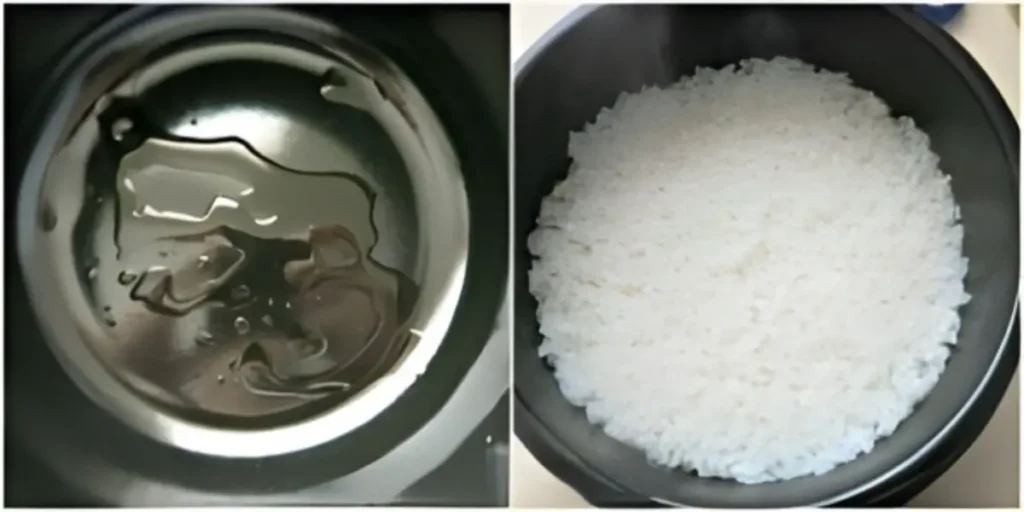
Step 5: Place a raw egg yolk in the centre of the dish.
Step 6: Heat the pot on the stovetop over medium heat without a lid. After about 5 minutes, it will begin to sizzle.
Note: Total cooking time for Dolsot Bibimbap is approximately 10 minutes, depending on your stove. Watch closely so the rice at the bottom forms a thin, crunchy layer without burning.
Step 7: When you mix everything together at the table, the heat of the pot will cook the egg yolk through.
Step 8: Bibimbap is traditionally eaten with a spoon. Add some sauce to the bowl, mix everything together thoroughly, and enjoy.
Frequently Asked Questions
Control the heat by adding gochujang at the table rather than mixing it in during cooking. This keeps the dish adaptable for different preferences.
Yes. Tofu, extra mushrooms, or a mix of both work well. Cook them separately and season lightly so they blend well with the vegetables and sauce.
Cabbage, cucumber, bean sprouts, or bell peppers can be added. Keep the cuts similar in size and cook each vegetable on its own.
Yes. Bibimbap can be eaten without the sauce or with a small amount of soy sauce and sesame oil mixed together for a milder option.
Extra Help from the Kitchen
Season in Small Stages – Taste and lightly season vegetables after cooking, not before. This keeps flavours balanced once everything is mixed with the rice, meat, and gochujang sauce.
Slice Vegetables Evenly – Cut vegetables into similar thin sizes so they cook at the same speed and mix evenly when eating.
Rest the Rice Briefly Before Serving – Let the cooked rice sit uncovered for 2 to 3 minutes after fluffing so excess steam escapes and the grains stay distinct.
Warm the Sauce Slightly Before Serving – Bring the gochujang sauce to room temperature so it blends more easily into the hot rice.
Variations and Twists
Veggie Bibimbap – Fill the bowl with a larger mix of vegetables and reduce or skip the meat. Add cucumber, extra spinach, or mung bean sprouts, cooked or seasoned separately, so each topping keeps its colour and bite.
Classic Beef Bibimbap – Use thinly sliced beef instead of mince. A short marinade with soy sauce, garlic, sugar, and sesame oil seasons the meat well, and quick cooking over high heat keeps it tender.
Chicken Bibimbap – Replace pork or beef with finely sliced chicken thigh or breast. Cook until just done, then assemble with the rice and vegetables following the same steps.
Seafood Bibimbap – Swap the meat for shrimp or squid. Cook briefly with garlic and a small splash of soy sauce, then add straight to the bowl while still hot so the seafood stays tender.
Vegan Bibimbap with Alternative Sauce – Leave out the meat and egg and use pan-fried tofu or extra mushrooms instead. Finish with a light soy and sesame dressing for a gentler, savoury bowl.
Storage and Shelf Life
Store the cooked rice, vegetables, and meat separately in airtight containers in the fridge. Rice and meat keep well for up to 3 days when cooled quickly and refrigerated promptly, while the vegetables are best used within 2 to 3 days for good texture.
Keep the gochujang sauce in a sealed jar in the fridge for up to 1 to 2 weeks. Reheat rice and toppings gently in a pan or microwave before assembling.
Freezing is not recommended, as the vegetables soften and the rice can dry out after thawing.
Bibimbap Recipe
Leftover veggies? This Bibimbap turns them into a cosy, colourful warm bowl with crisp vegetables and savoury sauce, perfect for relaxed weeknight meals.
Ingredients
Vegetables
- ½ cup mung bean sprouts
- ½ cup spinach leaves
- ½ cup carrots – julienned
- ½ cup zucchini – julienned
- ½ cup mushrooms – sliced (I used shiitake)
- ½ cup green onions – sliced
Meat
- 75 g – about ½ cup beef – pork, or chicken, ground or cut into fine strips (I used pork mince)
- 1 tsp soy sauce
- 1 tsp sugar
- 1 tsp vinegar
- 1 tsp sesame oil
- 2 garlic cloves – minced
- 1 pinch salt and pepper
Gochujang Sauce
- 3 tbsp Korean red pepper paste (gochujang)
- ½ tsp soy sauce
- ½ tsp vinegar
- 1 tsp sugar
- 1 tsp sesame oil
- 1 tsp sesame seeds
- 1 garlic clove – minced
Korean-Style Steamed Rice
- 220 g – 1 cup Korean short-grain rice – the same type used for sushi
- 300 ml – 1¼ cups water
Assembling
- prepared Korean-style steamed rice
- sesame oil
- eggs – 1 per serving
- dried seaweed gim – 김, cut into thin strips using kitchen scissors
Instructions
Korean-Style Steamed Rice
-
Measure the rice and place it in a bowl. Fill the bowl with water and gently swirl the rice with your hand, without scrubbing. Strain the water and repeat this process three more times. The final water will not be crystal clear, and that is normal. Strain the rice well and immediately return it to the bowl.
-
Measure the water used for cooking and pour it over the rice. Let the rice soak for 30 minutes.
-
After soaking, transfer the rice and water to a heavy-bottomed saucepan. Bring it to a boil over medium heat, then immediately reduce the heat to the lowest possible setting. Cover and simmer gently until all the water has evaporated, about 5 minutes. Watch closely.
-
Turn off the heat and leave the rice covered for an additional 15 minutes to finish cooking.
-
Gently stir the rice so the moisture is evenly distributed.
Meat and Vegetables
-
Marinate the meat by mixing it with all the marinade ingredients. Set aside while you prepare the vegetables.
-
Wilt the mung bean sprouts, strain them, and immediately immerse them in cold water to stop the cooking. Strain again, then season with a pinch of salt and ½ teaspoon sesame oil. Use the same process for the spinach.
-
Sauté the remaining vegetables very briefly, one at a time, in a pan lightly greased with sesame oil over medium-high heat. The vegetables should remain crunchy. Season each with a pinch of salt and set aside separately.
-
Using the same pan, sauté the meat over high heat until fully cooked.
Gochujang Sauce
-
Combine all the ingredients and set aside. Serve the sauce separately so each person can adjust it to taste.
Assembling
-
Make a bed of steamed rice in each bowl, using about ½ to 1 cup per serving.
-
Arrange the warm vegetables on top of the rice, placing them side by side around the bowl as shown in the pictures. For a more traditional presentation, arrange similar colours opposite each other. Place the meat either in the centre or alongside the vegetables.
-
Carefully place the fried egg, or raw egg yolk if using, in the centre so the yolk does not break.
-
For Dolsot Bibimbap, brush the bottom of a stone pot or skillet with sesame oil. Add the rice and arrange all the other ingredients as above.
-
Place a raw egg yolk in the centre of the dish.
-
Heat the pot on the stovetop over medium heat without a lid. After about 5 minutes, it will begin to sizzle.
Note: Total cooking time for Dolsot Bibimbap is approximately 10 minutes, depending on your stove. Watch closely so the rice at the bottom forms a thin, crunchy layer without burning.
-
When you mix everything together at the table, the heat of the pot will cook the egg yolk through.
-
Bibimbap is traditionally eaten with a spoon. Add some sauce to the bowl, mix everything together thoroughly, and enjoy.
Recipe Notes
- Vegetables can be swapped based on seasonal availability or personal preference. Raw lettuce and cucumber also work well. Using a colourful mix of vegetables improves both the appearance and nutritional balance of the dish.
- Vegetarians can leave out the meat or replace it with grilled tofu.

Love travelling as much as cooking?
Many of the recipes I share are inspired by places I’ve visited around the world. On Travel with Manu you’ll find destination guides, itineraries and travel inspiration to help you plan your next adventure.














This is what I like about the Daring Cook challenge, it is always something new outside our comfort zone. Your bibimbap turned out great.
It was really hard to skip this delicious challenge. Your bibimbap looks wonderful.
I’ve been on a bit of a Korean food bender lately. I love it’s spicy complexity. I love your bibimbap.
Ooooh, I like Korean food… have never tried this one Manu! Sounds delicious.
I used to live with Korean friends, so I adore Korean cuisine! Bibimbap is not just tasty but such a healthy meal! Yours looks spectacular!
(Btw, I accidentally clicked on the 4th star when I went to click the 5th, and it won’t let me change it!! This is definitely a 5 star recipe!)
Manu, congratulations on the AMAZING post! As always, your photos are gorgeous and your writing very informative and complete. I loved to hear about your Korean neighbors! Sure made everything easier and more exciting! Thanks a bunch for joining in!