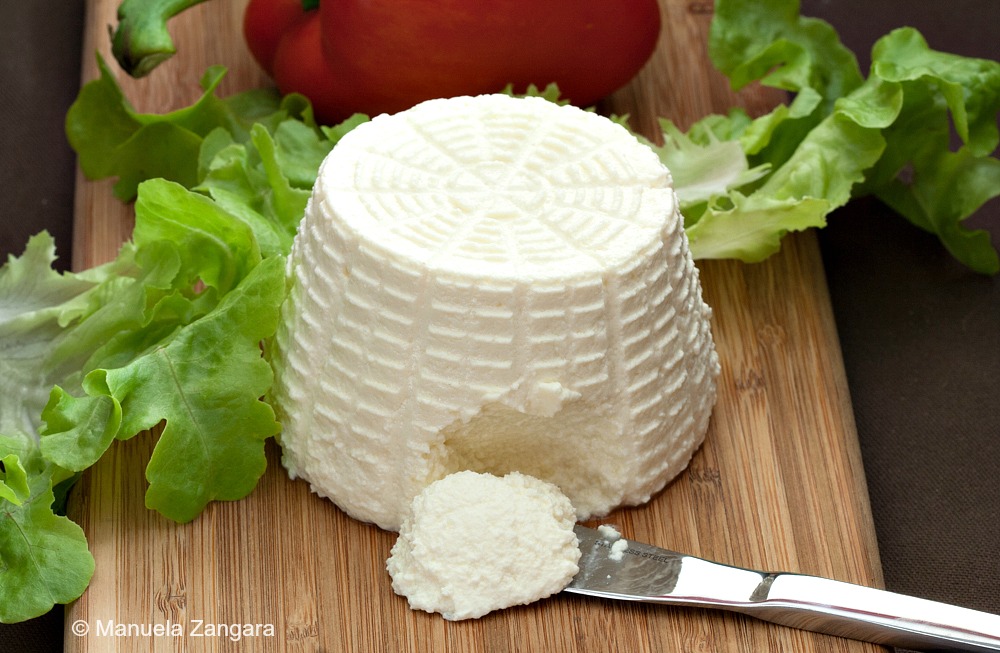
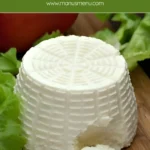
This Goat’s Milk Ricotta comes together with only 4 ingredients, giving you a creamy cheese you can use on bread, veggies, and pasta for easy everyday meals.

I really enjoy making homemade ricotta and mascarpone at home. In Italy, these ingredients are a staple, and you can find excellent quality products at the supermarket.
Here in Australia, things are different. The Italian community is large, so these cheeses are available, but the quality varies.
Some deli’s sell decent ricotta, but the tubs in the supermarket cheese section are almost inedible by Italian standards. Mascarpone is no better, as it often turns out grainy. Since making both at home is very easy, I prefer doing it myself.
This time I wanted to try something new, so I made ricotta with goat’s milk. I love goat’s cheese, and this ricotta has the delicate flavour of fresh chèvre. You can enjoy it plain on bread or use it as the base for other dishes. I’ll be sharing one such recipe very soon.

It also works well in Cannoli. Not everyone knows ricotta for Cannoli comes from sheep’s milk. A Cannolo eaten in Sicily always tastes better because of it. Goat’s milk is much closer in flavour to sheep’s milk than cow’s milk, so this ricotta gives you a filling much closer to the original. Try it and you’ll thank me. Enjoy!
Reasons to Make This Ricotta
Key Ingredients for Goat’s Milk Ricotta
Goat’s Milk
Choose fresh goat’s milk with minimal processing, as it produces soft curds and brings a gentle tang closer to traditional ricotta made with sheep’s milk. Fresher milk gives a cleaner flavour and more reliable curd formation.
Heavy Cream
Heavy cream adds richness and keeps the finished ricotta smooth. It helps the curds stay tender after draining, which works well for spreading or mixing into fillings.
Salt
A small amount of salt balances the flavour and helps curds form. Adjust seasoning once the ricotta drains.
Find the complete list with measurements in the recipe card below.
How to Make Goat’s Milk Ricotta
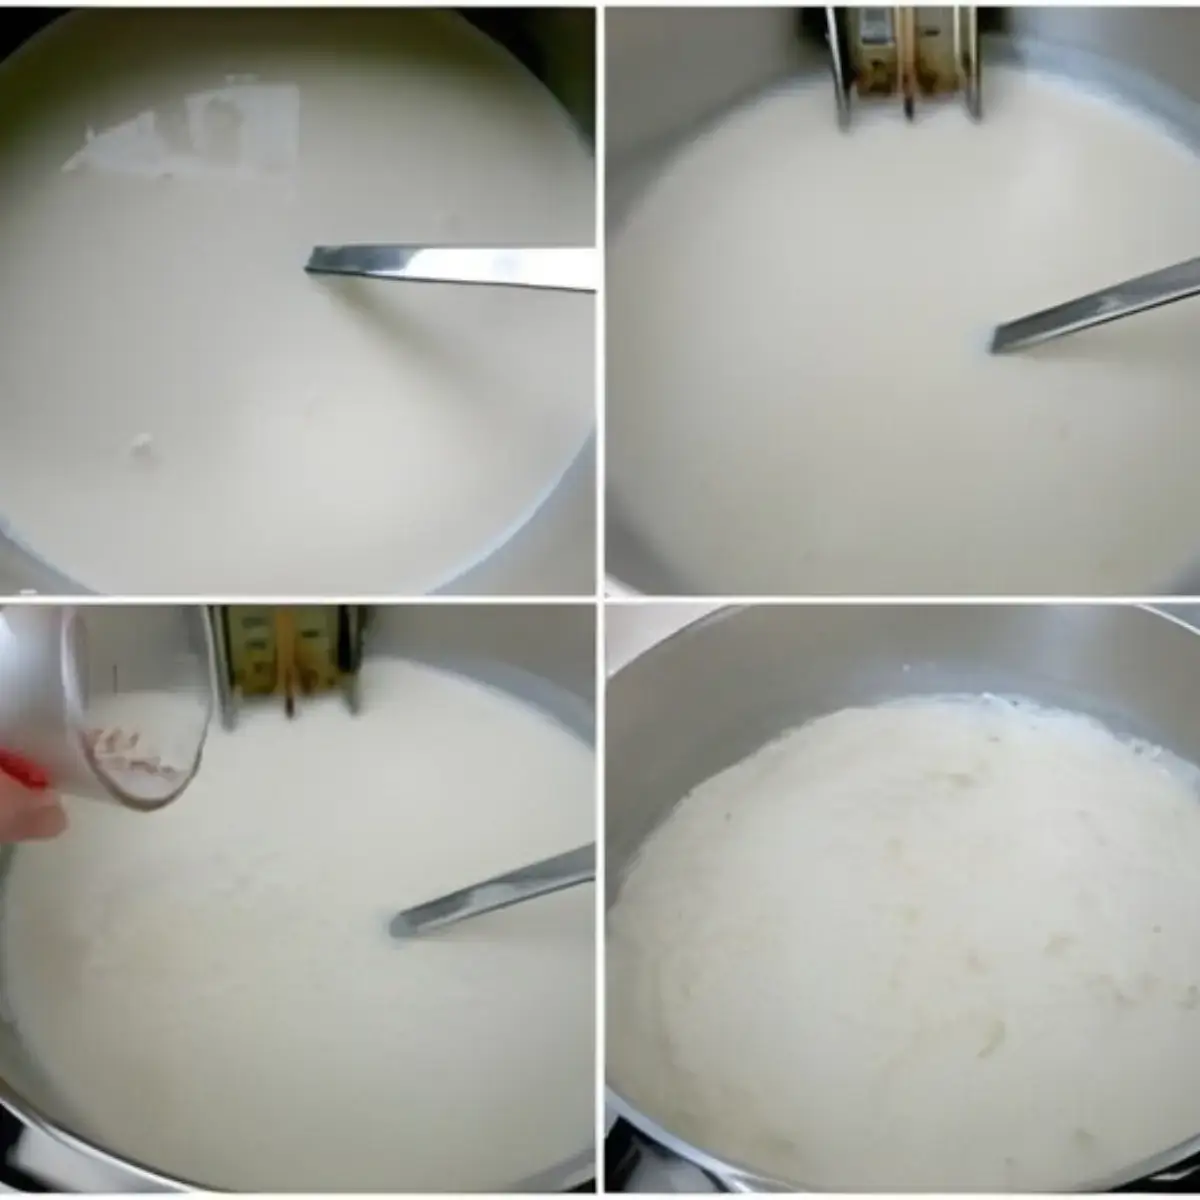
Step 1: Combine the goat’s milk, cream, and salt in a large pot. Stir over medium heat and bring the mixture to 85°C – 185°F, which will take about 15 to 20 minutes.
Step 2: Add the vinegar all at once and stir for 15 seconds, then stop.
Step 3: Continue heating the mixture for two more minutes, then remove it from the heat.
Step 4: Let it rest undisturbed for 15 to 20 minutes.
Step 5: Lift the floating curds with a slotted spoon and transfer them into a ricotta mould (or into a colander lined with a cheesecloth).
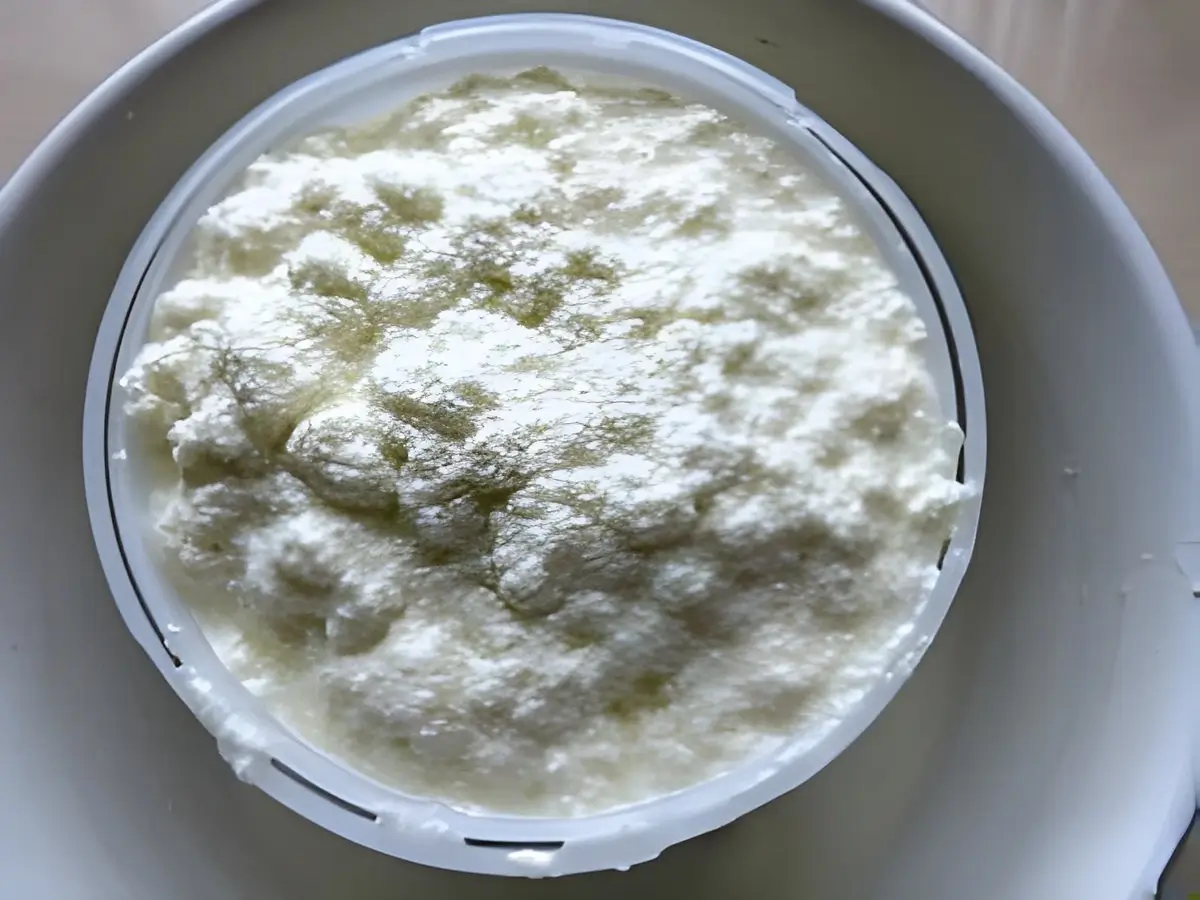
Step 6: Place the mould or colander over a bowl in the fridge, making sure it does not touch the bottom of the bowl, and let it drain for a couple of hours.
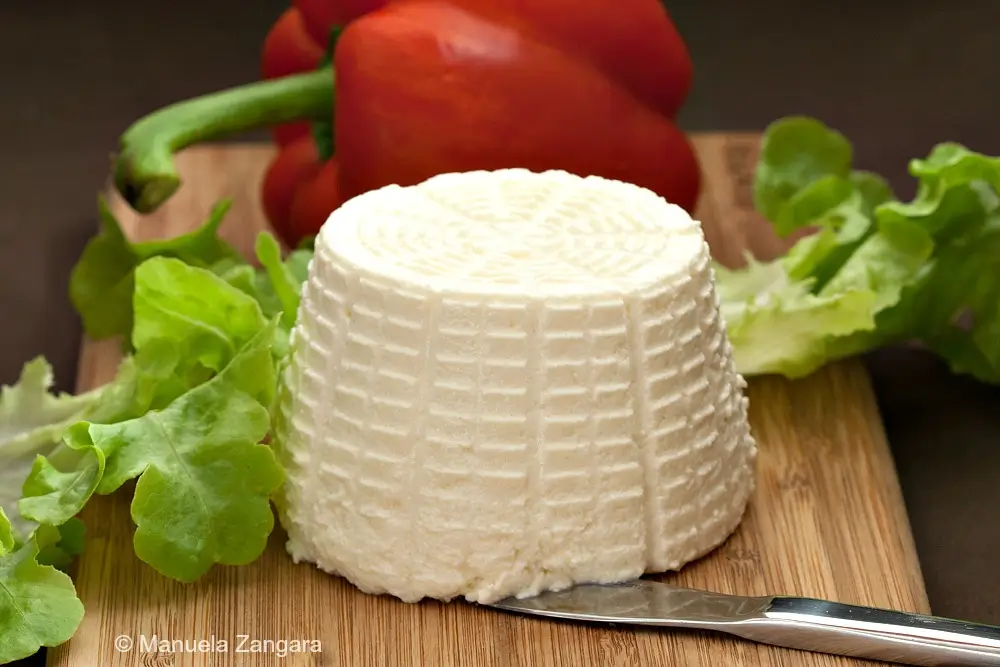
Step 7: Remove the ricotta from the mould and serve.
Frequently Asked Questions
You can, but the ricotta will be firmer. Cream adds richness and gives the curds a softer finish suited to spreading or dessert fillings.
Yes, you can use the same amount of lemon juice. Curds may take slightly longer to form, but the method stays the same, and the texture remains soft.
Leftover ricotta works well in both savoury and sweet dishes. You can stir it into pasta, spread it on bread with olive oil, add it to frittatas, mix it into pancake batter, or use it as a light filling for pastries and desserts.
Yes, but thawed ricotta becomes crumbly. Use it for cooked dishes once defrosted, and keep fresh ricotta for spreads or fillings.
Extra Help from the Kitchen
Heat Milk in a Clean Pot – Any leftover residue on the base can interfere with curd formation, so rinse and dry the pot well before you start.
Use a Thermometer – Keeping an eye on the temperature helps you reach 85°C – 185°F more accurately and reduces the risk of overheating the milk.
Choose Unhomogenised Milk When Possible – Less processed milk forms curds more readily, giving you a smoother ricotta with better structure.
Let the Curds Drain at Their Own Pace – Leaving the weight of the curds to do the work avoids squeezing them dry and keeps the final texture soft.
Salt After Tasting – Goat’s milk varies, so season once the ricotta drains to avoid over-salting and adjust it to suit the dish you plan to make.
Variations and Twists
Whipped Vanilla Ricotta – Mix the drained ricotta with vanilla extract and honey, then whip until smooth to use as a light dessert filling.
Herbed Ricotta – Fold chopped parsley, basil, or chives into the ricotta with a drizzle of olive oil for a savoury spread.
Whipped Ricotta with Honey and Olive Oil – Whip the drained ricotta with honey and olive oil until soft enough to serve as a dip or topping.
Create Firm Ricotta for Filling – Leave the ricotta to drain for an extra hour to achieve a firmer texture suited to stuffed pasta or pastries.
Homemade Ricotta Cheese with Roasted Garlic and Herbs – Add roasted garlic and fresh herbs to the warm curds before draining to build gentle savoury notes.
Storage and Shelf Life
Store Goat’s Milk Ricotta in an airtight container. Avoid leaving it at room temperature for longer than 1 hour to maintain safe texture and flavour. Keep it in the fridge for up to 3 days, stored in a sealed container placed on a shelf rather than the fridge door for steadier temperature.
Freezing is possible for up to 2 months, though the curds become crumbly once thawed. Thaw the ricotta in the fridge for 8–12 hours before using, and reserve thawed ricotta for cooked dishes only
Homemade Cheese Ideas for Your Kitchen
Goat’s Milk Ricotta Recipe
This Goat’s Milk Ricotta comes together with only 4 ingredients, giving you a creamy cheese you can use on bread, veggies, and pasta for easy everyday meals.
Ingredients
- 2 L – 8 cups goat’s milk
- 500 mL – 2 cups heavy cream
- ½ tbsp – 9 g salt
- 75 mL – 5 tbsp white distilled vinegar
Instructions
-
Combine the goat’s milk, cream, and salt in a large pot. Stir over medium heat and bring the mixture to 85°C – 185°F, which will take about 15 to 20 minutes.
-
Add the vinegar all at once and stir for 15 seconds, then stop.
-
Continue heating the mixture for two more minutes, then remove it from the heat.
-
Let it rest undisturbed for 15 to 20 minutes.
-
Lift the floating curds with a slotted spoon and transfer them into a ricotta mould (or into a colander lined with a cheesecloth).
-
Place the mould or colander over a bowl in the fridge, making sure it does not touch the bottom of the bowl, and let it drain for a couple of hours.
-
Remove the ricotta from the mould and serve.
Recipe Notes
The longer the ricotta drains, the firmer it becomes. I found 2 hours gave me the texture I prefer, but you can let it drain longer if you like your ricotta firmer.


I am allergic to cows milk and want to know what I can substitute for heavy cream. Also how many baskets are made out of this recipe? One?
Hi Manu, any advice on how to replace cream in the recipe? Cannot have cow dairy, but am fine with goat and sheep dairy and tried to make my own ricotta and mozarella, but with no luck so far.Thanks!
Hi Teddy. I have not tried it yet, but how about substituting it with some more goat milk? Have you tried that already?
Hi Manu, yeah tried that already and also tried with adding more rennet but it just wasn’t near the ricotta consistency I wanted. I am still looking for a recipe that does not need a cream or similar, cause I really miss the good stuff from home and cannot get it here in Australia. Will keep on looking then and if I find one will let you know.Thank you anyway 🙂
Manu Last time I made goat ricotta, i winged it and did not follow a recipe. It did work , but i suspect the amount of ricotta my attempt yielded was sub-optimal. With your recipe, I know can follow the right proportions and get back in business.
Thanks for this great post !
Before I forget , Buon Natale !!!
micksterct
https://www.coolonsale.com
I’ve never thought of making my own Ricotta, but this looks so perfect! I will definitely add this to my holiday menu!