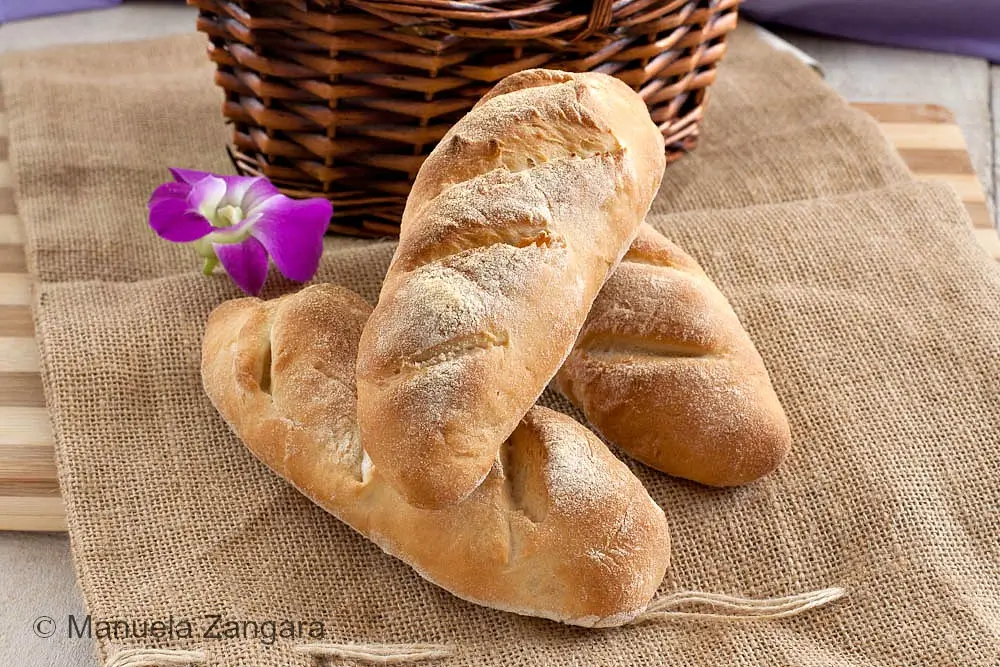
Warm, golden Durum Wheat Italian Bread Rolls come out of the oven with a soft centre and a light, crisp crust that fits everything from simple soups to fuller meals.
I have a confession to make. I don’t eat bread. Well, this is not completely true. I don’t usually buy bread.
The reason is simple. I like bread so much that if I keep it at home, I end up eating far too much of it. My little ones are the same.
So instead of buying it, I bake my own. It is healthier, it tastes better, and I know exactly what I am eating with no preservatives or hidden ingredients.

I had some brewer’s yeast left from another recipe and remembered seeing these rolls on an Italian blog a while ago, so I decided to try them. They came out so good. Soft crumb inside and a crunchy crust outside. The durum wheat flour on top adds extra crunch and gives them their rustic look.
They take a bit of time, but they are very easy to make and taste even better than the bread from my favourite Italian bakery.
Serve them with dinner or use them for Panini filled with Prosciutto, Gorgonzola, or anything you enjoy. Buon appetito!
What Makes These Homemade Rolls Worth Baking
- Leftovers keep their texture well, so your lunch the next day still tastes fresh and satisfying.
- Versatility means these rolls work with soups, pasta dishes, cheese platters, or simple spreads when you need something quick.
- Baking a homemade batch feels rewarding and gives better flavour and texture than store-bought.
Key Ingredients for Italian Bread Rolls
All-Purpose Flour
Gives the dough a light, soft crumb and blends easily with the durum wheat flour. A medium-protein flour keeps the rolls tender without making them firm.
Durum Wheat Flour
Adds colour and a gentle crunch to the crust. Fine durum wheat flour works best because it combines smoothly and brings a mild, nutty taste.
Butter or Lard
Keeps the crumb tender and makes the dough smooth while kneading. Butter adds mild richness, while lard produces a softer texture.
Honey
Helps the dough rise well and gives the crust a light golden colour. A mild honey keeps the flavour balanced.
Find the complete list with measurements in the recipe card below.
How to Make Durum Wheat Italian Bread Rolls
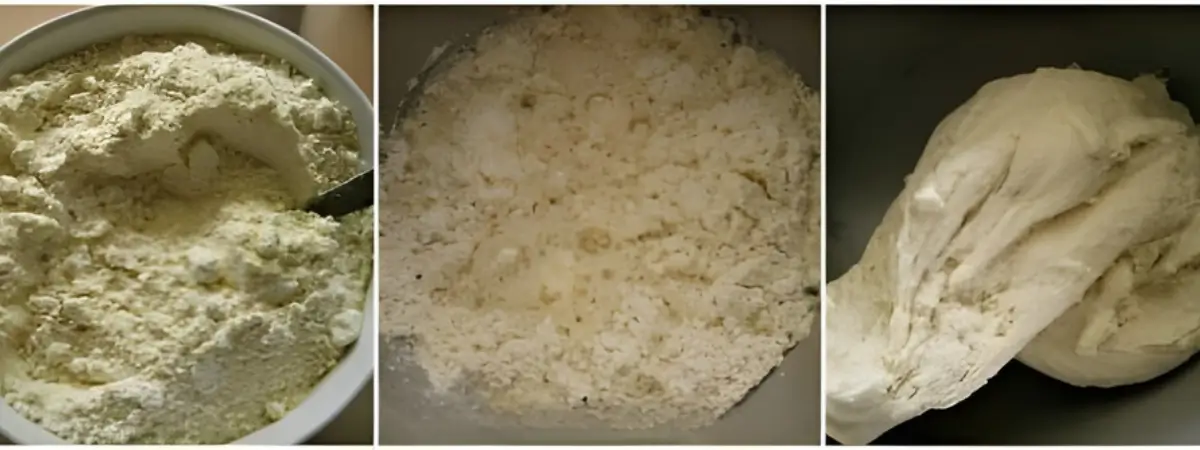
Step 1: Mix the flours together.
Step 2: Put all the water except 25 ml – 2 tablespoons, honey, crumbled yeast, and half of the flour into the bowl of an electric mixer fitted with a hook attachment, then start kneading on low.
Step 3: Add the remaining flour little by little.
Step 4: When the flour has been absorbed, add the softened butter or lard.
Step 5: Add the salt and keep kneading.
Step 6: Slowly add the remaining water and knead for about 15 minutes, or until you have a smooth, very elastic dough.
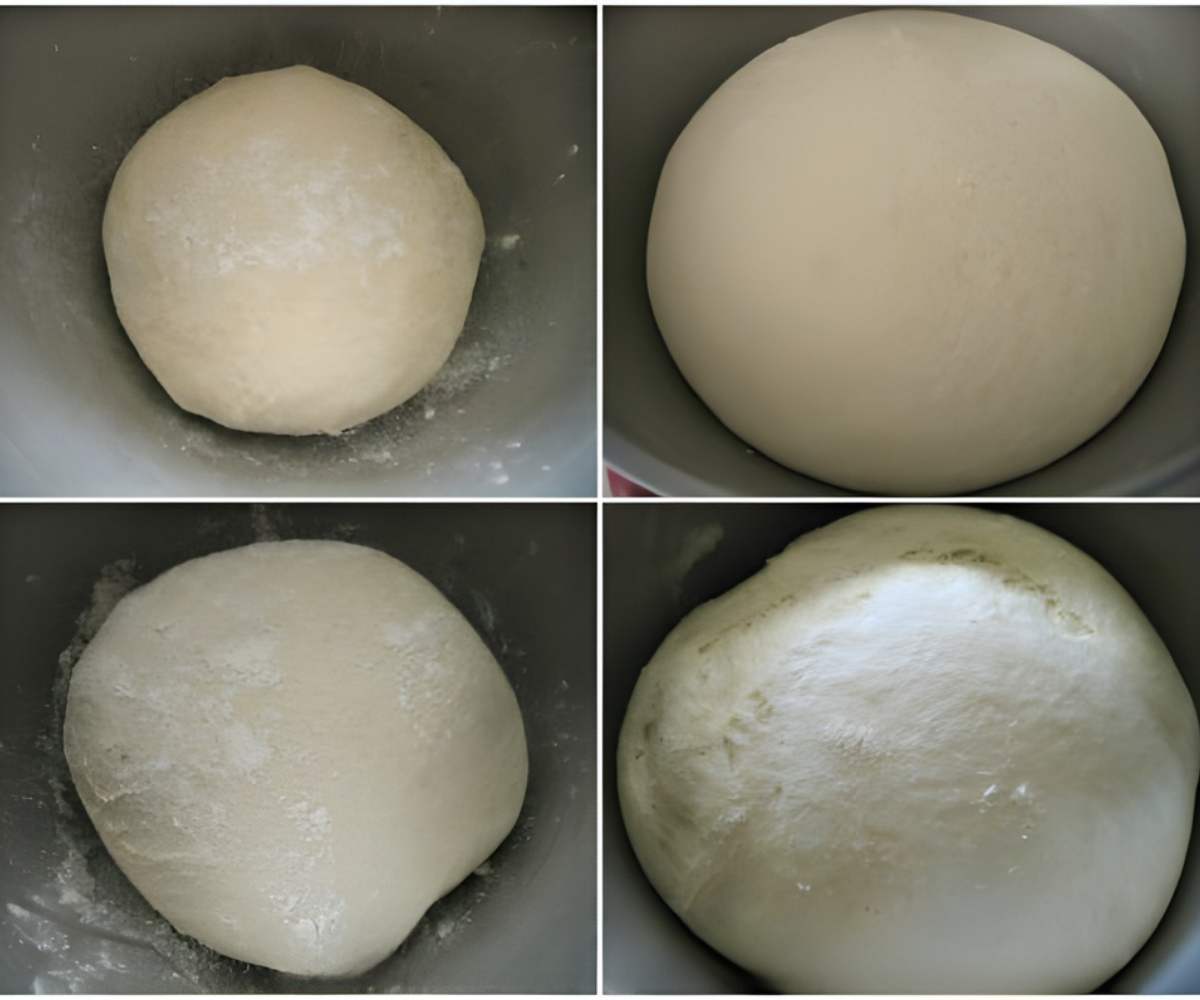
Step 7: Shape the dough into a ball, return it to the bowl, cover with plastic wrap, and let it rise for a couple of hours or until doubled in volume.
Step 8: Punch it down and knead it briefly by hand. Shape it into a ball again, cover with plastic wrap, and let it rise for 1 hour or until doubled in volume.
Step 9: Divide the dough into 8 equal pieces. Flatten each piece into a rectangle with your hands, roll it up from the longer side, and seal the seam with your hands. Make the two ends slightly thinner than the centre.
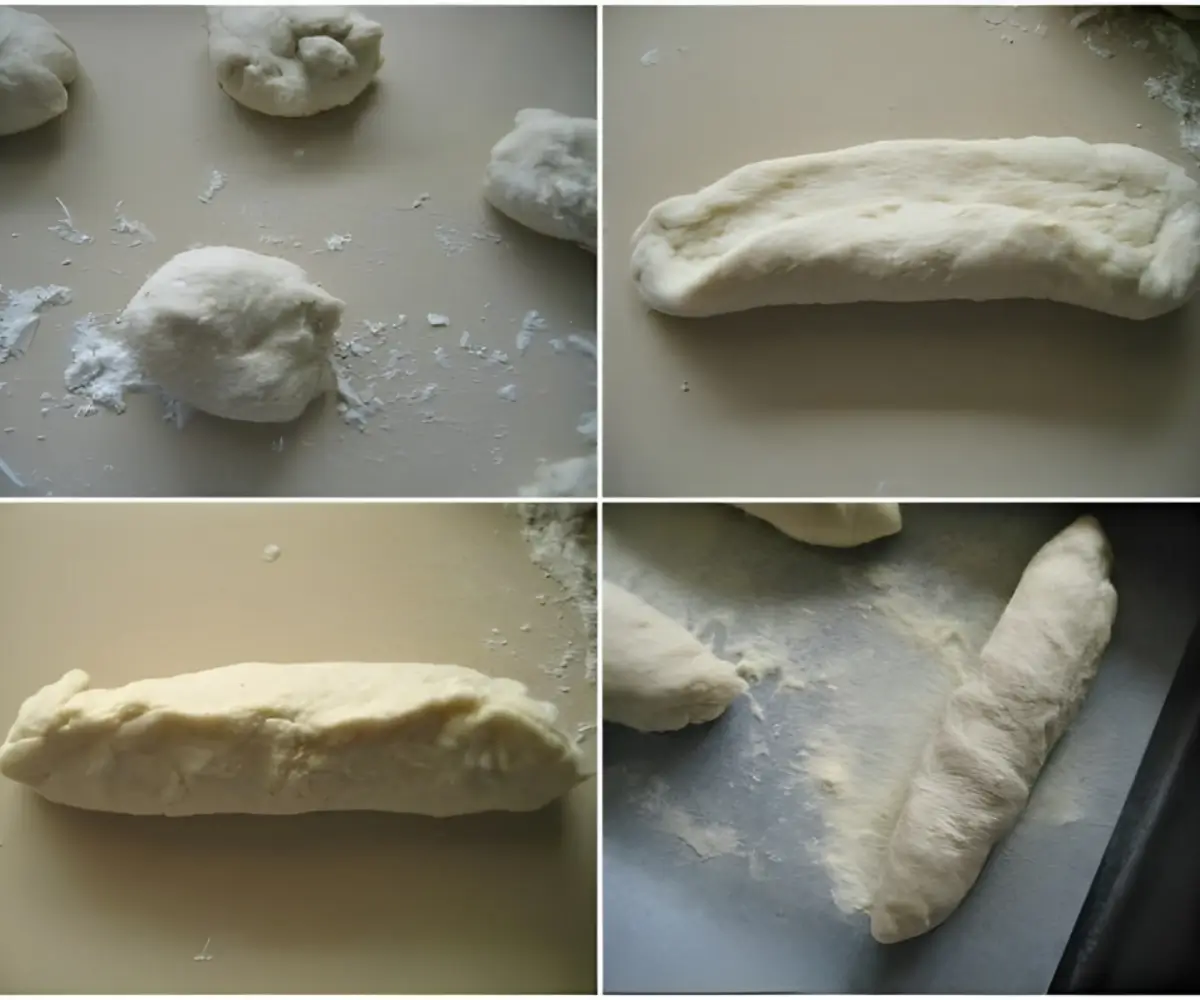
Step 10: Line an oven tray with baking paper and sprinkle it with durum wheat flour.
Step 11: Arrange the shaped rolls on the tray and dust them with more durum wheat flour. Leave enough space between them as they will rise further.
Step 12: Let the rolls proof for about 1 hour or until doubled in size.
Step 13: Make a few diagonal slits on the rolls using a very sharp blade or knife.

Step 14: Bake in a preheated oven at 220°C – 430°F for 20 minutes or until cooked through. When placing the rolls in the oven, spray a little water in the oven to help them stay soft inside while developing a crunchy crust.
Step 15: When cooked, let the rolls cool on a wire rack and enjoy.

Frequently Asked Questions
Use fine durum wheat flour (semola rimacinata). It gives the rolls their colour, structure, and light crunch without making the dough stiff.
Press a fingertip gently into the dough. If the indentation springs back slowly but does not disappear completely, the dough is ready for the next step.
Yes. You can use 2 tablespoons of extra virgin olive oil. It creates a slightly lighter crumb while keeping the dough easy to handle.
Serve them warm with soups, pasta dishes, salads, or slice them for Panini filled with Prosciutto, cheese, grilled vegetables, or simple spreads.
Extra Help from the Kitchen
Watch Water Temperature – Use lukewarm water to help the fresh yeast activate steadily without causing the dough to tighten or rise too fast.
Check Dough Strength – Lift a portion of dough and let it stretch; it should extend slowly without tearing, showing the gluten is developing well.
Use Rest Time Wisely – Keep the dough covered during both rises to avoid dry patches that can affect shaping and final texture.
Handle the Dough Gently – When flattening each portion into a rectangle, press lightly to keep air bubbles intact, helping the rolls stay light after baking.
Score Before Baking – Make shallow angled cuts to guide how the rolls open in the oven and prevent uneven splitting.
Variations and Twists
Add Olive Oil and Wheat Flour – Replace the butter or lard with 2 tablespoons olive oil and swap 50 g – ⅓ cup of the all-purpose flour for whole wheat flour. This gives the rolls a slightly fuller texture and deeper colour.
Use Milk for a Softer Crumb – Replace 50 ml – 3 ½ tablespoons of the water with whole milk to create a softer interior.
Mix In Olives and Herbs – Add finely chopped olives and a small pinch of rosemary or oregano after adding the salt for a mild savoury note.
Add Sesame Seeds on Top – Brush the shaped rolls with water and sprinkle sesame seeds before the final rise to add a light crunch.
Use an Overnight Rise – Refrigerate the dough after kneading and leave it overnight to develop slower fermentation and a more open crumb.
Storage and Shelf Life
Store Italian rolls with durum wheat in an airtight container at room temperature for up to 2 days to keep the crumb soft. Freeze any extra rolls for up to 2 months in a freezer-safe bag with as much air removed as possible.
Thaw at room temperature until softened. Reheat in a warm oven at 180°C – 350°F to refresh the crust before serving.
Try These Other Homemade Breads
Durum Wheat Italian Bread Rolls Recipe
Warm, golden Durum Wheat Italian Bread Rolls come out of the oven with a soft centre and a light, crisp crust that fits everything from simple soups to fuller meals.
Ingredients
- 350 g – 12 oz all-purpose flour
- 150 g – 5.5 oz durum wheat flour
- 13 g – 0.5 oz fresh brewer’s yeast
- 270 ml – 9.5 oz water
- 35 g – 1¼ oz butter or lard – softened
- 10 g – 1¾ tsp salt
- 13 g – 2 tsp honey
Instructions
-
Mix the flours together.
-
Put all the water except 25 ml – 2 tablespoons, honey, crumbled yeast, and half of the flour into the bowl of an electric mixer fitted with a hook attachment, then start kneading on low.
-
Add the remaining flour little by little.
-
When the flour has been absorbed, add the softened butter or lard.
-
Add the salt and keep kneading.
-
Slowly add the remaining water and knead for about 15 minutes, or until you have a smooth, very elastic dough.
-
Shape the dough into a ball, return it to the bowl, cover with plastic wrap, and let it rise for a couple of hours or until doubled in volume.
-
Punch it down and knead it briefly by hand. Shape it into a ball again, cover with plastic wrap, and let it rise for 1 hour or until doubled in volume.
-
Divide the dough into 8 equal pieces. Flatten each piece into a rectangle with your hands, roll it up from the longer side, and seal the seam with your hands. Make the two ends slightly thinner than the centre.
-
Line an oven tray with baking paper and sprinkle it with durum wheat flour.
-
Arrange the shaped rolls on the tray and dust them with more durum wheat flour. Leave enough space between them as they will rise further.
-
Let the rolls proof for about 1 hour or until doubled in size.
-
Make a few diagonal slits on the rolls using a very sharp blade or knife.
-
Bake in a preheated oven at 220°C – 430°F for 20 minutes or until cooked through. When placing the rolls in the oven, spray a little water in the oven to help them stay soft inside while developing a crunchy crust.
-
When cooked, let the rolls cool on a wire rack and enjoy.
Recipe Notes
You can use 7 g – 2¼ tsp active dry yeast instead of brewer’s yeast. Add it to the flour without dissolving it.


Lovely rolls. And that crust looks especially appetizing!
I love bread recipes. I will keep this one to try it soon 🙂
Dear Manuela, I have a confession to make too… like you, I try not to buy bread as I like to eat it too (however, it doesn’t agree with me, who really knows what store bought bread is made from or how it’s made these day!). I prefer to bake my own… and your Italian bread rolls look delicious! Thank you for sharing… beautiful pics too xo