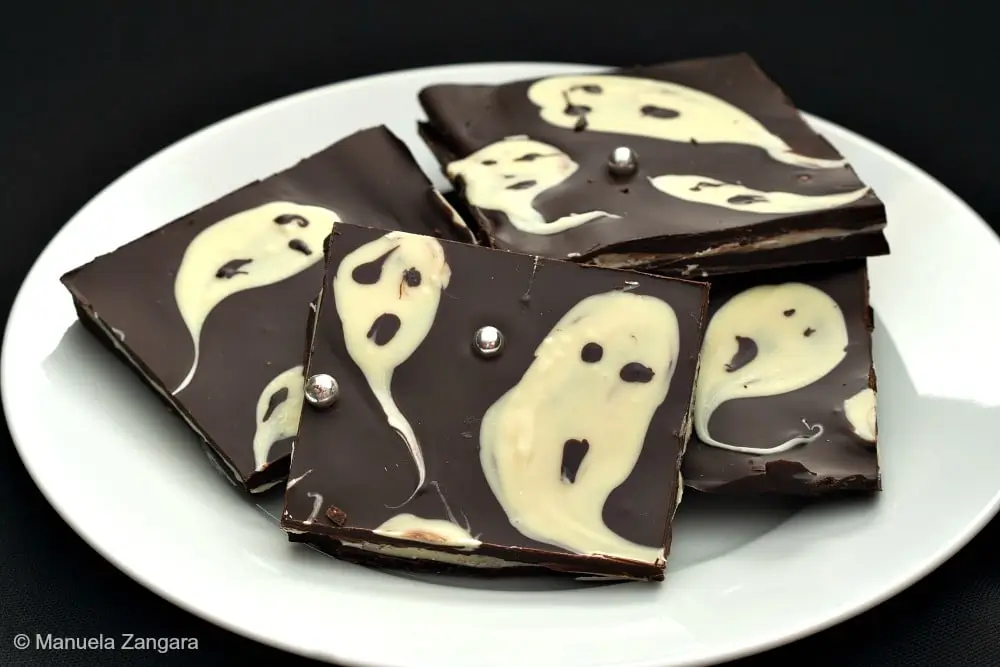
Sweet like trick-or-treat loot, crunchy like autumn leaves, and spooky enough for giggles, Ghastly Bark is Halloween chocolate bark that looks eerie yet tastes enchantingly sweet.
Halloween always brings a special kind of excitement to our home. The girls start planning their costumes weeks in advance, and I know it’s time to think of a treat we can make together. Last year, we baked Halloween Ghost Cookies, and the laughter while decorating them is still one of my favourite memories.
What Is Ghastly Bark?
Ghastly Bark is my family’s playful version of a classic Halloween bark recipe. It is made with layers of dark and white chocolate and decorated with little piped ghosts, which is why it is sometimes called ghost bark.
Halloween chocolate bark has become popular because it is so easy to customise. Some people add sweets, pretzels, or candy eyes, while others swirl in coloured chocolate for a brighter look. The idea comes from traditional chocolate bark, often made at Christmas with nuts and dried fruit, and over time, it was adapted for other holidays.
This Ghastly Bark keeps the same spirit but adds a spooky touch. It is quick to prepare, fun for children to help with, and perfect to share at parties or trick-or-treat.
You can also explore all my Halloween recipes for more spooky-sweet ideas.
Why You’ll Love Making Ghastly Bark
- Quick to prepare and no baking involved, which makes it perfect for busy days.
- Children can join in and decorate the ghosts, each one turning out a little different and fun.
- Easy to break into pieces and share at parties or slip into trick-or-treat bags.
Key Ingredients for Halloween Chocolate Bark
Dark Chocolate
I like using dark chocolate for the base because it gives a rich flavour and helps the white ghosts stand out clearly.
White Chocolate
This is what becomes the little ghosts. It melts smoothly and pipes easily, so even the children can take part.
Chocolate Pearls or Sprinkles
I like to scatter a few on top for extra crunch. They make the bark look festive, and the girls always enjoy the added texture.
You’ll find the full list with measurements in the recipe card below.
How to Make Halloween Bark
Step 1: In a microwave-safe bowl, melt 200 g – 7 oz of dark chocolate.
Step 2: Line a 20 cm – 8 x 8 in square baking dish with baking paper, and spread the melted dark chocolate over the surface. Refrigerate until hard.
Step 3: In another microwave-safe bowl, melt 135 g – 4 ¾ oz of white chocolate, and spread it over the first layer of dark chocolate. Refrigerate again until hardened.
Step 4: Melt the remaining dark chocolate and white chocolate in two separate bowls.
Step 5: Spoon a little of the melted dark chocolate into a piping bag, and spread the rest over the hardened bark.
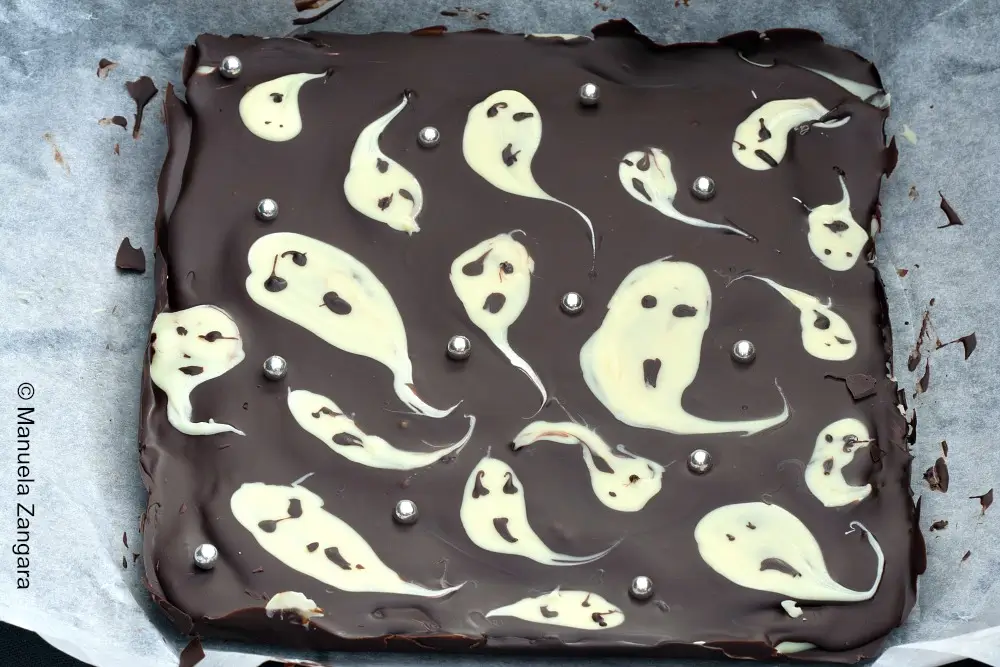
Step 6: Spoon all of the white chocolate into a piping bag. While the final layer of chocolate is still warm, pipe circles of white chocolate to form ghosts. Using a toothpick or metal skewer, drag one end of each circle out to create a tail.
Step 7: Using the dark chocolate in the piping bag, pipe eyes and mouths onto the ghosts.
Step 8: Add some chocolate pearls and refrigerate to harden completely.
Step 9: Cut into squares and serve.
Frequently Asked Questions
Yes. You can prepare it 2-3 days before Halloween. Store it in an airtight container in a cool place, and it will stay crisp and fresh.
Good quality dark and white chocolate gives the smoothest melt and a nice glossy finish, but any chocolate that you enjoy eating will work.
Absolutely! Candy melts are easy to work with and come in fun colours, which makes decorating ghosts and adding Halloween details even easier.
Make sure the bark is fully set before cutting. Use a sharp knife to lightly score the surface, then press down firmly. This gives you clean, even squares or shards.
Extra Help from the Kitchen
Add Toppings While the Chocolate Is Warm – Sprinkle pearls, candy eyes, or other decorations before the chocolate sets so they stick properly. Once cooled, they’ll stay firm and add texture to each bite.
Use Good-Quality Chocolate – Choose a brand you enjoy eating on its own. Better chocolate melts evenly, sets with a glossy finish, and makes the final treats taste smoother.
Double the Batch if Needed – For gifting or parties, you can double or triple the recipe. Use a slightly larger pan, but keep the layer thickness the same so it cools and sets evenly.
Variations and Twists
Sweet & Salty – Add pretzels for a crunchy twist and create your own Halloween bark recipe with pretzels.
White Chocolate Base – Use white chocolate as the bottom layer for a lighter version of Halloween white chocolate bark.
Extra Fun – Decorate with candy eyes, sprinkles, or sweets to make a true candy bark for
Halloween.
Shape Play – Instead of ghosts, pipe spider webs, pumpkins, or bats for different spooky designs.
Storage and Shelf Life
Keep Ghastly Bark in an airtight container in the fridge. It will stay fresh for 5-7 days. If your home is cool, you can also keep it at room temperature for a day or two.
Serving Suggestions
Pile the bark into little bags tied with orange ribbons for trick-or-treaters. Serve it on a platter at a party alongside other spooky treats. Or keep it simple, a few shards with mugs of hot chocolate on a chilly evening.
Also, if you would like more Halloween ideas, you might enjoy my Broken Glass Cupcakes, Blood Orange Margarita, or Carbone della Befana.
From my kitchen to yours, have a wonderfully spooky Halloween!
Ghastly Bark (Halloween Candy Bark)
Sweet like trick-or-treat loot, crunchy like autumn leaves, and spooky enough for giggles, Ghastly Bark is Halloween chocolate bark that looks eerie yet tastes enchantingly sweet.
Ingredients
- 400 gms – 14 oz. dark chocolate
- 200 gms – 7 oz. white chocolate
- Chocolate pearls
Instructions
-
In a microwave-safe bowl, melt 200 g – 7 oz of dark chocolate.
-
Line a 20 cm – 8 x 8 in square baking dish with baking paper, and spread the melted dark chocolate over the surface. Refrigerate until hard.
-
In another microwave-safe bowl, melt 135 g – 4 ¾ oz of white chocolate, and spread it over the first layer of dark chocolate. Refrigerate again until hardened.
-
Melt the remaining dark chocolate and white chocolate in two separate bowls.
-
Spoon a little of the melted dark chocolate into a piping bag, and spread the rest over the hardened bark.
-
Spoon all of the white chocolate into a piping bag. While the final layer of chocolate is still warm, pipe circles of white chocolate to form ghosts. Using a toothpick or metal skewer, drag one end of each circle out to create a tail.
-
Using the dark chocolate in the piping bag, pipe eyes and mouths onto the ghosts.
-
Add some chocolate pearls and refrigerate to harden completely.

-
Cut into squares and serve.


This one I’m going to do ……