

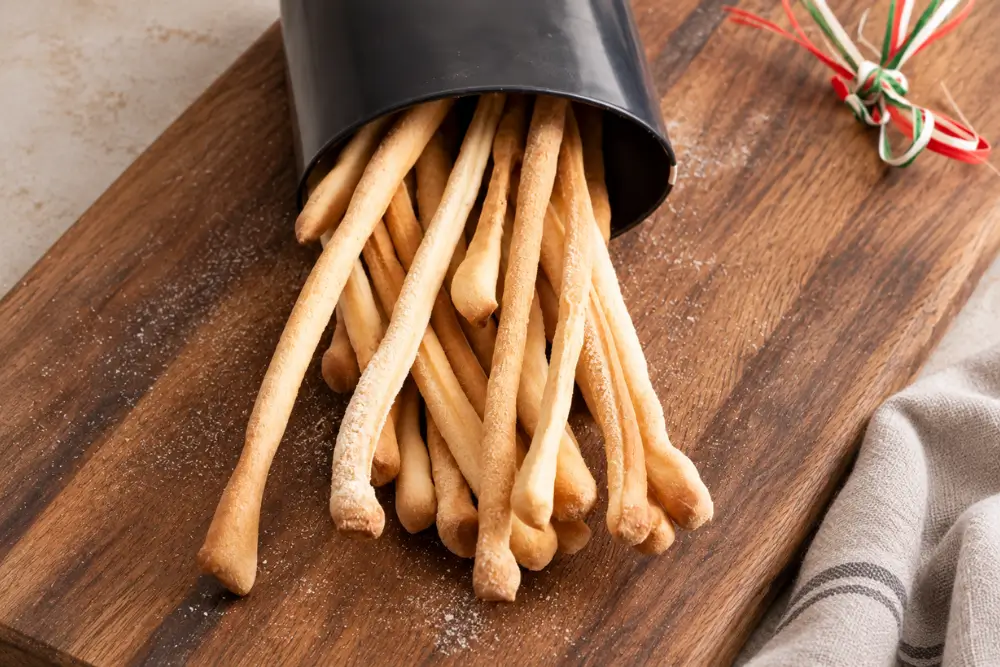
Thin, crunchy Italian breadsticks get a tangy twist from sourdough starter in these Sourdough Grissini, perfect for snacking, dipping, or wrapping with Prosciutto.
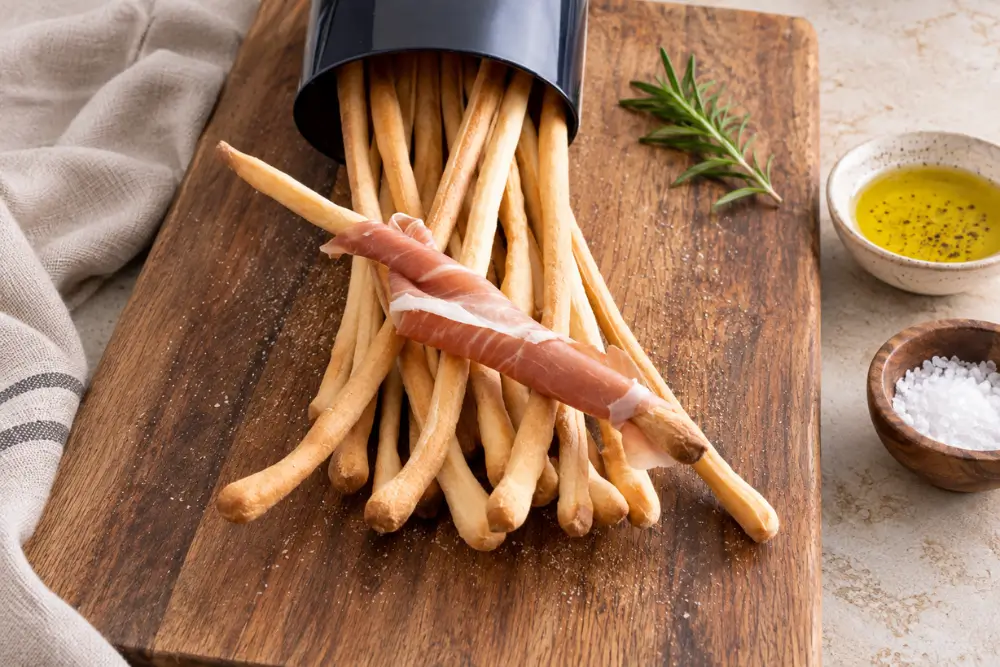
Since starting my own sourdough, I’ve been using it a lot and experimenting with it in different recipes. These Sourdough Grissini have been one of my most successful experiments.
They’re thin and crunchy, with the slightly tangy flavour of sourdough, and they remind me of the grissini I grew up eating in Italy.
Grissini is the Italian word for breadsticks, and they were always part of eating out when I was growing up. In Italy, they’re often served at restaurants as part of a mixed bread platter, and I would usually finish them before the food even reached the table!
That’s how much I’ve always liked them. Making them with my sourdough starter gave me a new way to enjoy the grissini I’ve always liked.
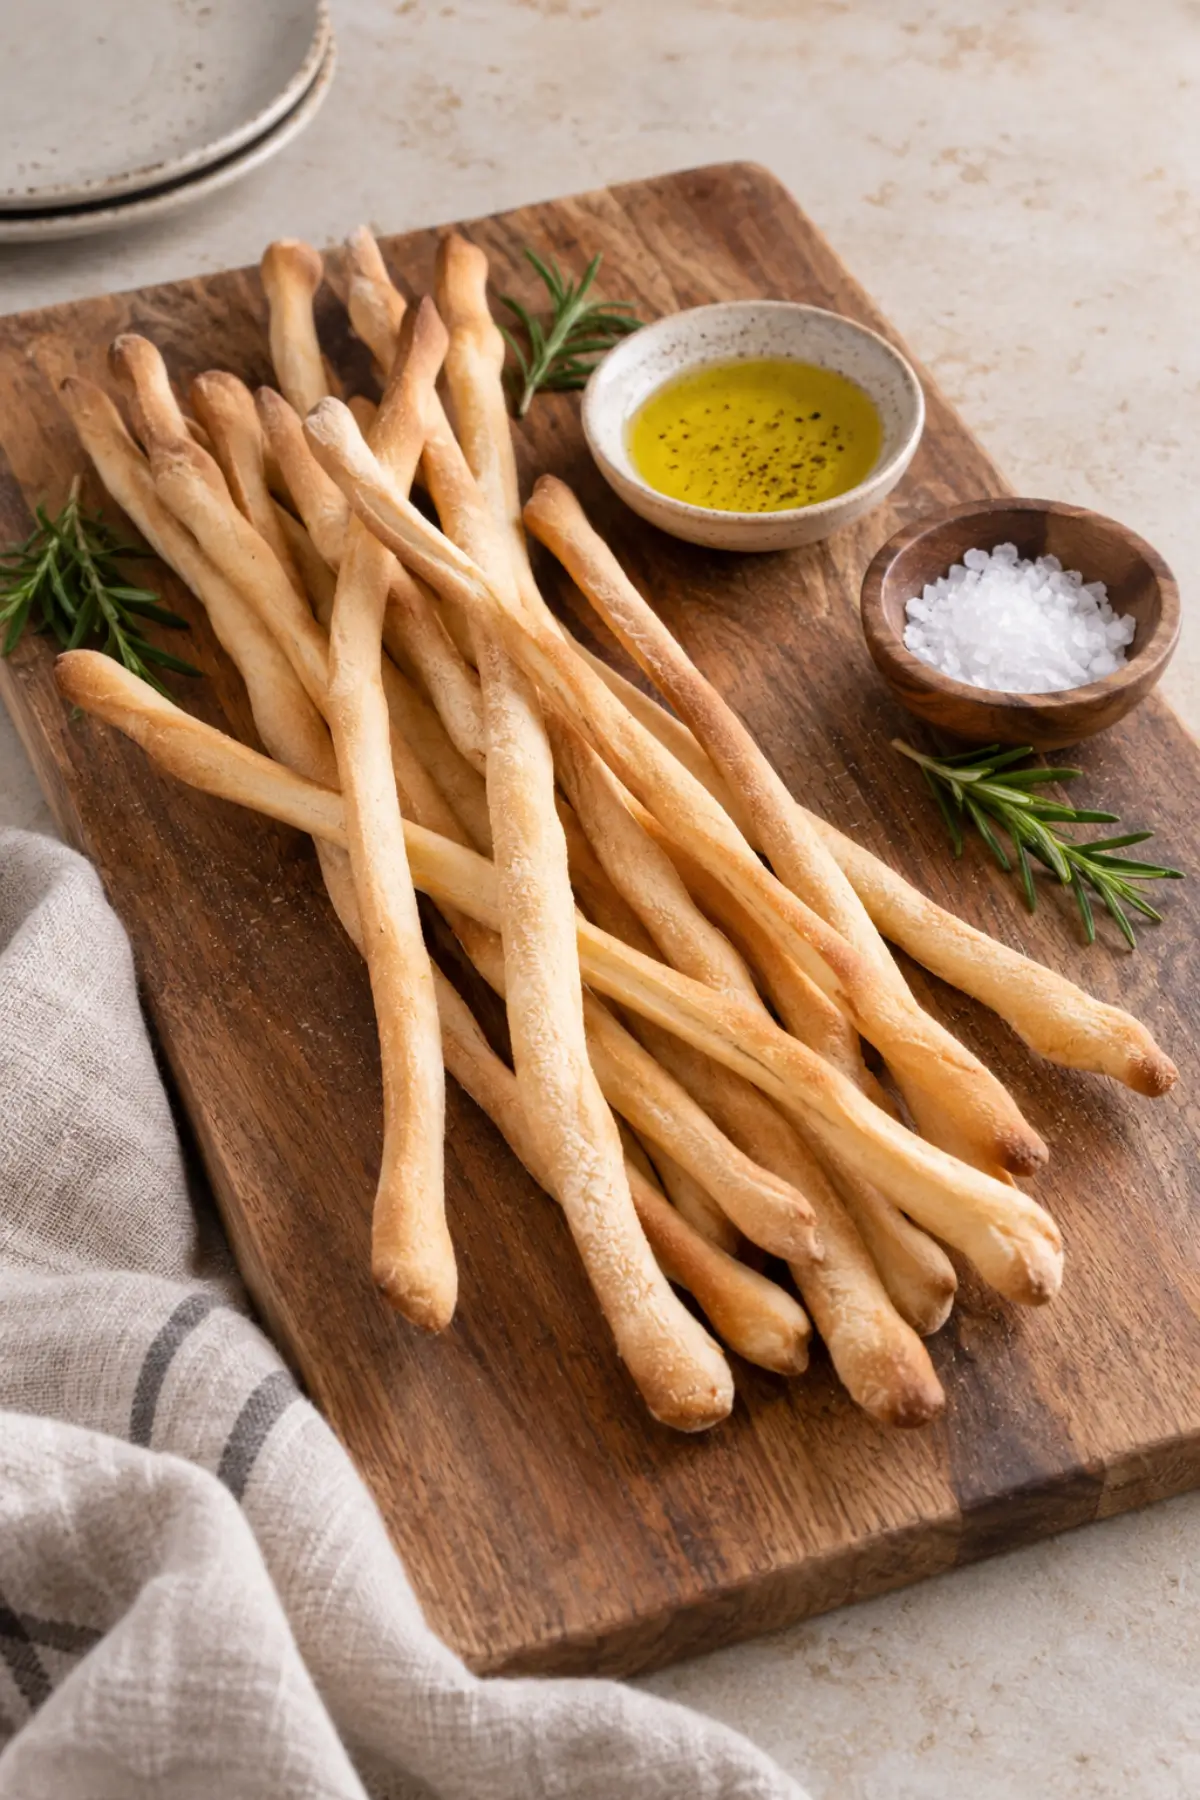
Compared with regular grissini, these have a more noticeable sourdough flavour. I also find them easier to digest. Some people following a low FODMAP diet may tolerate sourdough bread better.
This can make sourdough grissini worth trying if sourdough works well for you. If you haven’t made your own sourdough starter yet, you can always make my traditional Grissini Torinesi instead.
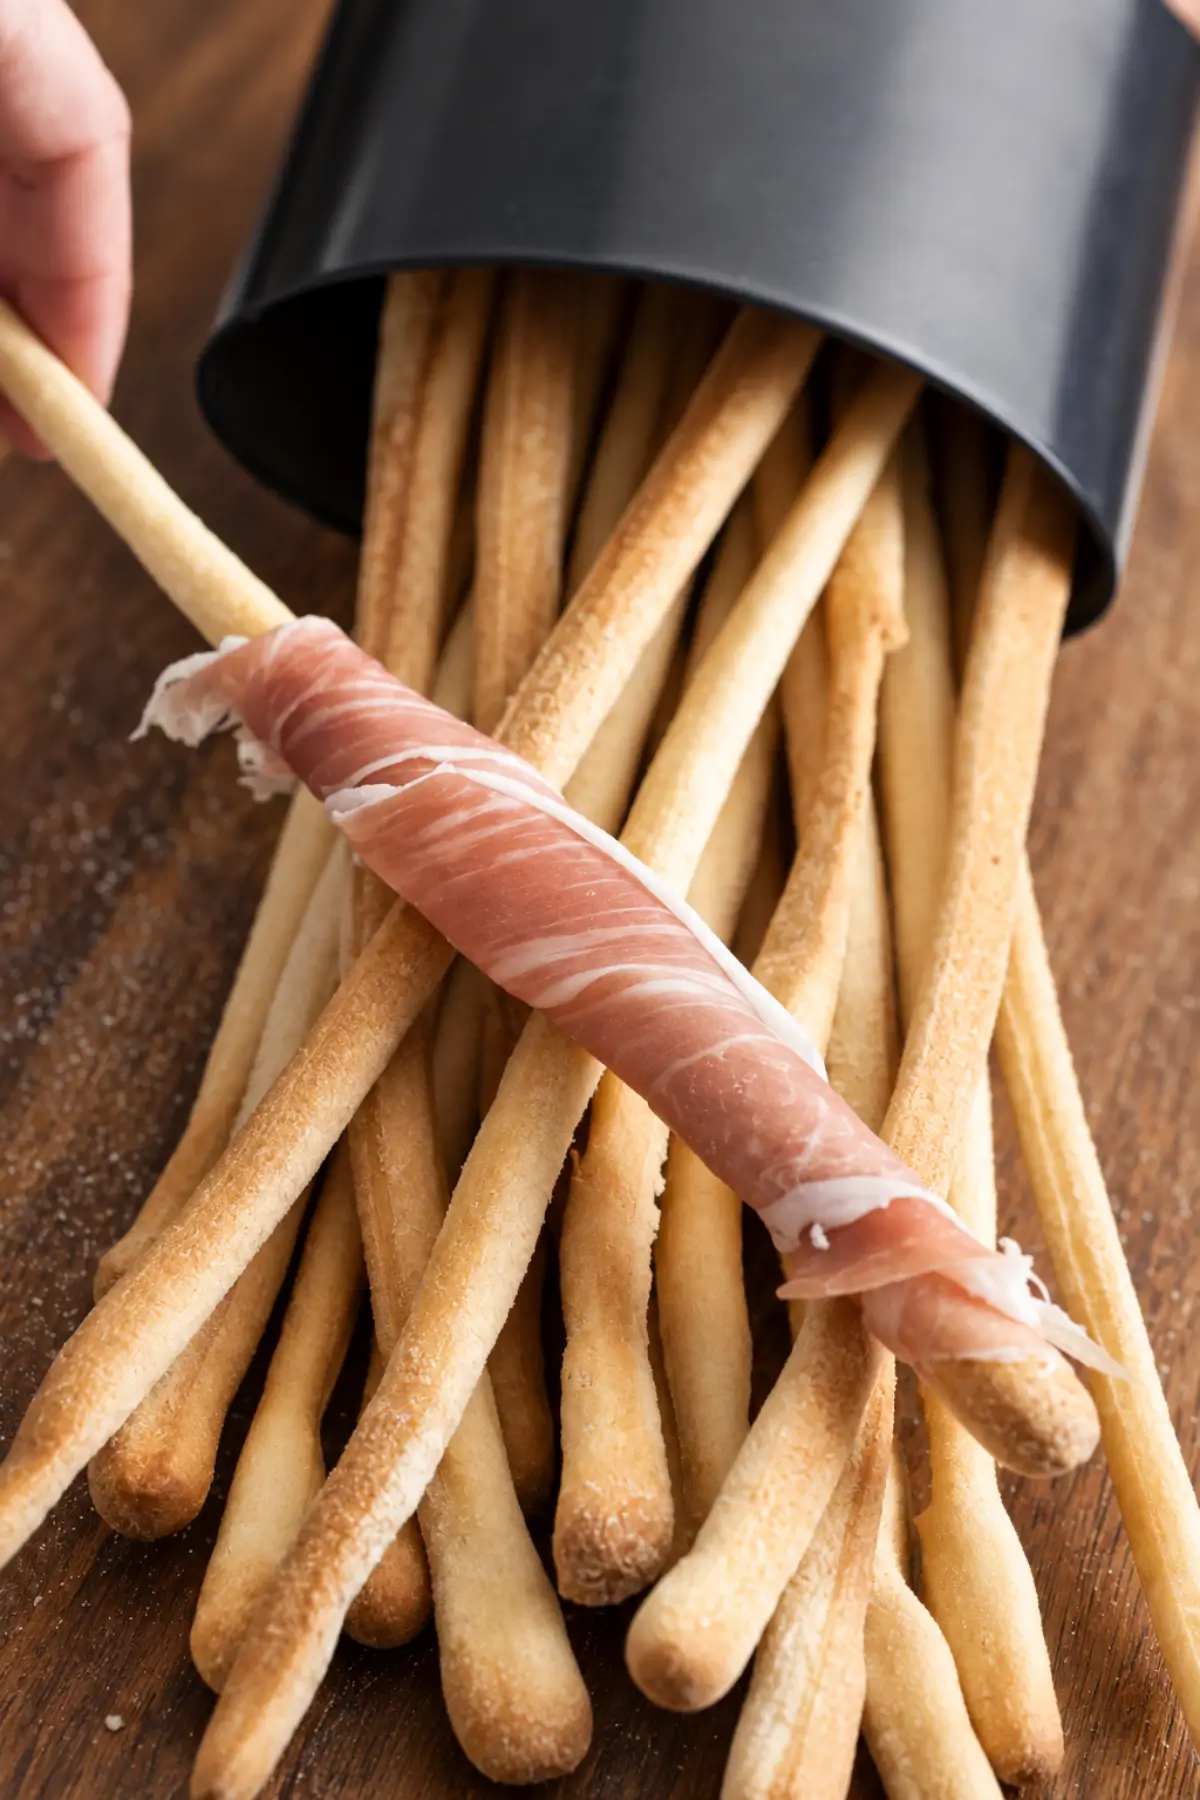
And once they’re baked and completely crisp, there isn’t much you need to do with them. I enjoy eating them on their own, but wrapping them in Prosciutto is one of my favourite ways to serve them as part of an aperitivo.
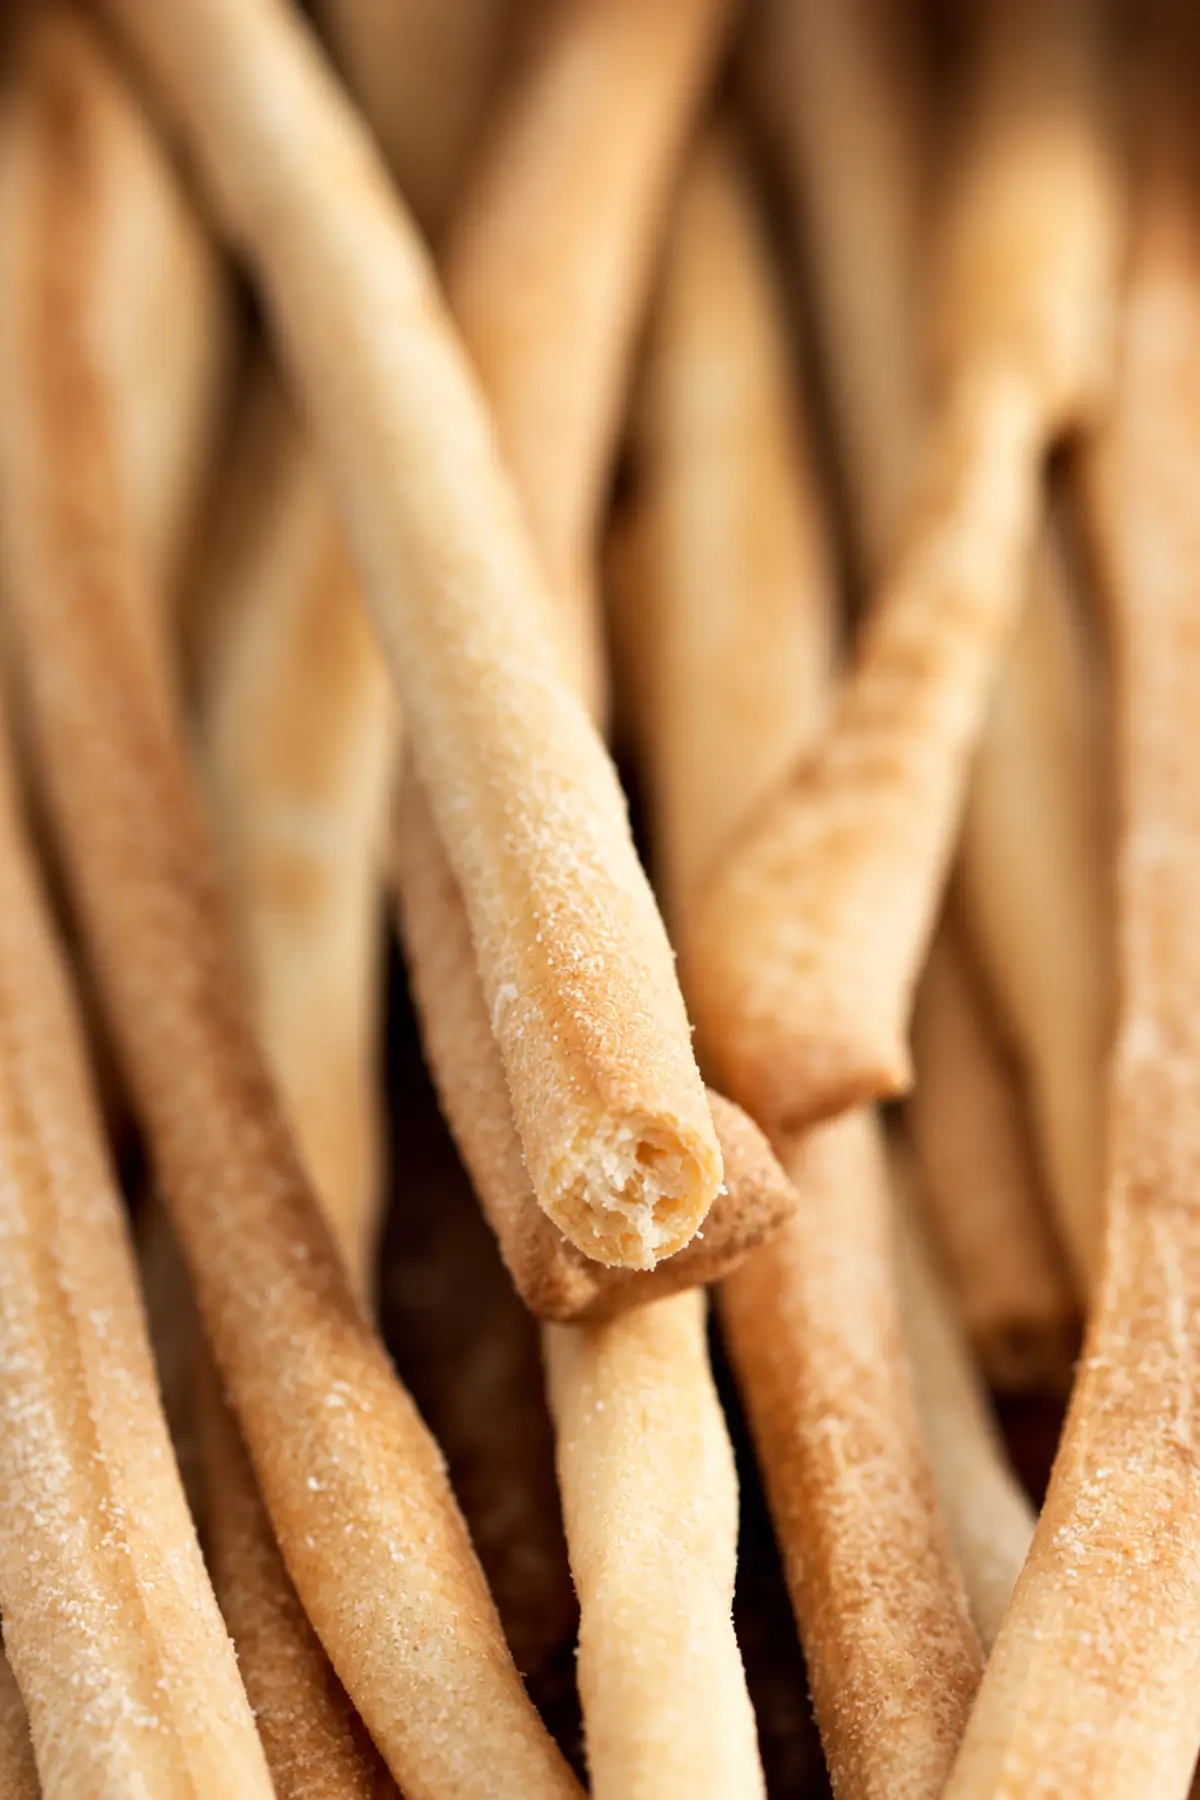
Why These Italian Breadsticks Are Worth Making
- Long breadsticks are easy to serve in a glass, basket, or directly on an appetiser board.
- Keeping a batch at room temperature gives you a ready snack for several days when stored properly.
- Homemade grissini offer a lighter bread option when thick slices or rolls feel like too much.
Key Ingredients for Sourdough Grissini
Fed Starter
Fed sourdough starter gives the grissini their distinctive tang and contributes to their light, crisp texture. Use an active starter with a pleasantly sour aroma for good flavour and reliable results.
Bread Flour
Bread flour gives the grissini enough strength to hold their long, slender shape. Its higher protein content also contributes to the firm, crunchy texture of the baked breadsticks.
Sugar
A small amount of sugar softens the tanginess of the sourdough without making the grissini taste sweet. Their savoury flavour pairs especially well with cured meats, cheeses, and dips.
Butter or Vegetable Spread
Melted butter adds mild richness and a subtle dairy flavour, while vegetable spread is the alternative included in the recipe. Both contribute to a crisp texture with a slight tenderness rather than making the breadsticks hard or brittle.
Durum Wheat Flour or Semolina
Durum wheat flour or semolina adds a slightly grainy texture to the exterior and complements the crisp breadsticks. Fine semolina works particularly well for an even coating and delicate crunch.
Find the complete list with measurements in the recipe card below.
How to Make Sourdough Grissini
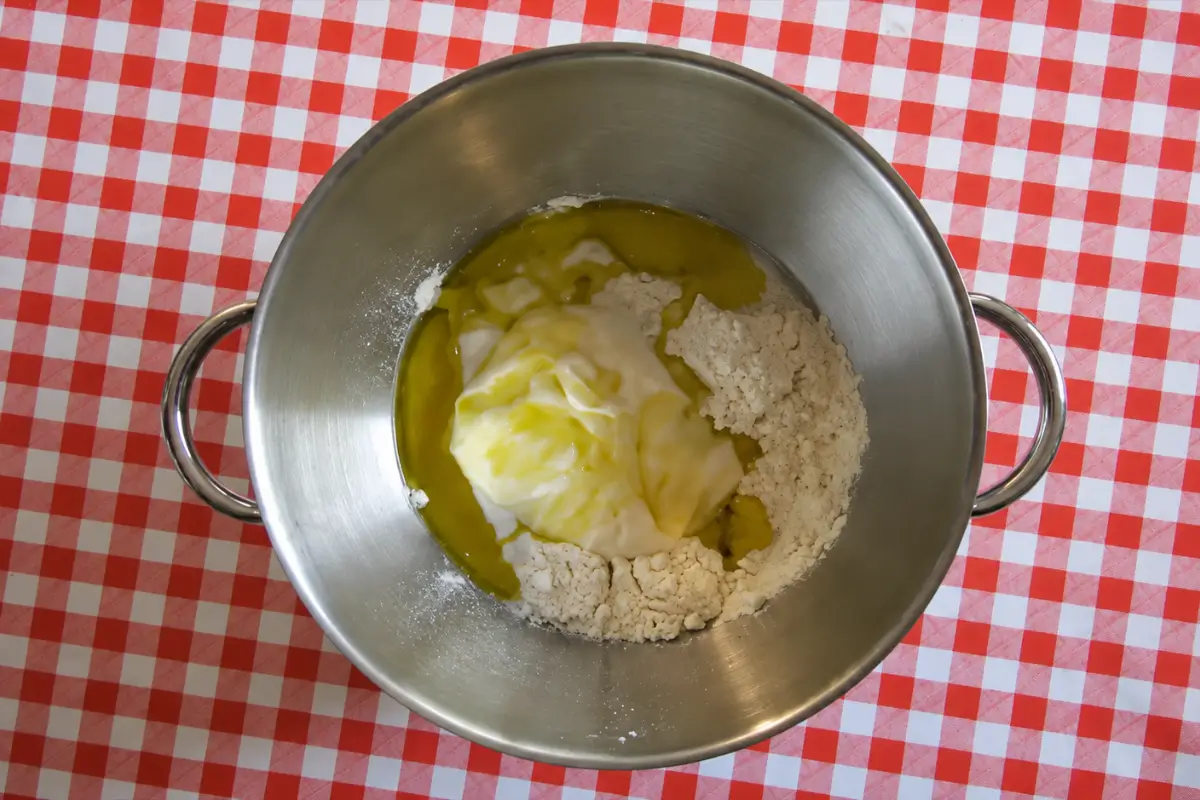
Step 1: Add the flour, fed starter, water, sugar, melted butter, extra virgin olive oil, and salt to the bowl of an electric mixer fitted with a dough hook attachment. Knead for 10 minutes, or until the dough is smooth and elastic.
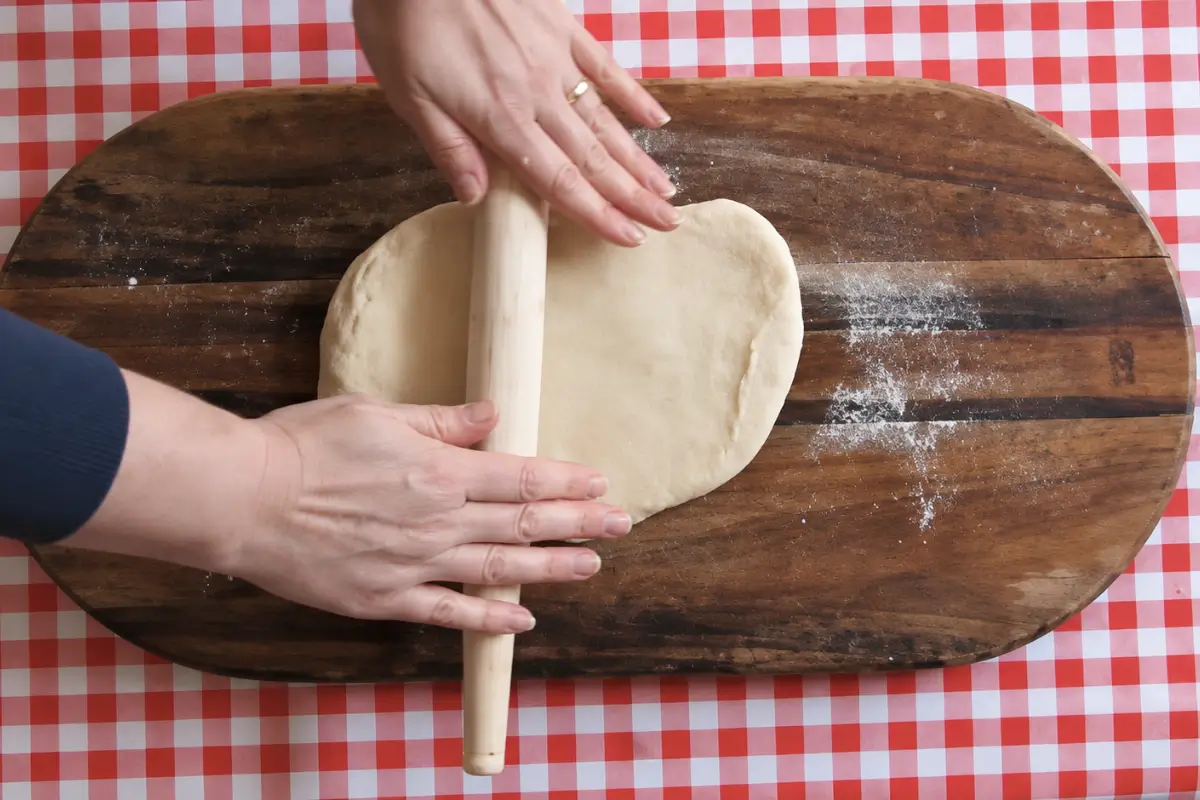
Step 2: Once the dough is ready, shape it into a rectangle about 2 cm – ¾ inch thick, with the shorter side measuring approximately 10 cm – 4 inches.
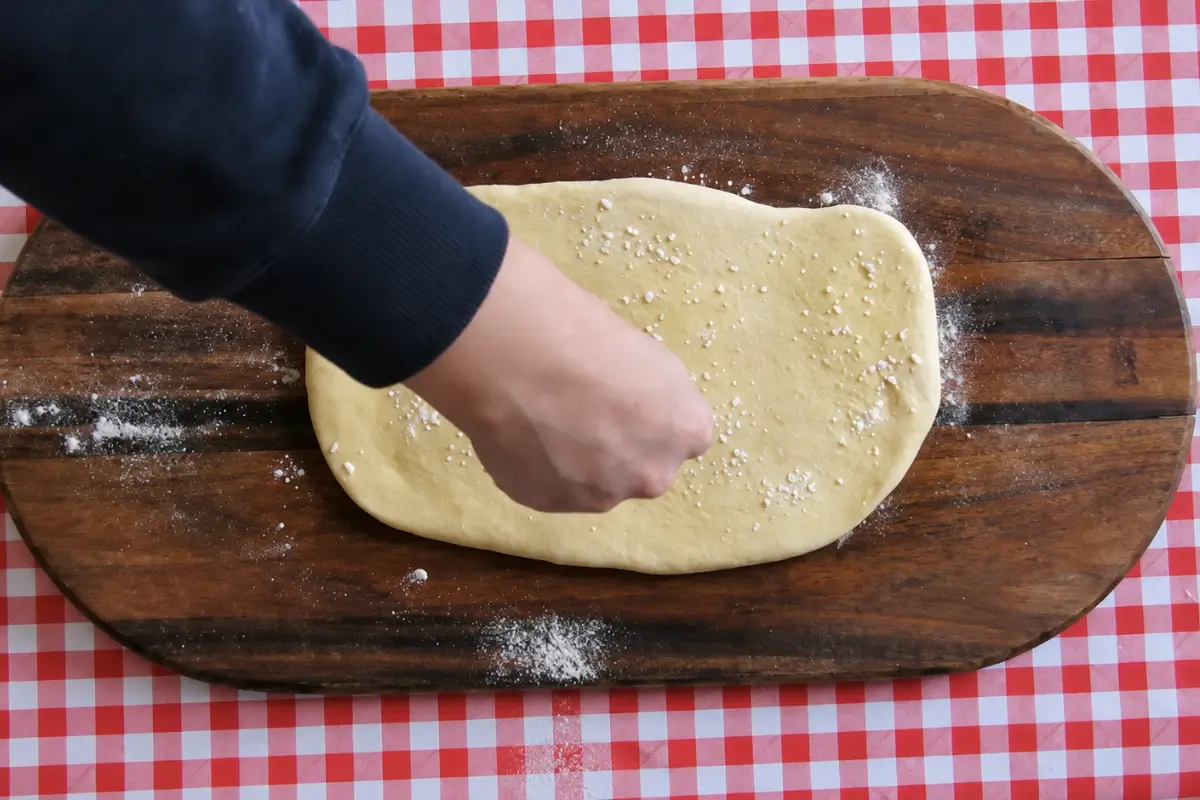
Step 3: Brush the top of the dough with extra virgin olive oil and dust with durum wheat flour. Cover with cling film and leave to rise for at least 5 hours.
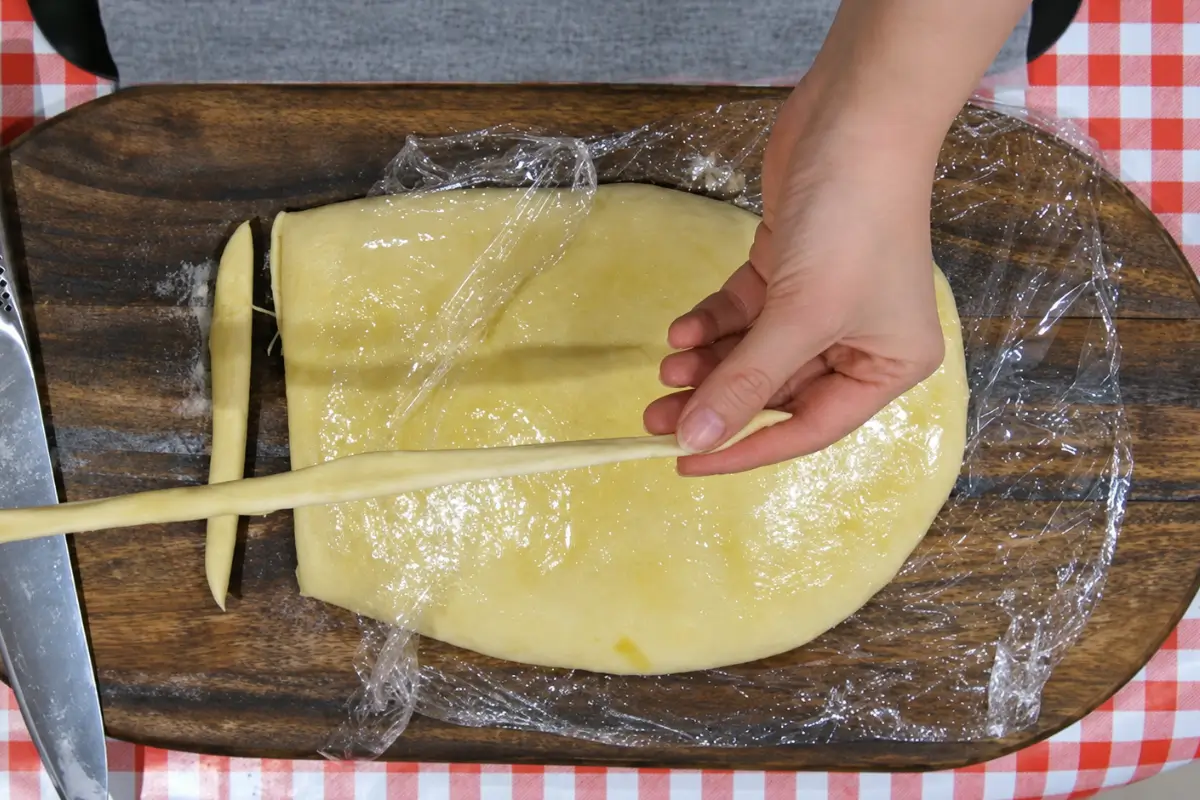
Step 4: Preheat the oven to 200°C – 390°F. Using a sharp knife, cut the dough into thick strips along the shorter side. Gently stretch each strip from the middle to form the grissini.
Step 5: Arrange the grissini on an oven tray lined with baking paper. Bake at 200°C – 390°F for 15 minutes.
Step 6: Transfer the grissini to a wire rack and leave them to cool completely before serving.
Frequently Asked Questions
Fed starter is recommended because the recipe relies on active sourdough fermentation during the five-hour rise. Leftover sourdough discard may not provide the same rise or final texture.
After about 10 minutes of kneading, the dough should look smooth and feel elastic rather than rough or loose.
Thickness plays an important role in getting crisp breadsticks. Keep the grissini relatively thin and similar in size, then let them cool completely after baking. If your grissini are not crispy once cooled, they may be slightly too thick.
Yes. You can make them shorter or longer depending on how you plan to serve them, but keeping the thickness fairly consistent helps them bake evenly.
Serve them on their own, wrapped in Prosciutto for an aperitivo, or alongside cheeses, cured meats, olives, hummus, and other dips as part of an Italian appetiser spread.
Extra Help from the Kitchen
Weigh the Flour When Possible – Measure the bread flour with a kitchen scale for better consistency, since measuring cups can give you different amounts of flour.
Use a Bench Scraper for Easier Cutting – Use a bench scraper to divide the soft dough into strips without dragging or tearing it, especially if you find a knife awkward to handle.
Rotate the Tray if Needed – Turn the oven tray halfway through baking if your oven browns unevenly, helping the grissini develop a more consistent colour and crunch.
Scrape Down the Mixing Bowl – Scrape the bottom and sides of the bowl during the early stage of mixing to incorporate any flour or dough clinging to the bowl.
Bake Similar-Sized Grissini Together – Group breadsticks of similar thickness on the same tray, as thinner pieces can become crisp and brown faster than thicker ones.
Variations and Twists
Sprinkle with Sesame Seeds – Brush the shaped grissini lightly with extra virgin olive oil, then sprinkle with sesame seeds before baking for a mild nutty flavour and extra crunch.
Flavour with Rosemary and Garlic – Mix finely chopped rosemary and a small amount of minced garlic into the dough before kneading for a savoury, herbaceous variation.
Finish with Poppy Seeds – Brush the shaped breadsticks lightly with olive oil, then scatter poppy seeds over the surface before baking for a delicate nutty flavour and extra texture.
Season with Herbes de Provence – Sprinkle Herbes de Provence over the lightly oiled grissini before baking for a fragrant herbal flavour that pairs well with sourdough.
Coat with Everything Bagel Seasoning – Brush the shaped grissini lightly with olive oil, then sprinkle with Everything Bagel seasoning before baking for savoury sesame, garlic, onion, and seed flavours.
Storage and Shelf Life
Store completely cooled Sourdough Grissini in an airtight container at room temperature for up to 5 days. Keep them in a cool, dry place to help maintain their crisp texture.
For longer storage, freeze them in a freezer-safe airtight container or bag for up to 3 months. Thaw at room temperature. To reheat and restore their crisp texture, place the grissini in a 180°C – 350°F oven for about 5 minutes, then transfer them to a wire rack and let them cool before serving.
More Bread Recipes to Make
Sourdough Grissini Recipe
Equipment
Ingredients
- 150 g – 5 ⅓ oz. fed starter
- 350 g – ¾ lb. bread flour
- 120 ml – ½ cup lukewarm water
- 1 tsp sugar
- 20 g – 1 ⅓ tbsp butter or vegetable spread – melted
- 2 tbsp extra virgin olive oil – plus more to spray
- ½ tsp salt
- Durum wheat flour or semolina
Instructions
- Add the flour, fed starter, water, sugar, melted butter, extra virgin olive oil, and salt to the bowl of an electric mixer fitted with a dough hook attachment. Knead for 10 minutes, or until the dough is smooth and elastic.
- Once the dough is ready, shape it into a rectangle about 2 cm – ¾ inch thick, with the shorter side measuring approximately 10 cm – 4 inches.
- Brush the top of the dough with extra virgin olive oil and dust with durum wheat flour. Cover with cling film and leave to rise for at least 5 hours.
- Preheat the oven to 200°C – 390°F. Using a sharp knife, cut the dough into thick strips along the shorter side. Gently stretch each strip from the middle to form the grissini.
- Arrange the grissini on an oven tray lined with baking paper. Bake at 200°C – 390°F for 15 minutes.
- Transfer the grissini to a wire rack and leave them to cool completely before serving.
Notes
- These grissini can be kept at room temperature and will remain crunchy for a few days. Store them in an airtight aluminium container to preserve their crisp texture for longer.
- You can also make them with plain flour, as I have done before. However, bread flour gives the grissini a little more texture if you have it available.
- I always use filtered water from the fridge when working with my sourdough starter, but bottled water works well too.

Love travelling as much as cooking?
Many of the recipes I share are inspired by places I’ve visited around the world. On Travel with Manu you’ll find destination guides, itineraries and travel inspiration to help you plan your next adventure.















Leave a Reply