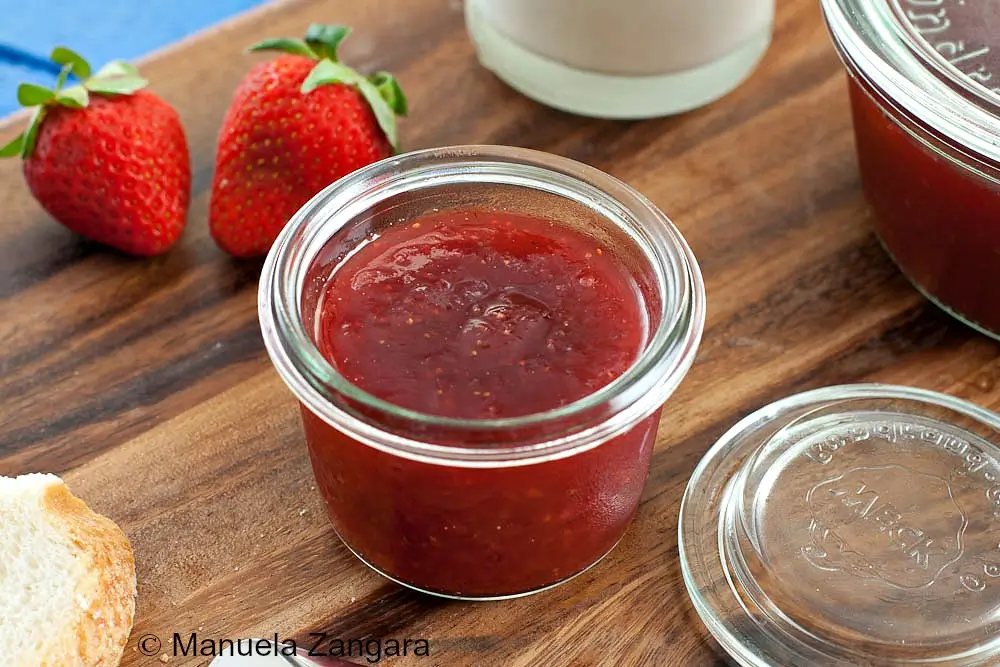
A jar of Strawberry Jam in the fridge means pancakes, crumpets, and porridge are instantly better. Bright, glossy, and generously fruity from the first spoonful.
Strawberry jam, who doesn’t like it? It was my absolute favourite for a long time. As a child, it was the only one I would eat.
Growing up, I have learnt to appreciate a wider variety of jams and preserves, but my love for strawberry jam has never faded.
Making your own strawberry jam is quite easy. However, strawberries don’t contain much natural pectin, which means the jam can turn out softer and more fluid unless you add store-bought pectin.
I prefer it the natural way, so I macerate the strawberries overnight and add some lemon juice, cooking it a bit longer to reach a proper jam consistency.
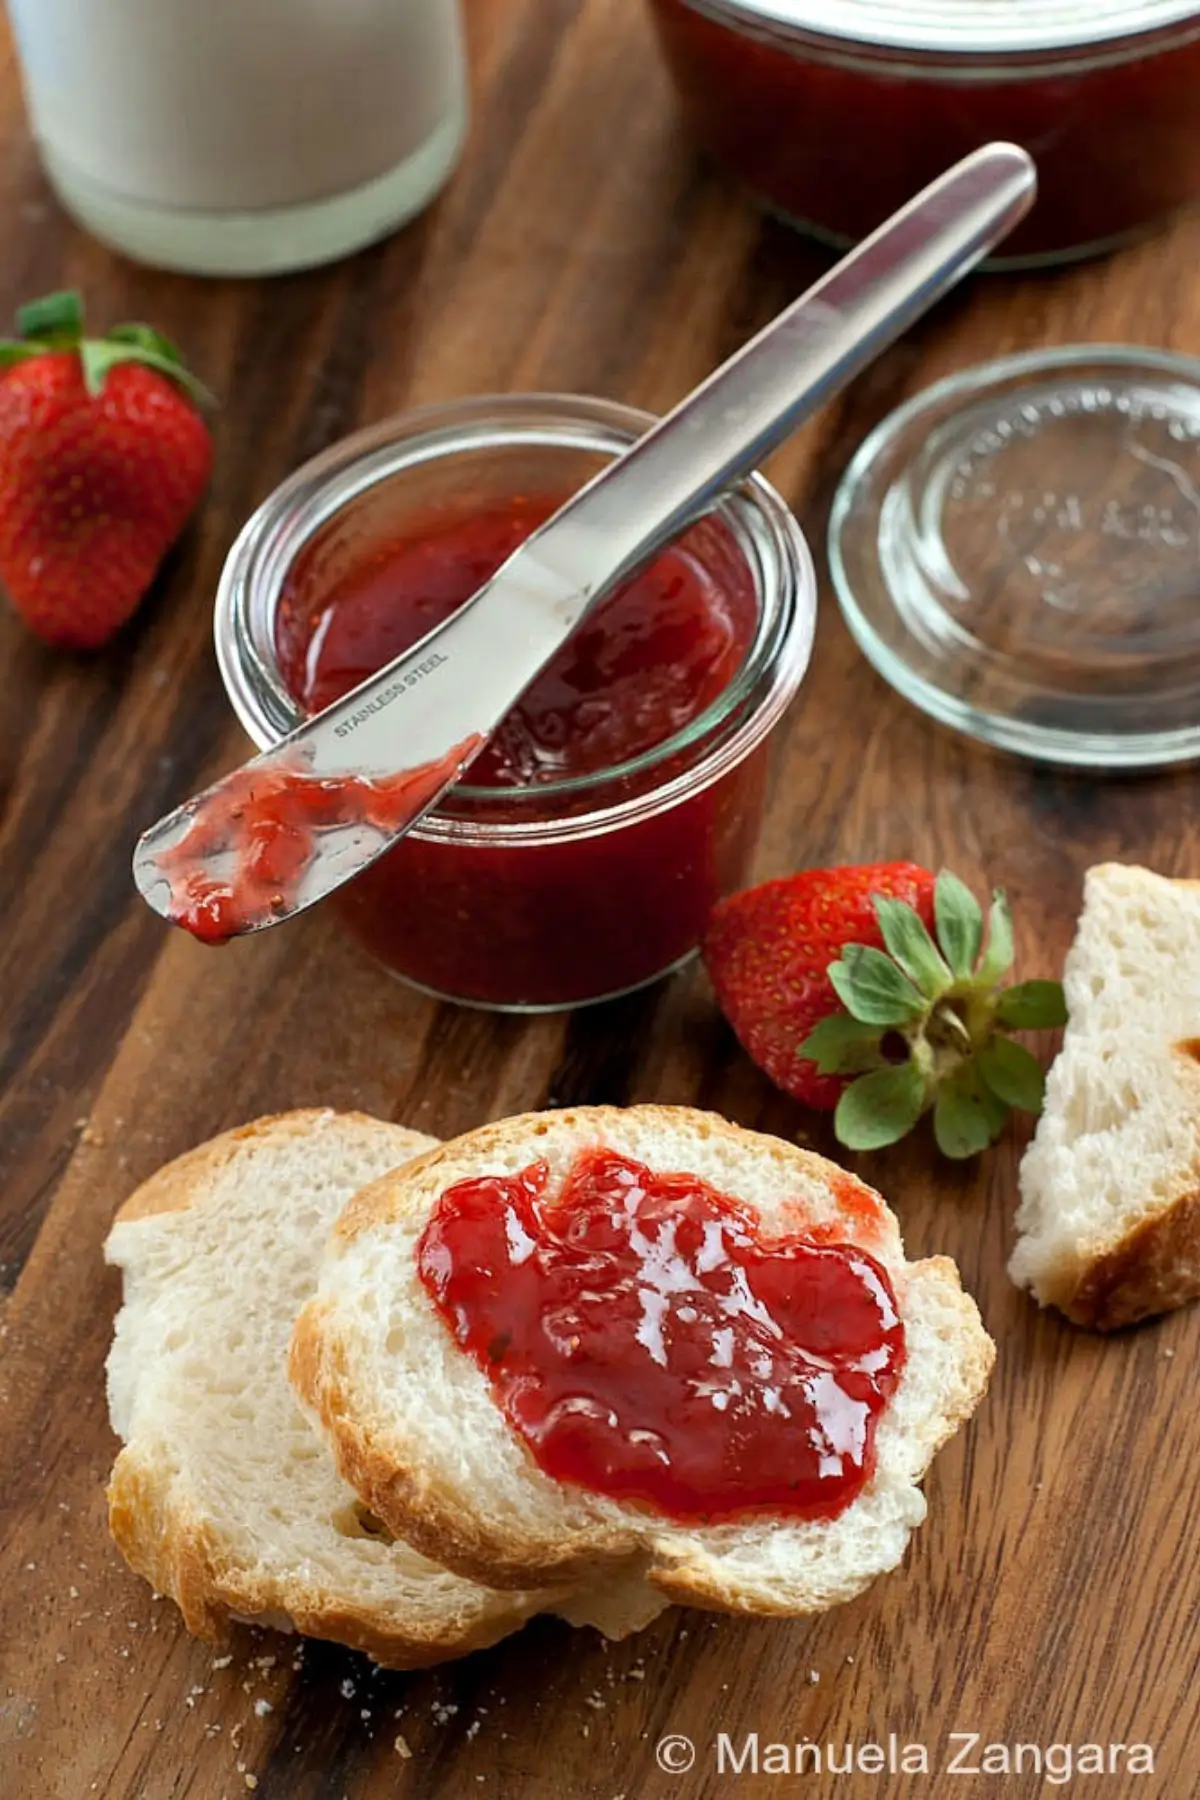
Try it, and you will be rewarded with a rich, homemade strawberry jam. It is perfect on toast for breakfast or used as a filling or topping for all sorts of cakes and pastries. Enjoy!
Why We Love Homemade Strawberry Jam
Key Ingredients for Strawberry Jam
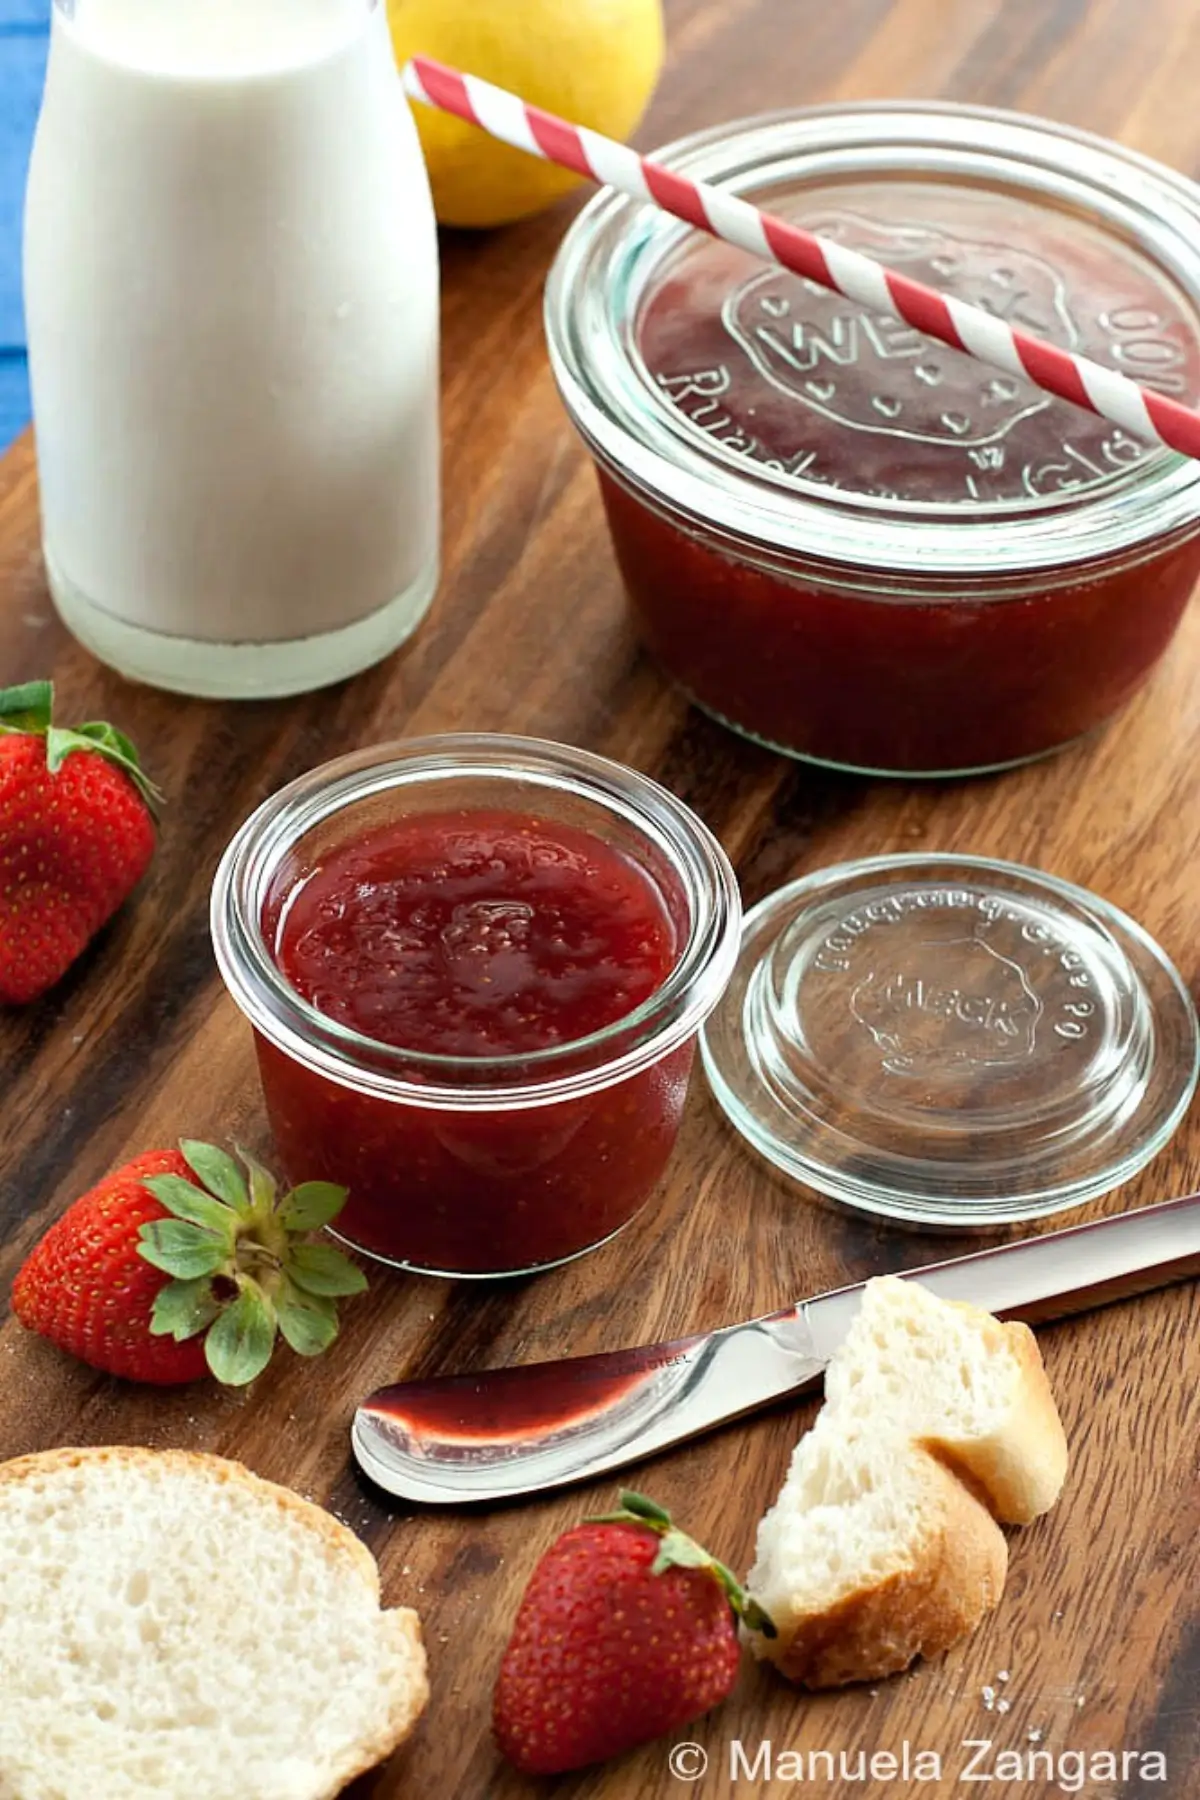
Strawberries
Strawberries bring natural sweetness, gentle acidity, and ripe berry aroma. Choose fruit with a deep red colour from top to tip and a fragrant scent. Smaller seasonal berries often taste sweeter and more concentrated, giving the jam a fuller strawberry flavour.
Sugar
Enhances sweetness and softens sharp edges. Plain white granulated sugar keeps the flavour neutral so strawberries remain the focus. Its mild taste supports the fruit without altering its colour.
Lemon Juice
Fresh lemon juice adds light citrus sharpness and lifts the strawberry flavour. You can use freshly squeezed juice for a brighter, more vibrant note, while bottled juice gives a slightly flatter taste.
Find the exact measurements in the recipe card below.
How to Make Strawberry Jam
Step 1: Put the cleaned strawberries in a large pot. Add the sugar and lemon juice and mix well.
Step 2: Cover and refrigerate overnight to allow the strawberries to macerate.

Step 3: The next day, remove the pot from the fridge and place it on the stove.
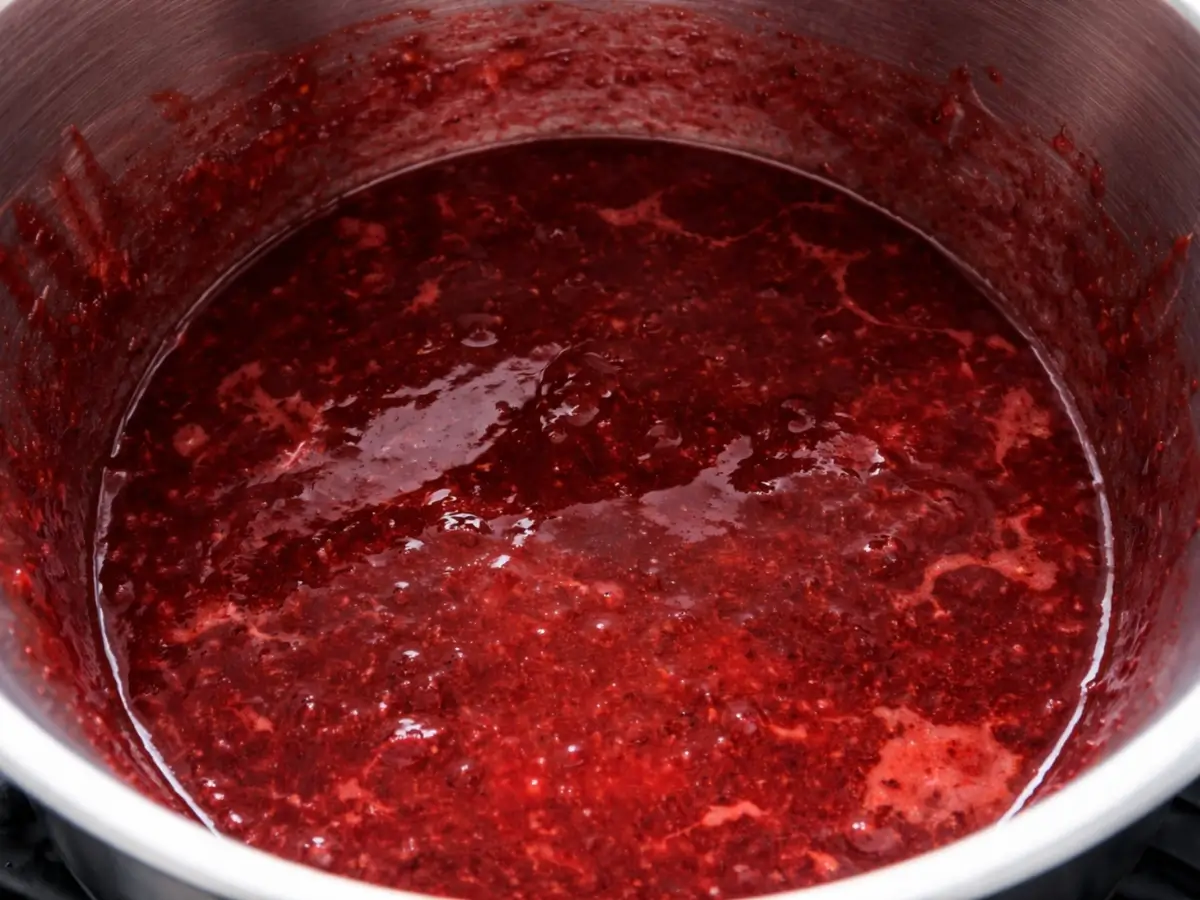
Step 4: Stir well and cook the mixture over moderate to high heat for about 40 minutes, stirring frequently to prevent it from sticking to the bottom of the pan.
Note: After about 20 minutes, blend the strawberries with a stick mixer if you prefer a smoother jam without fruit pieces.
Step 5: While the jam is cooking, place a small plate in the freezer.
Step 6: Once the bubbles subside and the jam begins to gel, turn off the heat.
Step 7: Spoon a small amount of jam onto the frozen plate. Return it to the freezer for a few minutes, then push it gently with your finger. If it wrinkles, remove the jam from the heat. If not, continue simmering briefly and test again.
Step 8: Carefully pour the hot jam into sterilised jars and seal immediately.
Frequently Asked Questions
Yes, frozen strawberries work well. Thaw them first and include all their juices, as they contain flavour. The final colour may be slightly darker.
Regular white granulated sugar is best for a classic strawberry flavour and bright colour. Caster sugar also works, but brown sugar will change both flavour and appearance.
Yes, lime can replace lemon for a sharper taste. Keep the same quantity to maintain proper acidity for setting.
Yes, raspberries or blueberries can be added in small amounts. Raspberries bring a slight tartness, while blueberries add a deeper, rounder berry sweetness.
Extra Help from the Kitchen
Hull the Strawberries First – Remove the green tops and the firm white core with a small knife or hull tool. Cutting too deeply wastes fruit, while leaving the core can affect texture and flavour.
Keep a Consistent Batch Size – Cooking larger quantities can prevent proper reduction and affect the setting. Preparing separate batches helps maintain a reliable texture.
Watch the Bubble Size – Large, fast bubbles indicate high water content. When bubbles become smaller, thicker, and slower to burst, the jam is close to the setting point. This visual cue helps confirm readiness.
Use a Candy Thermometer – Insert a candy thermometer during the final stage of simmering and monitor the temperature. The jam is ready at 104–105°C – 219–221°F, which indicates the setting point has been reached.
Leave Proper Headspace in Jars – Fill jars leaving about 1 cm – ½ inch space at the top. This allows for slight expansion and helps create a proper vacuum seal as the jam cools.
Variations and Twists
Strawberry Guava Jam – Add diced ripe guava during maceration. If the guava contains large, firm seeds, remove them before blending at the 20-minute mark, as they can leave a gritty finish. Guava adds a thicker fruit taste and gentle sweetness.
Strawberry Margarita-Style Jam – Replace part of the lemon juice with fresh lime juice, then stir in a small splash of tequila at the end. Lime increases acidity slightly, so test the jam on the chilled plate before turning off the heat to check the set.
Strawberry Meyer Lemon Jam – Add thin slices of Meyer lemon peel with the juice. Meyer lemons are milder than regular lemons and give a softer citrus taste with a subtle peel note.
Strawberry with Extra Lemon Zest – Add finely grated lemon zest along with the juice for a stronger citrus aroma. Extra zest can slightly change how the jam sets, so make sure to test it before turning off the heat.
Strawberry Basil or Mint Jam – Add a few fresh basil leaves or mint sprigs during the final minutes of simmering, then remove before jarring. The herbs bring a fresh green note that pairs well with cheese or pastries.
Storage and Shelf Life
Store unopened jars in a cool, dark cupboard for up to 12 months, provided they have been properly sterilised and sealed. Once opened, keep the jar refrigerated with the lid tightly closed and use within 3 to 4 weeks for best flavour and quality.
For longer storage, freeze the jam in freezer-safe containers for up to 6 months, leaving space at the top to allow for expansion.
Thaw overnight in the refrigerator before using. If the jam feels too firm after chilling, let it sit at room temperature for 20 to 30 minutes to loosen slightly before serving.
Favourite Fruit Jam Recipes to Make at Home
Strawberry Jam Recipe
Ingredients
- 1.5 kg – 3.3 lb strawberries – washed and hulled
- 600 g – 1.3 lb sugar
- juice of 1 ½ lemons
Instructions
- Put the cleaned strawberries in a large pot. Add the sugar and lemon juice and mix well.
- Cover and refrigerate overnight to allow the strawberries to macerate.
- The next day, remove the pot from the fridge and place it on the stove.
- Stir well and cook the mixture over moderate to high heat for about 40 minutes, stirring frequently to prevent it from sticking to the bottom of the pan. Note: After about 20 minutes, blend the strawberries with a stick mixer if you prefer a smoother jam without fruit pieces.
- While the jam is cooking, place a small plate in the freezer.
- Once the bubbles subside and the jam begins to gel, turn off the heat.
- Spoon a small amount of jam onto the frozen plate. Return it to the freezer for a few minutes, then push it gently with your finger. If it wrinkles, remove the jam from the heat. If not, continue simmering briefly and test again.
- Carefully pour the hot jam into sterilised jars and seal immediately.


Just stunning, Manu. I just wish to reach into the screen. beautifully captured seasonal strawberries, here.
Manuela, my mouth is watering! I’d love this on a scone!
Nothing compares to homemade strawberry jam. I didn’t make any last year and I wasn’t happy with myself. It won’t be long til local strawberries are ready for ‘pick your own’ and this year I’ll have jam that looks and tastes like this.
What is the difference between jam and jelly? I too like it that this recipe doesn’t use pectin. Kind regards, Chandra
Fantastic looking! Strawberry jam is also my favorite jam, and I like that you make it without pectin – no need for gelling agents! Didn’t know about the frozen plate test… really interesting!
Love strawberry jam. Have two containers in the refrigerator.