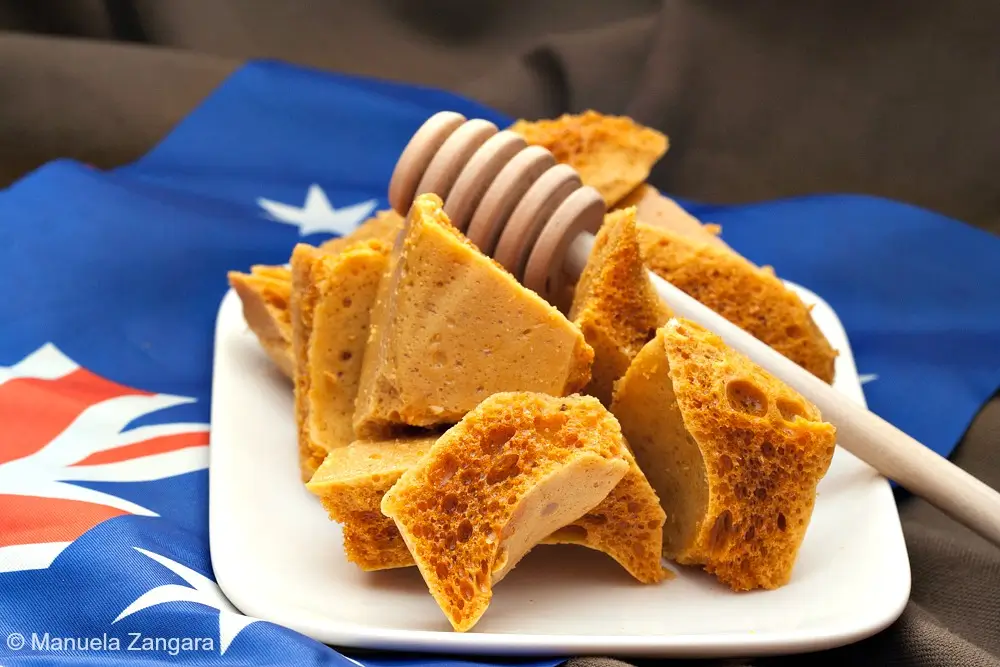
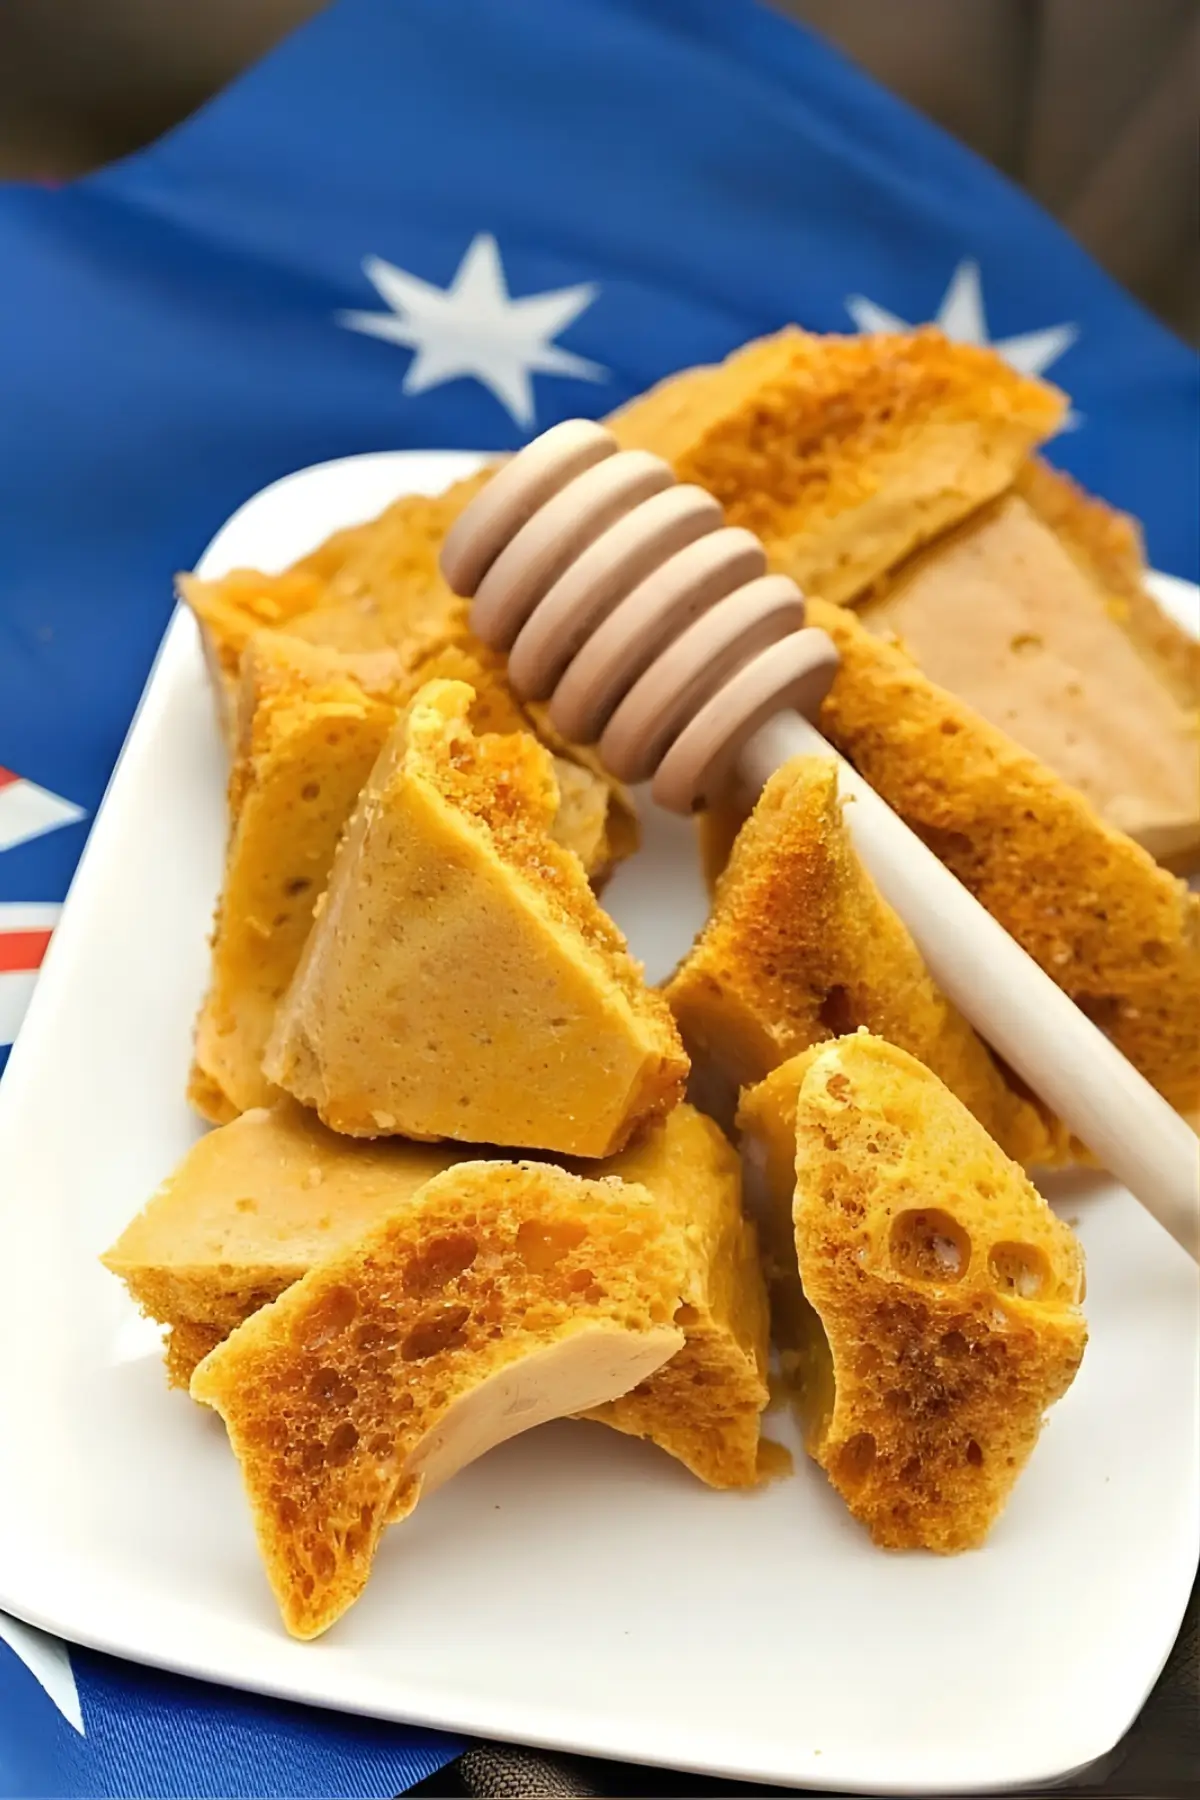
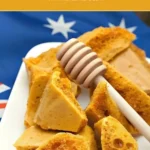
Crisp, sweet, and quick to make, Honeycomb uses simple pantry staples and turns into a light, crunchy treat that works for dessert bars, cakes, or snacking straight from the tin.
I thought of making honeycomb to cheer everyone up. I had never heard of this candy before moving to Australia.
So if you don’t know it, it is a sugary toffee with a light, firm, sponge-like texture that looks like a honeycomb. It’s well known in English-speaking countries and very popular here in Australia.
I love it covered in chocolate or crumbled over ice cream. The recipe is pretty straightforward, but I must confess I had a hard time getting it right.
I tried a few different recipes before finally finding the one that worked for me. I also discovered that Australian golden syrup is much darker in colour than the British one, which surprised me.
I strongly advise using a candy thermometre, because the caramel needs to reach the hard crack stage before you add the bicarbonate of soda. Once it does, you can watch the mixture foam, harden, and transform into delicious honeycomb.
Reasons To Make This Honeycomb
- Good shelf life when stored properly, and easy to keep on hand for quick treats.
- Versatile topping for gelato, pavlova, or whipped cream when you need something extra.
- Soft crunch that feels light and fun to bite into, almost like a quick little pick-me-up during the day.
Key Ingredients for Honeycomb
Caster Sugar
Dissolves evenly and cooks to a clear syrup with a light colour. Fine crystals help prevent graininess and give a smooth result.
Honey
Adds depth and a gentle warmth. Lighter varieties keep the flavour mild, while darker honeys give a stronger finish. A runny honey blends more easily into the syrup.
Golden Syrup
Keeps the sugar stable as it heats and reduces the risk of crystallisation. Australian golden syrup is usually darker than British brands, which affects the final colour.
Find the complete list with measurements in the recipe card below.
How to Make Honeycomb
Step 1: Grease an 18 cm × 28 cm (7 × 11 inch) rectangular slice pan. Line the base and sides with baking paper, allowing the paper to extend 2 cm – 1 inch above the edges of the pan.
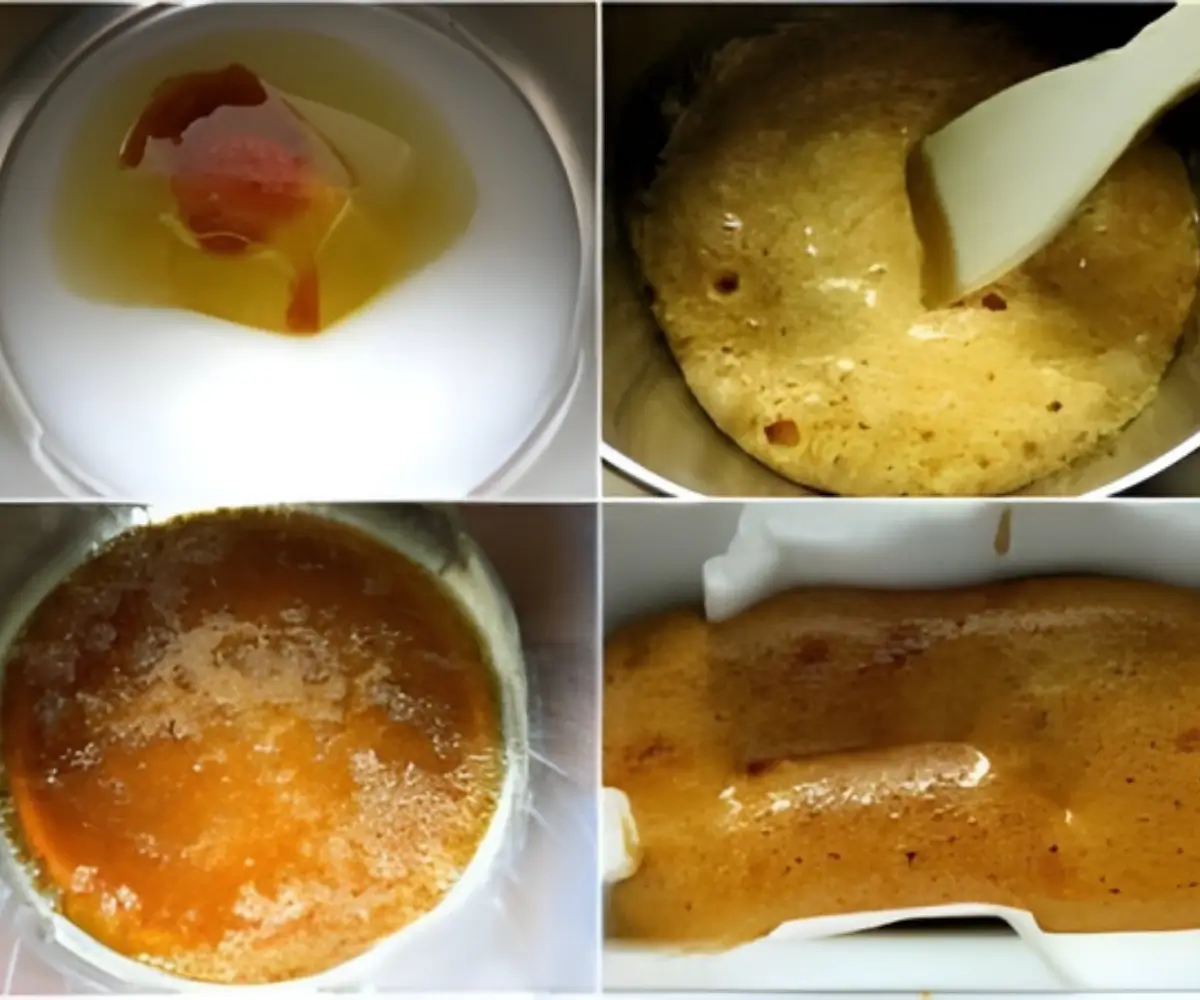
Step 2: Place the sugar, honey, golden syrup, and cold water in a medium saucepan over medium–low heat. Cook, stirring, for about 5 minutes or until the sugar has dissolved. Do not let the mixture boil.
Step 3: Increase the heat to medium and bring the mixture to a boil. Boil without stirring until it reaches the hard crack stage on a candy thermometer (146°C to 150°C – 300°F to 310°F). Remove from the heat and let it stand for 1 minute to allow the bubbles to settle.
Step 4: Working quickly and carefully, sift the bicarbonate of soda over the mixture and stir until fully combined.
Step 5: Immediately pour the mixture into the prepared pan and spread it quickly with a spatula to level it. The mixture will begin to set right away.
Step 6: Set the pan aside for 3 hours or until the honeycomb is firm.
Step 7: Turn the honeycomb out onto a board and cut it into pieces. Serve.

Frequently Asked Questions
Yes. The texture stays stable because corn syrup also prevents crystallisation, though the flavour will be milder. Golden syrup adds a warmer caramel note that corn syrup does not provide.
Let it cool completely, turn it onto a board, and press down firmly with a sharp knife so the honeycomb breaks cleanly without crushing it.
Yes, but choose a wider pan so the mixture spreads evenly and cools at the right rate. A pan that is too small makes the honeycomb thicker in the centre, which affects the texture.
Baking paper is the safer option because the mixture lifts cleanly once set. Foil can wrinkle and create small indentations on the surface.
Extra Help from the Kitchen
Use a Heavy-Based Pot – A sturdy pot heats evenly and prevents the syrup from catching on the bottom, which helps you reach the hard crack stage without uneven colouring.
Test Your Bicarbonate of Soda – Stir a small pinch into warm water to check for fizz before using it, as weak bicarbonate of soda produces smaller bubbles and a flatter result.
Wipe Down Sugar Crystals – Brush the sides of the pot with water during heating to remove stray sugar crystals that can cause the syrup to seize later.
Choose a Heat-Safe Spatula – A silicone spatula handles high temperatures and gives steady control when spreading the mixture in the tray.
Leave Space Around the Pan – Clear the area before boiling the syrup so the tray is close and easy to reach when the mixture needs to be poured straight away.
Variations and Twists
Dip in Chocolate – Coat cooled pieces in melted dark or milk chocolate to add a firm outer layer and deepen the caramel tone.
Add Sea Salt – Sprinkle a small pinch of sea salt before the honeycomb sets to create a light contrast and sharpen the sweetness.
Honeycomb Crumble – Crush cooled honeycomb into small pieces for a finer texture that blends easily into toppings or fillings.
Storage and Shelf Life
Store honeycomb in an airtight container at room temperature for up to 1 week. Keep the pieces separated with baking paper to reduce sticking, and place the container in a dry cupboard away from sunlight and humidity.
Avoid refrigerating or freezing honeycomb because moisture softens the surface once it is exposed to temperature changes.
Other Sweets You Might Like
Honeycomb Recipe
Crisp, sweet, and quick to make, Honeycomb uses simple pantry staples and turns into a light, crunchy treat that works for dessert bars, cakes, or snacking straight from the tin.
Ingredients
- 300 g – 1⅓ cups caster sugar
- 115 g – ⅓ cup honey
- 2 tbsp golden syrup
- ½ cup water
- 1½ tsp bicarbonate of soda
Instructions
-
Grease an 18 cm × 28 cm (7 × 11 inch) rectangular slice pan. Line the base and sides with baking paper, allowing the paper to extend 2 cm – 1 inch above the edges of the pan.
-
Place the sugar, honey, golden syrup, and cold water in a medium saucepan over medium–low heat. Cook, stirring, for about 5 minutes or until the sugar has dissolved. Do not let the mixture boil.
-
Increase the heat to medium and bring the mixture to a boil. Boil without stirring until it reaches the hard crack stage on a candy thermometer (146°C to 150°C – 300°F to 310°F). Remove from the heat and let it stand for 1 minute to allow the bubbles to settle.
-
Working quickly and carefully, sift the bicarbonate of soda over the mixture and stir until fully combined.
-
Immediately pour the mixture into the prepared pan and spread it quickly with a spatula to level it. The mixture will begin to set right away.
-
Set the pan aside for 3 hours or until the honeycomb is firm.
-
Turn the honeycomb out onto a board and cut it into pieces. Serve.


Tried to make this but did not enjoy the addition of honey. Every other honeycomb recipe I have seen only contains golden syrup and no honey. My family and I found the honey flavor way too strong. Think I will leave out the honey in future.
I love honeycomb on ice-cream, do you know if they keep well in sealed containers? and Happy Australia Day!
Hi Judith. I love it too! It keeps for a couple of days… unfortunately humidity and heat get to it after that. Happy Australia Day to you too! 🙂