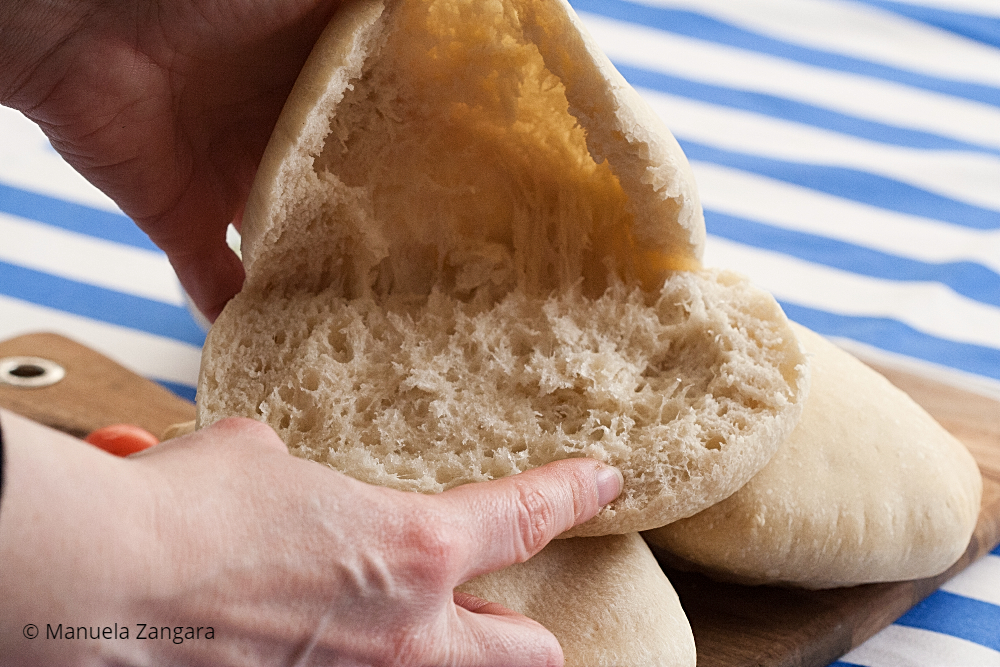
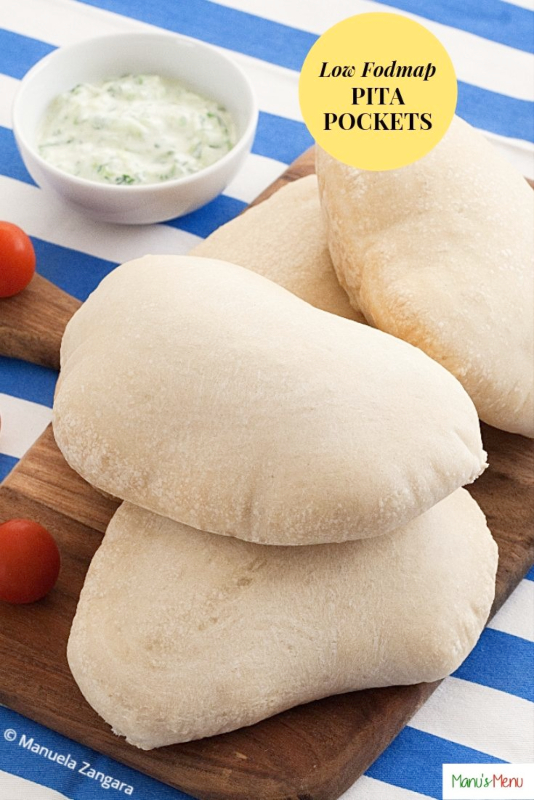
I am very excited about today’s recipe. I created these Low Fodmap Pita Pockets to be able to enjoy sandwiches on my Low Fodmap diet and they came out perfect!
Being on a Low Fodmap diet also means you can’t eat regular wheat flour and because gluten-free product often still contain high fodmap ingredients like chickpea and/or soy flour, finding suitable ready made bread can be hard. So, I used the Healthy Bakers lo-fo pantry flour to make these deliciously airy and chewie bread pockets.

If you are not following the Low Fodmap diet, you can also make my “normal” Whole Meal Pita. They are equally delicious.
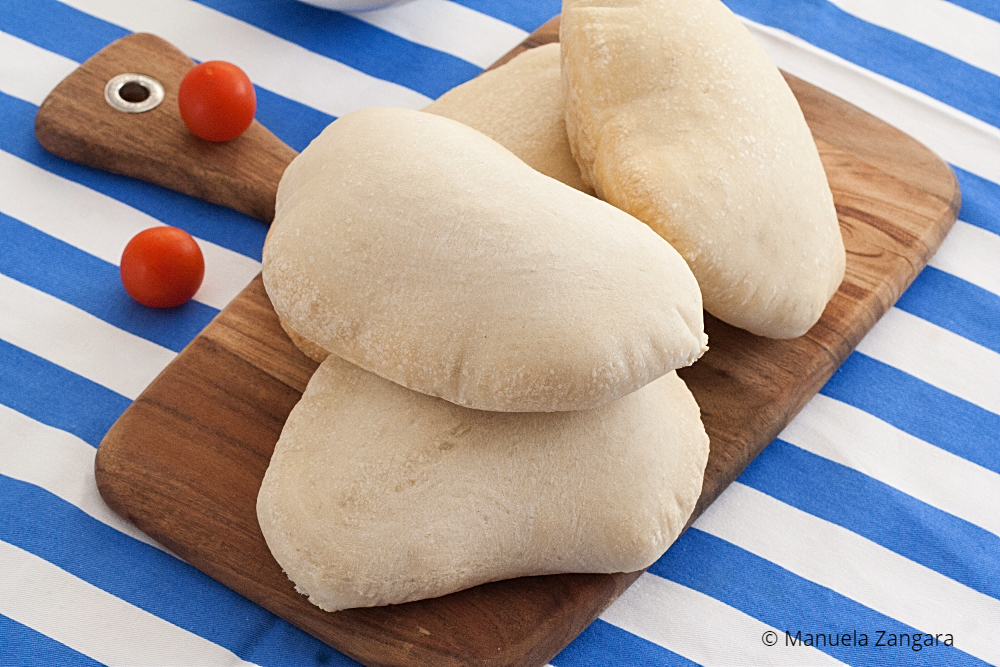
I cook pita on a pizza stone, and I highly recommend you do so too as the bread cooks very quickly and it’s always perfect. However, I have also included instructions on how to bake the pita without the stone.

Make sure to come back next time to check out what I use to fill these Low Fodmap Pita Pockets. I will be sharing another delicious recipe that will make you drool!
Enjoy and don’t forget to check out my video recipe and to leave a comment to let me know how you like it!
Low Fodmap Pita Pockets
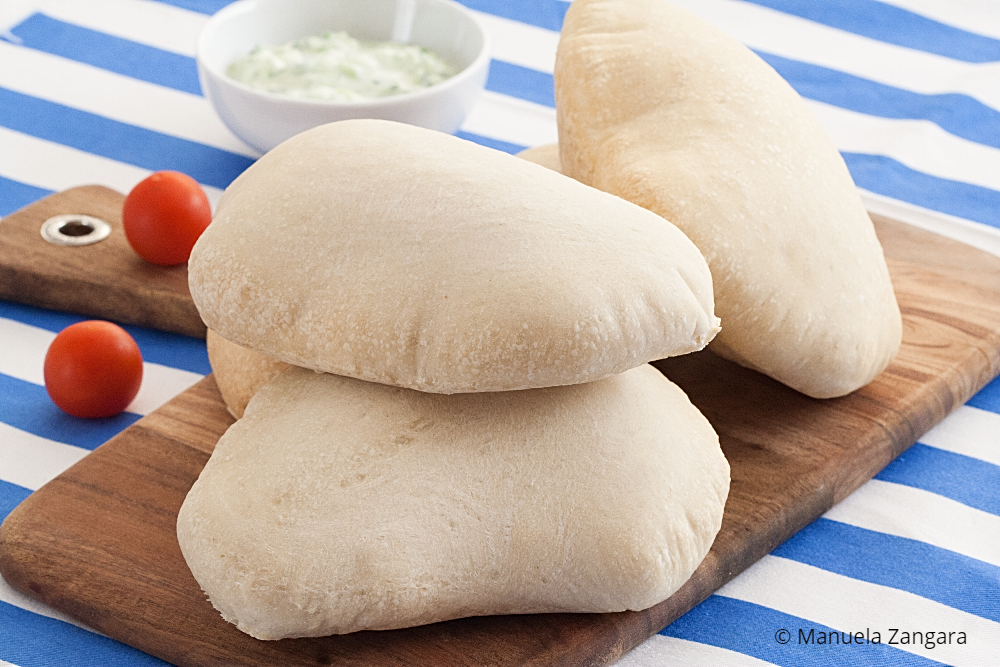
Low Fodmap Pita Pockets – deliciously airy and chewy bread pockets to be filled with your favourite stuffing for the perfect meal.
Ingredients
- 450 gms – 3 ½ cups Healthy Bakers lo-fo pantry flour
- 2 tbsp of extra virgin olive oil
- 1 tsp of salt
- 300 ml – 1 1/3 cups lukewarm water add slowly as required
- 7 gms – 2 tsp dry active yeast
- 1 tsp sugar granulated
Instructions
-
Mix the yeast and sugar with the lukewarm water in a glass bowl and set aside for 5 minutes, so the yeast can activate.
-
In the meantime put the flour, salt and extra virgin olive oil in the bowl of an electric mixer fitted with the paddle attachment.
-
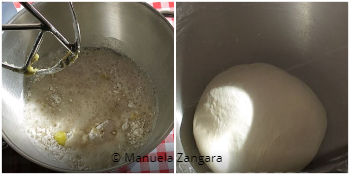
When the yeast mixture is frothy, pour it into the bowl with the flour. Knead well, till the dough looks smooth. It must feel soft and elastic when you touch it and slightly sticky. The dough needs to be a bit softer than pizza dough.
-
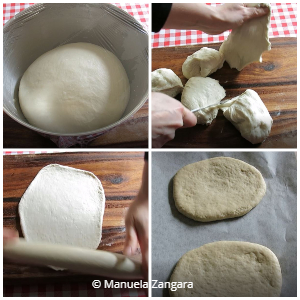
Make a ball with the kneaded dough, and set it aside in a large bowl covered with cling wrap to rise for at least 2 hours or until it doubles in volume.
-
Transfer the dough onto a lightly floured surface, divide it into 7 pieces and shape each piece into a ball. Roll each ball into a 3 mm thick oval.
-
Put the ovals on a large baking sheet without overlapping them and cover them with a lightly damp towel or some baking paper. Let them rise again for 1 hour until puffy. Do not worry if they don't puff up too much here... they will in the oven.
-
Bake in a preheated oven at the maximum temperature your oven allows. I have used my pizza stones and have put the pita directly on the stones. They cooked perfectly and puffed up nicely without having to even turn them over. You can also bake them on baking sheets for about 7-8 minutes. If you don't use a pizza stone, flip them around half-way through and cook them at 200°C – 390°F.
[mailerlite_form form_id=1]
Don’t forget to pin this post!





Leave a Reply