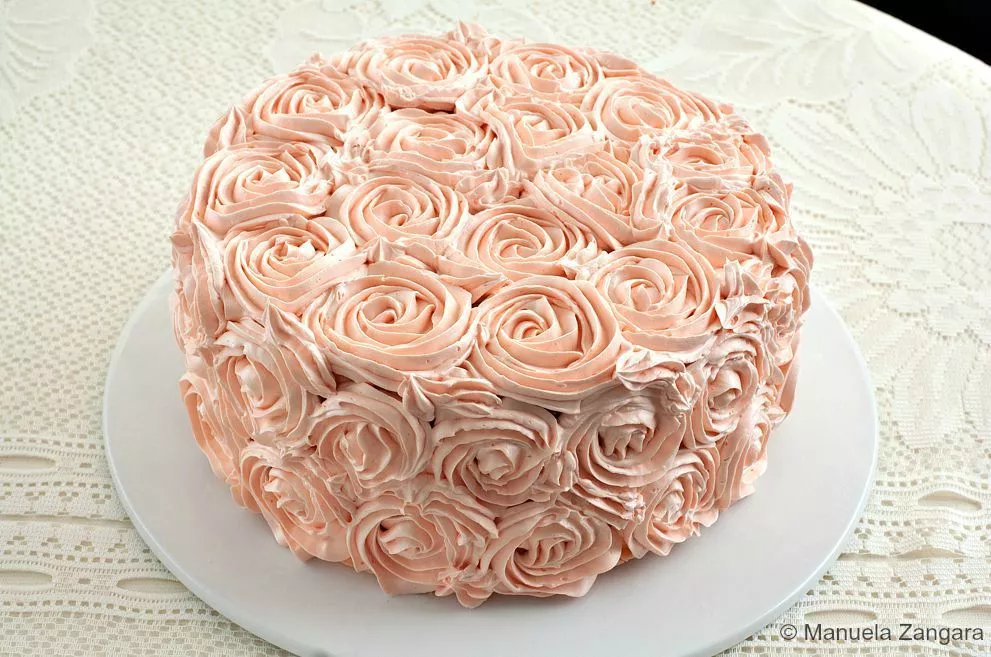
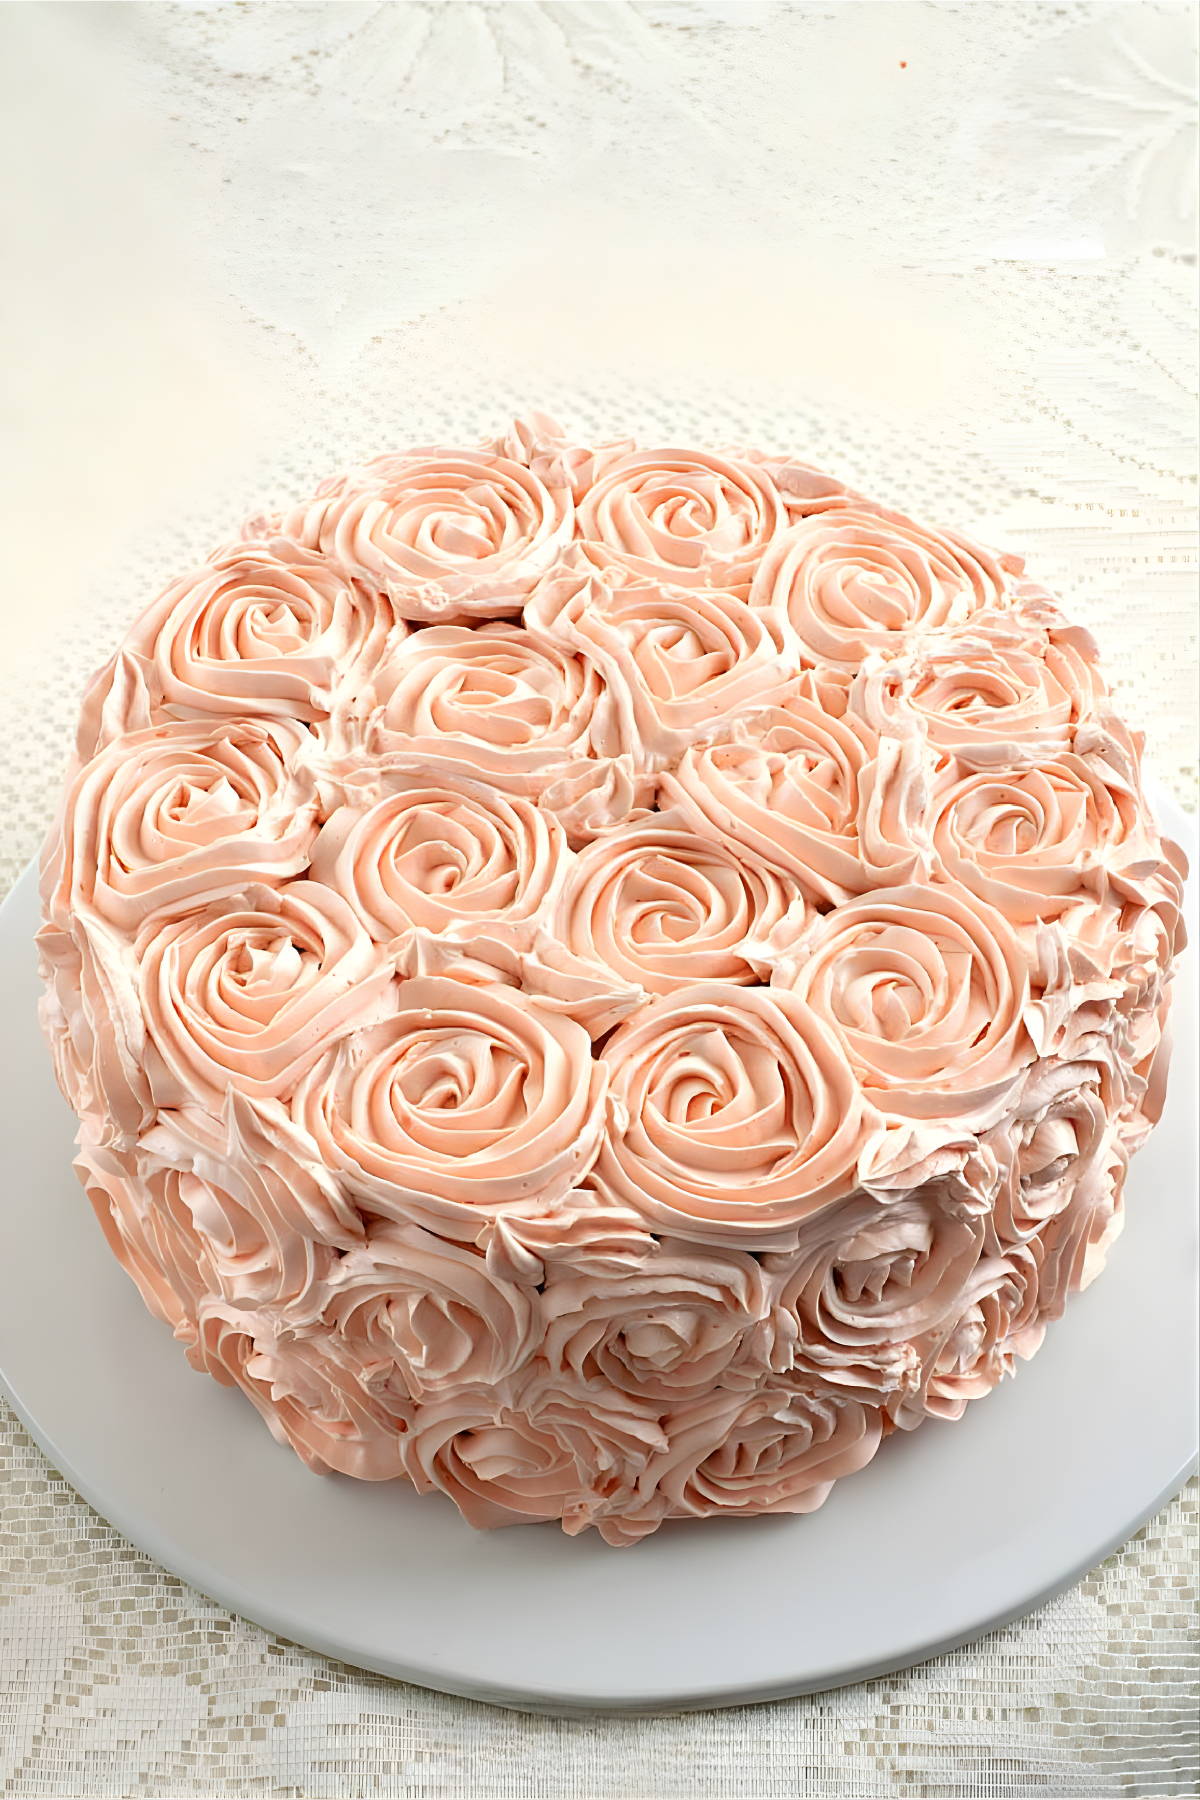
With dense chocolate layers, glossy ganache, and smooth buttercream rosettes, this Rosette Cake balances rich cocoa tones with a soft, even texture that stays firm from the first slice to the last.
I made this Rosette Cake for my eldest daughter’s 8th birthday. She wanted something a little more “grown up” than her usual fondant cakes, and since the theme of her party was “high tea,” I thought this would be perfect. It was my first time making both a Rosette Cake and a mud cake, so I was a bit nervous. I wanted it to taste as good as it looked.
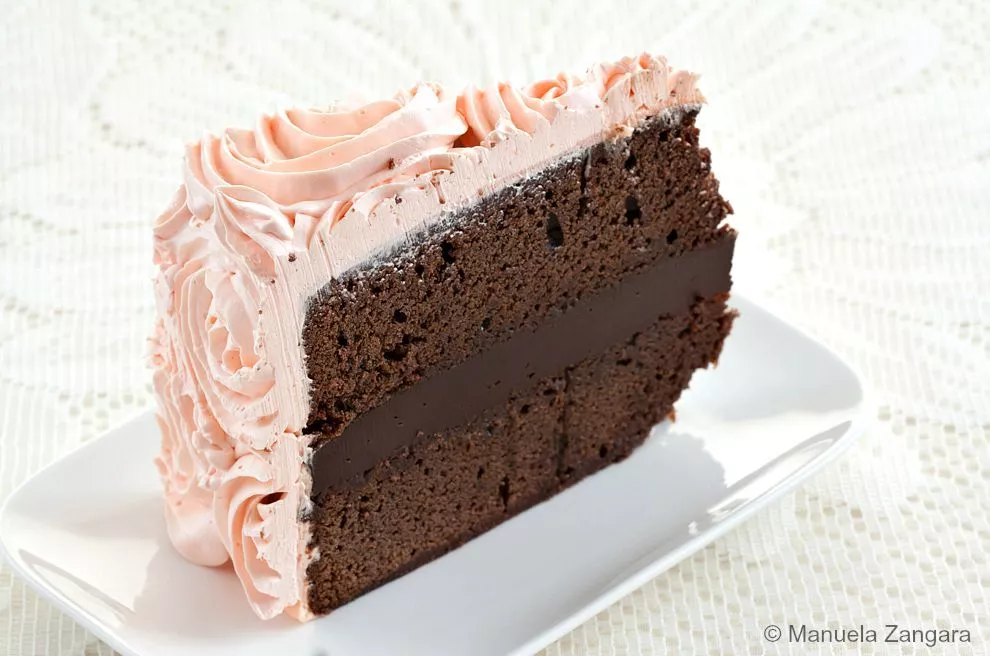
The cake turned out rich, dense, and very chocolatey. It wasn’t overly sweet, which is always a plus in my book. The real revelation, though, was the Swiss meringue buttercream. I had never made it before, and I fell in love immediately.
It’s smoother, glossier, and lighter than the traditional buttercream I used to make. It’s less sweet and holds its shape firmly, making it ideal for piping rosettes that stay neat and elegant.
At first, I planned to make a single mud cake, but then I decided on a double layer so I could have two rows of rosettes on the side. It looked stunning, but it turned out to be quite a tall cake, and we had chocolate mud cake for days after the party, not that anyone complained!
Next time, I’ll split the ganache into two thinner layers instead of one thick one. It would make it easier to slice and more balanced in texture.
Still, this cake was such a joy to make. The piping took no more than 10 minutes, but the buttercream preparation was the real labour of love.
What I Love About This Rosette Cake
- Makes a rich chocolate mud cake with a firm yet moist crumb that’s perfect for decorating.
- Uses Swiss meringue buttercream for a smooth, elegant finish that’s light and not overly sweet.
- Brings together three classic techniques in one recipe with mud cake, ganache, and buttercream.
Key Ingredients for Rosette Cake
Dark Chocolate
Adds depth and richness to both the mud cake and ganache. Good-quality dark chocolate gives a smooth texture and an intense cocoa flavour.
Butter
Provides structure and moisture, keeping the crumb soft even after refrigeration. Melted butter helps the chocolate blend evenly through the batter.
Swiss Meringue Buttercream
Whipped over gentle heat, this buttercream is smooth, stable, and less sweet than regular versions. It holds rosettes firmly and finishes the cake with a clean look.
Find the complete list with measurements in the recipe card below.
How to Make Rosette Cake
Mud Cakes
Step 1: Preheat the oven to 180°C–160°C fan-forced (355°F–320°F). Line two 23 cm – 9-inch round springform pans with baking paper; grease and lightly flour the sides.
Step 2: Melt the butter over medium-low heat, then add the chocolate, sugar, and 2 cups of cold water. Stir for 3–4 minutes until smooth. Transfer to a large bowl and cool for 10 minutes.
Step 3: Add the lightly beaten eggs and stir to combine.
Step 4: Add the flours and cocoa powder and mix until smooth.
Step 5: Divide the batter between the prepared pans.

Step 6: Bake for about 1 hour and 30 minutes, or until a skewer inserted in the centre comes out with moist crumbs.
Step 7: Leave in the pans for 10 minutes, then turn out onto a wire rack to cool completely.
Chocolate Ganache
Step 1: Heat the cream to a simmer, then remove from the heat.
Step 2: Add the chopped chocolate all at once and let it stand for 3 minutes.
Step 3: Whisk until smooth and fully combined.
Step 4: Line the base of a 23 cm – 9-inch springform pan with baking paper and pour in the warm ganache.

Step 5: Set aside to cool completely and set firm.
Sugar Syrup
Step 1: Heat the water and sugar in a saucepan until the sugar dissolves. Cool completely.

Step 2: Stir in the liqueur, if using.
Assembling the Cake
Step 1: Level both cakes with a sharp serrated knife. If frozen, let them half-defrost before levelling for a cleaner cut.
Step 2: Prick the surfaces with a toothpick and brush with sugar syrup. Add only as much as each layer absorbs without soaking.
Step 3: Unmould the ganache disc onto one levelled cake, then place the second cake on top, smoothest side up.
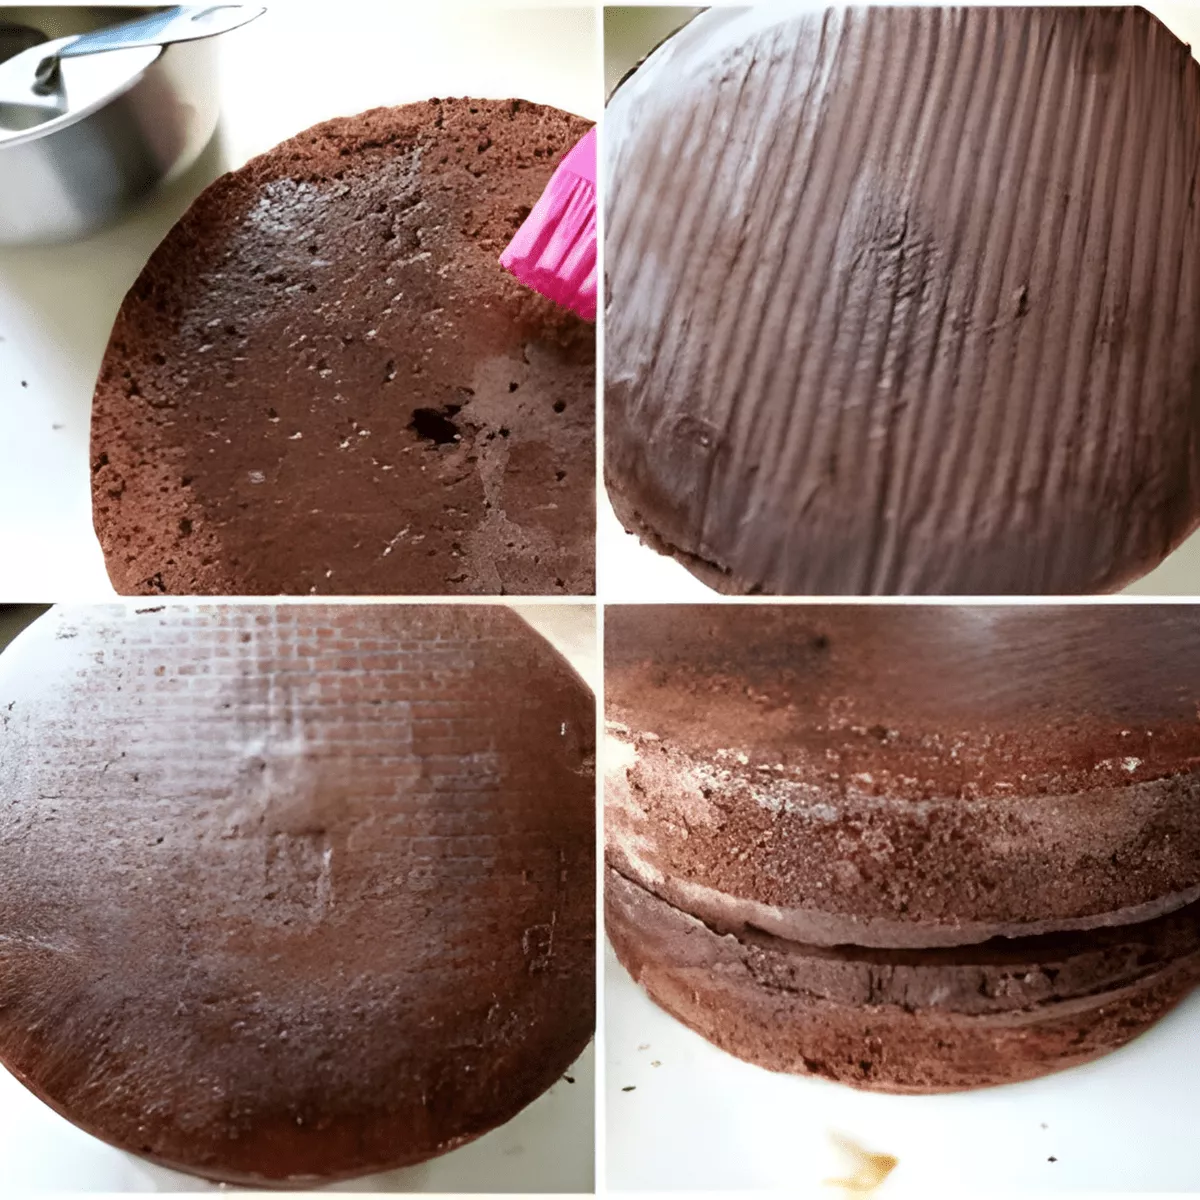
Step 4: Cover and refrigerate overnight.
Swiss Meringue Buttercream
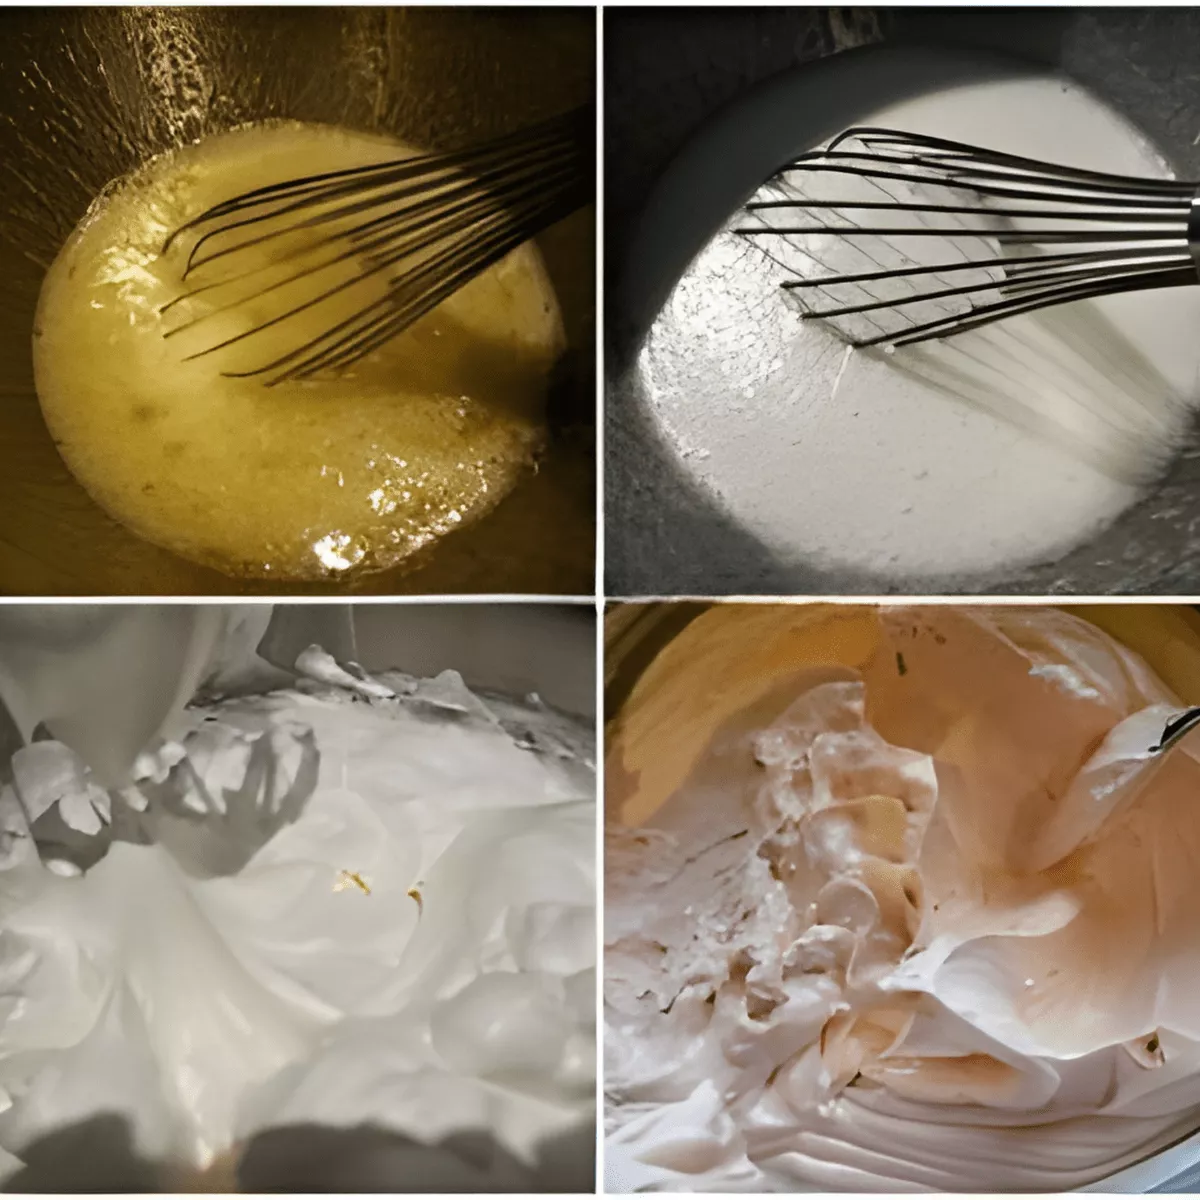
Step 1: Set the mixer’s heatproof bowl over a pan of simmering water and add egg whites, sugar, and salt.
Step 2: Whisk constantly by hand until warm to the touch and the sugar has dissolved.
Step 3: Fit the bowl to the mixer with the whisk. Start on low, then increase to medium-high. Whisk to stiff peaks and until the meringue is fluffy, glossy, and fully cool (about 10 minutes).
Step 4: On medium-low, add the butter a few tablespoons at a time, mixing well after each addition. Whisk in the vanilla extract once all the butter is incorporated.
Step 5: Switch to the paddle and beat on low until the frosting is completely smooth and most air bubbles are gone (about 2 minutes), scraping the bowl as needed.
Step 6: To tint, use gel-paste colours. Add the colour with the vanilla extract if you like.
Decorating
Step 1: Apply a thin crumb coat. Keep a separate bowl of buttercream for piping so crumbs do not transfer.
Step 2: Use a crumb-coat colour similar to your rosettes.
Step 3: Begin icing from the top, then move to the sides. Use a cake spatula to smooth the surface as evenly as possible. Once fully covered in icing, refrigerate the cake until firm.

Step 4: Once firm, begin decorating.
Step 5: Fit a piping bag with a Wilton 1M tip and fill with Swiss meringue buttercream.
Step 6: Twist the end and squeeze to push out any trapped air.
Step 7: Mark rose positions by lightly pressing a round cookie cutter into the frosting around the cake, leaving small gaps between circles.
Step 8: Pipe each rose from the centre outward to the circle’s edge; work around the sides first, then the top, leaving the centre of the cake for last.
Note: If large roses leave empty areas, add a small swoop in the same direction as the neighbouring rose to fill the gap.
Step 9: Serve and enjoy.
Frequently Asked Questions
Yes. It’s optional. You can replace it with a teaspoon of vanilla extract or leave it out completely.
Always chill the crumb-coated cake before piping and refrigerate the finished cake until serving. The buttercream sets firm in the fridge, but softens perfectly once brought back to room temperature.
Mix steadily and watch the temperature. If it ever looks uneven, chill the bowl for 10 to 15 minutes, then whip again until it’s smooth and glossy. The buttercream will always come back together.
Yes. Keep it refrigerated in an airtight container. Before using, bring it to room temperature and re-whip until smooth and fluffy.
Warm a chef’s knife under hot water, wipe it dry, and cut straight down. Wipe the blade between cuts so the rosettes stay neat and the layers don’t drag.
Extra Help from the Kitchen
Use Cold Water for the Batter – Starting with cold water helps the melted chocolate mixture cool more gradually, preventing the eggs from cooking when added.
Cut the Ganache While Firm – Slice the ganache disc straight from the fridge. It holds its shape better and is easier to lift onto the cake without breaking.
Keep the Mixer Bowl Dry – Any trace of water in the bowl can prevent egg whites from whipping properly for the Swiss meringue. Wipe it with a little vinegar before starting.
Pipe in a Cool Room – Warm conditions soften buttercream quickly. Work in a cool kitchen to keep rosettes neat and defined.
Use a Lazy Susan or Turntable – Turning the cake while piping helps maintain even spacing and consistent swirl direction across all rosettes.
Variations and Twists
Add Coffee to the Batter – Replace half of the water with strong brewed coffee to deepen the chocolate flavour and give the cake a richer aroma.
Use Milk Chocolate for the Ganache – Swap the dark chocolate for milk chocolate if you prefer a milder and sweeter filling.
Layer with Raspberry Jam – Spread a thin layer of raspberry jam over the ganache before adding the second cake for a subtle fruit contrast.
Flavour the Syrup with Orange Peel – Add a strip of orange peel to the sugar syrup while heating to bring a hint of citrus freshness. Remove it before brushing the cakes.
Create an Ombre Rosette Cake – Divide the Swiss meringue buttercream into bowls and tint each one with slightly deeper shades of the same colour. Pipe from the base upward to create a smooth ombre effect that highlights the rosettes’ texture.
Storage and Shelf Life
Store the Rosette Cake in an airtight container in the refrigerator for up to 5 days. Keep it away from strong-smelling foods to preserve the buttercream’s flavour. Bring it to room temperature before serving so the texture softens slightly.
The mud cakes and ganache can be frozen separately for up to 1 month, wrapped well in cling film, and placed in freezer-safe bags. Thaw them overnight in the refrigerator before assembling.
To reheat individual slices, warm them in the microwave for about 10 seconds at low power to soften the crumb without melting the icing.
Other Cakes Worth Celebrating
Rosette Cake Recipe
With dense chocolate layers, glossy ganache, and smooth buttercream rosettes, this Rosette Cake balances rich cocoa tones with a soft, even texture that stays firm from the first slice to the last.
Ingredients
Mud Cakes
- 500 g – 1.1 lbs butter – chopped
- 400 g – 14 oz dark chocolate – chopped
- 900 g – 4 cups caster sugar
- 480 ml – 2 cups cold water
- 4 eggs – lightly beaten
- 250 g – 2 cups self-raising flour – sifted
- 380 g – 3 cups plain flour – sifted
- 60 g – ½ cup cocoa powder – sifted
Chocolate Ganache
- 400 g – 14 oz dark chocolate – chopped
- 330 ml – 1 1/3 cups heavy cream
Sugar Syrup
- 240 ml – 1 cup water
- 120 g – ½ cup sugar
- 1 shot rum – optional
Swiss Meringue Buttercream
- 5 large egg whites
- 225 g – 1 cup + 2 tbsp sugar
- Pinch of salt
- 400 g – 1 lb unsalted butter – cut into tablespoons, room temperature
- 1 ½ tsp vanilla extract
- Food colouring – optional
Instructions
Mud Cakes
-
Preheat the oven to 180°C–160°C fan-forced (355°F–320°F). Line two 23 cm – 9-inch round springform pans with baking paper; grease and lightly flour the sides.
-
Melt the butter over medium-low heat, then add the chocolate, sugar, and 2 cups of cold water. Stir for 3–4 minutes until smooth. Transfer to a large bowl and cool for 10 minutes.
-
Add the lightly beaten eggs and stir to combine.
-
Add the flours and cocoa powder and mix until smooth.
-
Divide the batter between the prepared pans.
-
Bake for about 1 hour and 30 minutes, or until a skewer inserted in the centre comes out with moist crumbs.
-
Leave in the pans for 10 minutes, then turn out onto a wire rack to cool completely.
Chocolate Ganache
-
Heat the cream to a simmer, then remove from the heat.
-
Add the chopped chocolate all at once and let it stand for 3 minutes.
-
Whisk until smooth and fully combined.
-
Line the base of a 23 cm – 9-inch springform pan with baking paper and pour in the warm ganache.
-
Set aside to cool completely and set firm.
Sugar Syrup
-
Heat the water and sugar in a saucepan until the sugar dissolves. Cool completely.
-
Stir in the liqueur, if using.
Assembling the Cake
-
Level both cakes with a sharp serrated knife. If frozen, let them half-defrost before levelling for a cleaner cut.
-
Prick the surfaces with a toothpick and brush with sugar syrup. Add only as much as each layer absorbs without soaking.
-
Unmould the ganache disc onto one levelled cake, then place the second cake on top, smoothest side up.
-
Cover and refrigerate overnight.
Swiss Meringue Buttercream
-
Set the mixer’s heatproof bowl over a pan of simmering water and add egg whites, sugar, and salt.
-
Whisk constantly by hand until warm to the touch and the sugar has dissolved.
-
Fit the bowl to the mixer with the whisk. Start on low, then increase to medium-high. Whisk to stiff peaks and until the meringue is fluffy, glossy, and fully cool (about 10 minutes).
-
On medium-low, add the butter a few tablespoons at a time, mixing well after each addition. Whisk in the vanilla extract once all the butter is incorporated.
-
Switch to the paddle and beat on low until the frosting is completely smooth and most air bubbles are gone (about 2 minutes), scraping the bowl as needed.
-
To tint, use gel-paste colours. Add the colour with the vanilla extract if you like.
Decorating
-
Apply a thin crumb coat. Keep a separate bowl of buttercream for piping so crumbs do not transfer.
-
Use a crumb-coat colour similar to your rosettes.
-
Begin icing from the top, then move to the sides. Use a cake spatula to smooth the surface as evenly as possible. Once fully covered in icing, refrigerate the cake until firm.
-
Once firm, begin decorating.
-
Fit a piping bag with a Wilton 1M tip and fill with Swiss meringue buttercream.
-
Twist the end and squeeze to push out any trapped air.
-
Mark rose positions by lightly pressing a round cookie cutter into the frosting around the cake, leaving small gaps between circles.
-
Pipe each rose from the centre outward to the circle’s edge; work around the sides first, then the top, leaving the centre of the cake for last.
Note: If large roses leave empty areas, add a small swoop in the same direction as the neighbouring rose to fill the gap.
-
Serve and enjoy.
Recipe Notes
I baked the cakes a week before the party and froze them. The day before, I levelled them, made the ganache, and assembled the layers with a crumb coat. On the morning of the party, I prepared the Swiss meringue buttercream and piped the rosettes.


What a stunning cake! I think I would be too nervous to attempt something so pretty, but my daughter is very good with baking and decorating…I’m going to show this to her!