A fresh batch of Australian Damper always feels like a treat. The inside stays soft, and the crust turns crisp, making it an easy loaf to serve with soup or simple spreads.
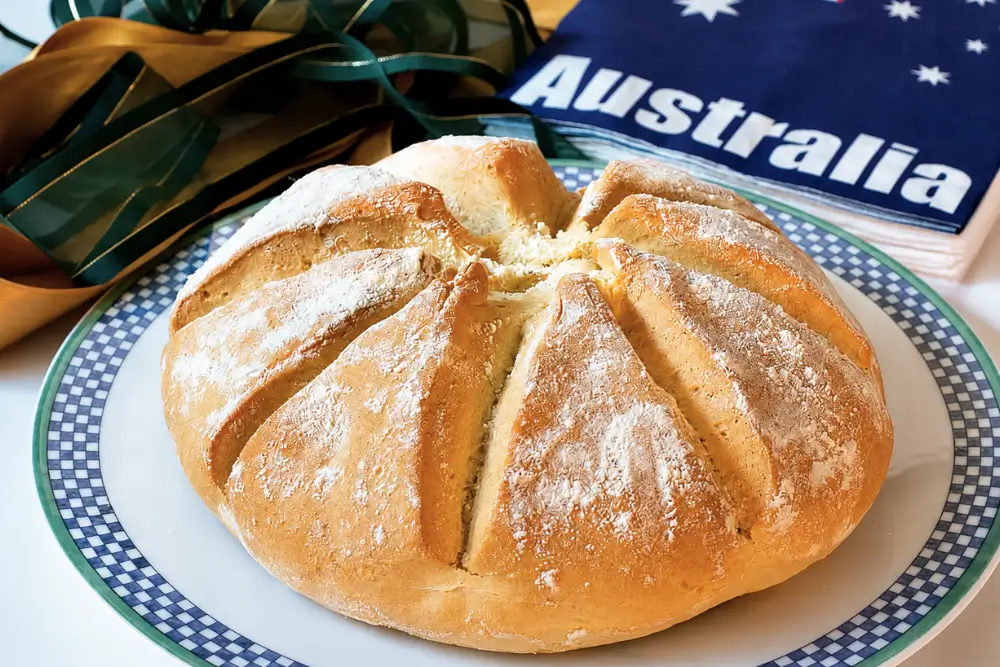
I made this slightly more modern take on Damper for my “Come have some Aussie tucker, mate!” event, and it fitted in so well with the rest of the food.
It came out warm and simple, the kind of bread everyone reaches for straight away. It was lovely to share at the table. Enjoy!
What is a Damper?
Damper is a simple Australian bush bread made with flour, salt, and water, and sometimes a bit of butter to soften the crumb. You shape the dough into a round loaf and bake it until the outside firms up while the inside stays tender.
It originally came from campfire cooking, so the method is quick and doesn’t rely on yeast. This made it practical for people travelling long distances.
The flavour is mild and comforting. The texture sits between a scone and a quick bread. It is easy to serve alongside savoury meals or enjoy with something sweet when you want something warm and homemade.
Key Ingredients for Damper
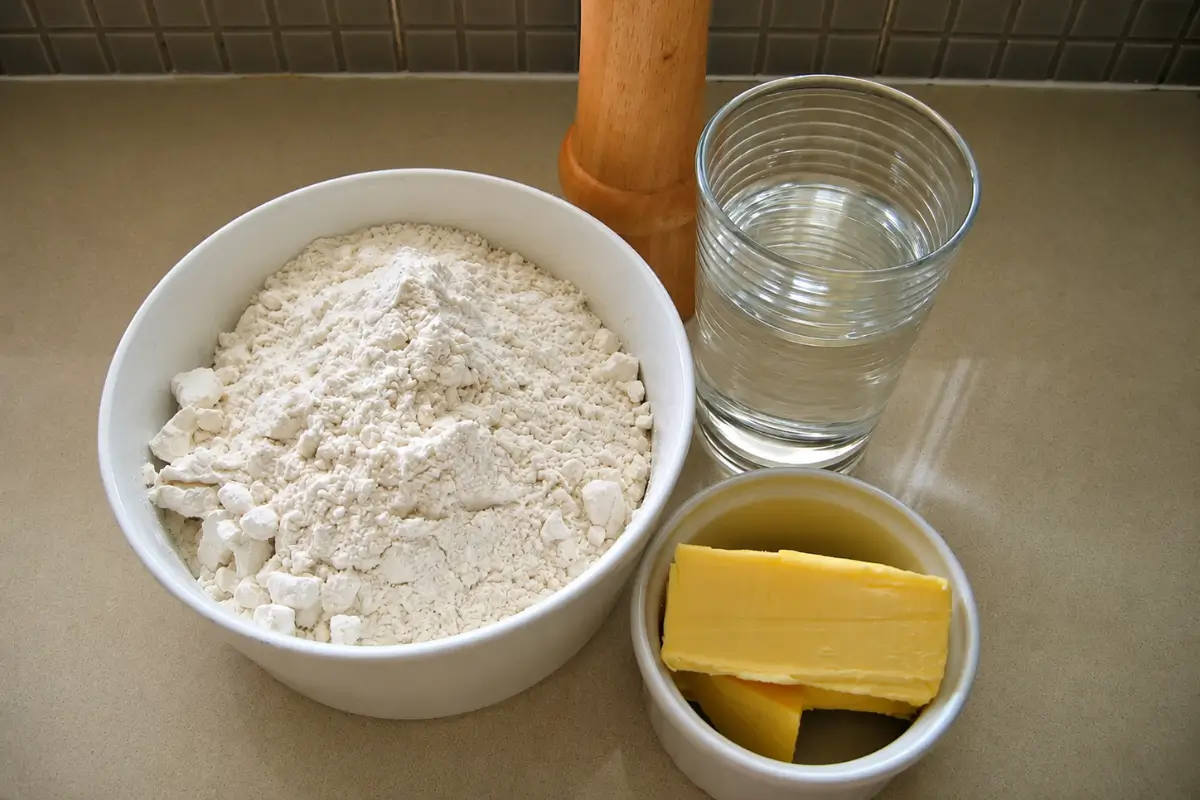
Self-Raising Flour
Gives the dough its lift and helps it bake up light. The leavening already mixed into the flour activates as soon as the dough comes together.
Butter
Adds flavour and helps create a soft crumb inside. Using cold butter works well because it breaks into small bits as you mix. This will give the Damper a lighter texture once baked.
Salt
Enhances the flavour and gives the dough a clearer, well-rounded taste. A light pinch goes a long way.
Find the complete list with measurements in the recipe card below.
How to Make Damper
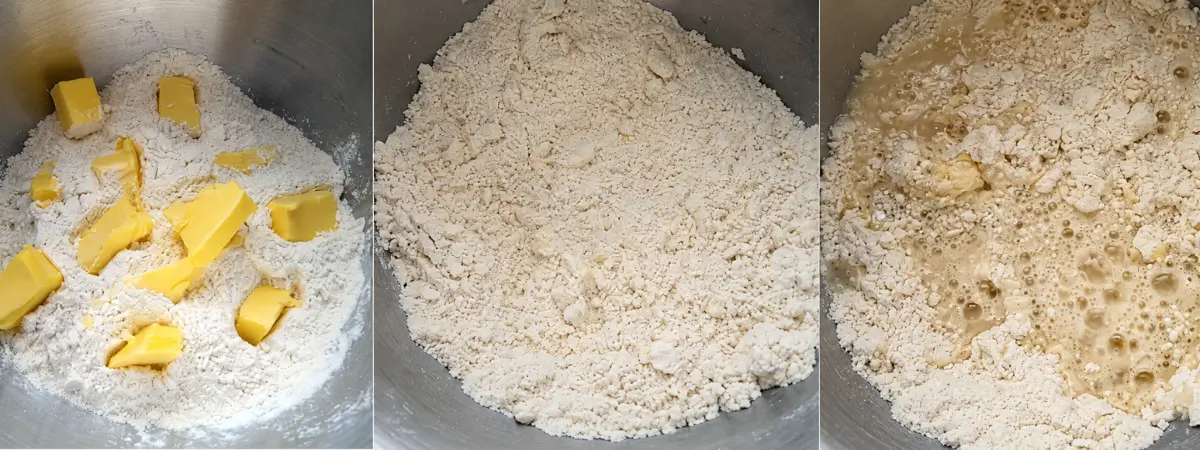
Step 1: Put the flour, salt, and butter in the bowl of an electric mixer fitted with a dough hook. Mix until the mixture looks like breadcrumbs. Add the water and continue mixing, adding 1 or 2 tablespoons extra water if needed, until the dough becomes smooth.
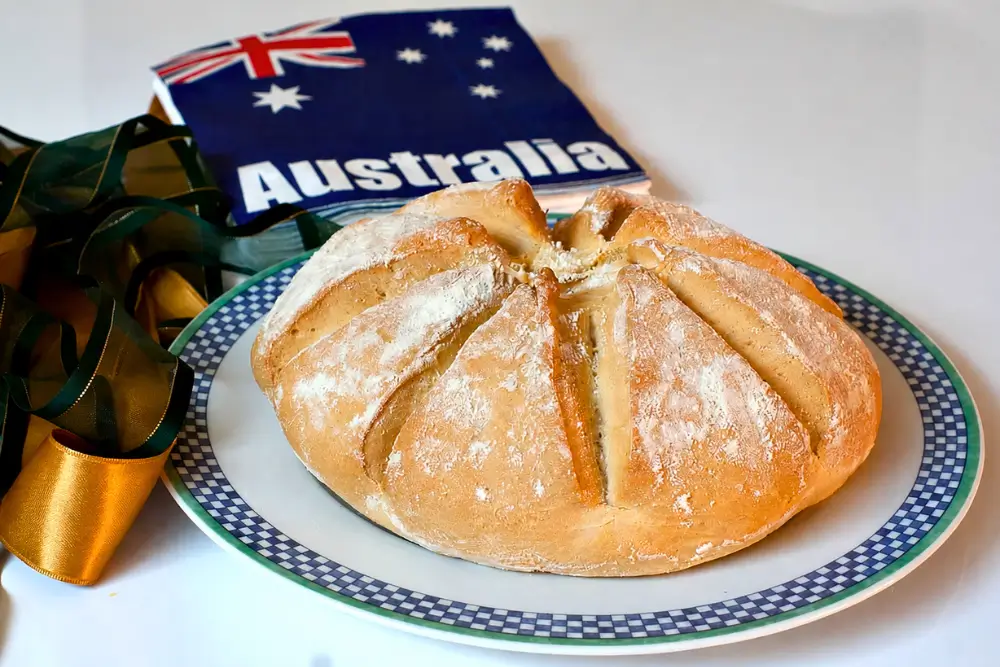
Step 2: Shape the dough into an 18 cm – 7 in disc and place it on a baking tray lined with baking paper. Mark 8 wedges on the top with a sharp knife dipped in flour, and dust the damper with a little extra flour.

Step 3: Bake in a preheated oven at 200°C – 390°F for 30–40 minutes or until cooked through and sounding hollow when tapped on the base. Transfer to a wire rack for 5 minutes to cool.
Step 4: Serve warm or at room temperature. Store in an airtight container for a few days.
Frequently Asked Questions
Yes. Rub the butter into the flour with your fingertips until it looks like breadcrumbs, then add the water and mix until the dough becomes smooth.
Lift the loaf and tap the base with your fingertips. A hollow sound means the centre is done. If it sounds heavy, return it to the oven for a few more minutes until the top looks lightly golden and feels firm.
Yes, but wholemeal flour absorbs more liquid and gives a firmer crumb. Add a little extra water until the dough feels smooth, and expect the loaf to need a few more minutes in the oven.
Mix only until the dough comes together, as extra handling makes it firm and leads to a dense crumb. Check the oven is at 200°C – 390°F so it rises properly.
Extra Help from the Kitchen
Use a Lightly Floured Surface – A thin dusting of flour keeps the dough from sticking and makes it easier to shape without adding too much extra flour.
Check Your Oven Temperature – Use a separate oven thermometer to confirm the heat is truly at 200°C – 390°F, which helps the centre cook evenly.
Flour the Knife Lightly – Dip the blade in flour before refreshing the cuts so the top opens cleanly as the dough rises in the oven.
Let the Steam Escape After Baking – Keeping the Damper uncovered during cooling stops moisture from settling on the surface and helps maintain a dry crust.
Variations and Twists
Cheese and Herb Damper – Stir 50 g – 1¾ oz grated cheddar or Parmesan and 1 tablespoon finely chopped rosemary into the dry ingredients before adding the water. The cheese melts gently through the loaf, and the herbs add aroma.
Olive and Sundried Tomato Damper – Fold 60 g – 2 oz chopped pitted green olives and 50 g – 1¾ oz chopped sundried tomatoes into the dough after mixing. These additions bring a Mediterranean flavour to the loaf.
Beer Damper – Replace up to 100 ml – 3½ fl oz of the water with a light ale or lager. The beer gives a subtle flavour and keeps the dough easy to work with.
Fruit and Nut Damper – Add 75 g – 2½ oz dried fruit and 30 g – 1 oz chopped nuts once the dough is mixed. This creates a slightly sweeter loaf suited to breakfast or afternoon snacks.
Garlic-Butter Damper – Brush the shaped dough with 20 g – ¾ oz melted butter mixed with 1 teaspoon garlic powder before baking. The garlic butter gives the crust more flavour as it bakes.
Storage and Shelf Life
Store the Damper in an airtight container at room temperature for 2–3 days to keep the crumb from drying out. Freeze slices or whole portions in sealed bags for up to 2 months, as the bread holds its texture well once wrapped properly.
Thaw at room temperature until soft again. Reheat in a low oven at 150°C – 300°F until warm.
More Homemade Bread Ideas
Australian Damper Recipe
Ingredients
- 450 g – 3 cups self-raising flour
- 80 g – 5 ½ tbsp butter – chilled and cubed
- 185 ml – ¾ cup water
- 1 pinch of salt
Instructions
- Put the flour, salt, and butter in the bowl of an electric mixer fitted with a dough hook. Mix until the mixture looks like breadcrumbs. Add the water and continue mixing, adding 1 or 2 tablespoons extra water if needed, until the dough becomes smooth.
- Shape the dough into an 18 cm – 7 in disc and place it on a baking tray lined with baking paper. Mark 8 wedges on the top with a sharp knife dipped in flour, and dust the damper with a little extra flour.
- Bake in a preheated oven at 200°C – 390°F for 30–40 minutes or until cooked through and sounding hollow when tapped on the base. Transfer to a wire rack for 5 minutes to cool.
- Serve warm or at room temperature. Store in an airtight container for a few days.


This was delicious! I love how easy it was to prepare. A huge hit with my kids.
Your damper looks delicious and all round good tucker 🙂
I love to bake bread…and I love recipes with no yeast, just because I am always in a hurry and have no time to wait yeast to work.
Yes, is some close to Irish Soda, but this one has butter, I think that make a lot of difference in the texture, right?
Yes! Butter makes a big difference… in fact I thought that it tasted halfway between bread and scones! It’s very good for breakfast too! 🙂
Looks great and so few ingredients!