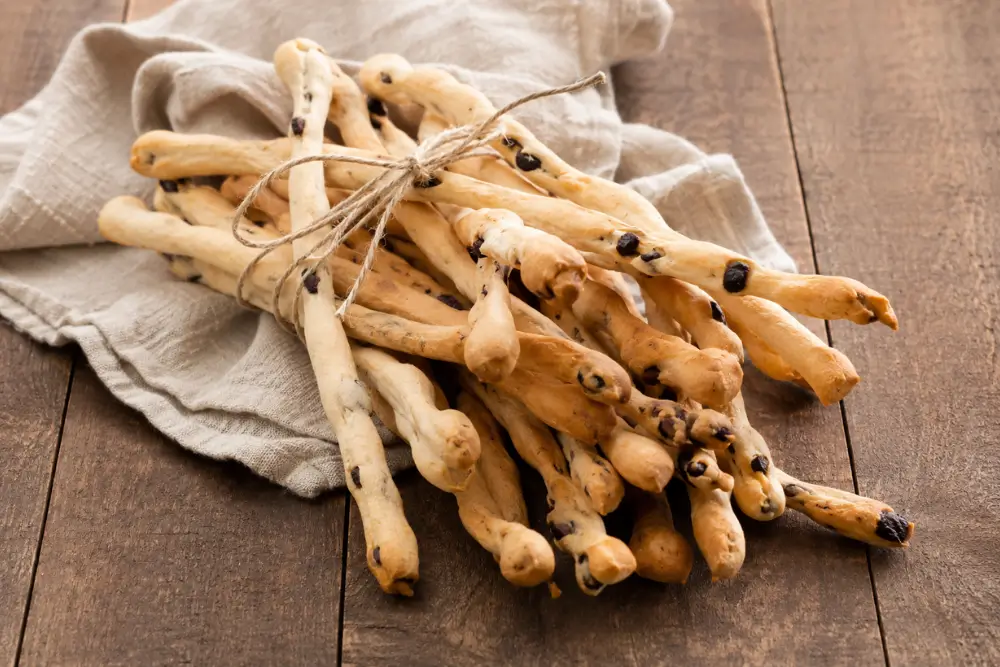
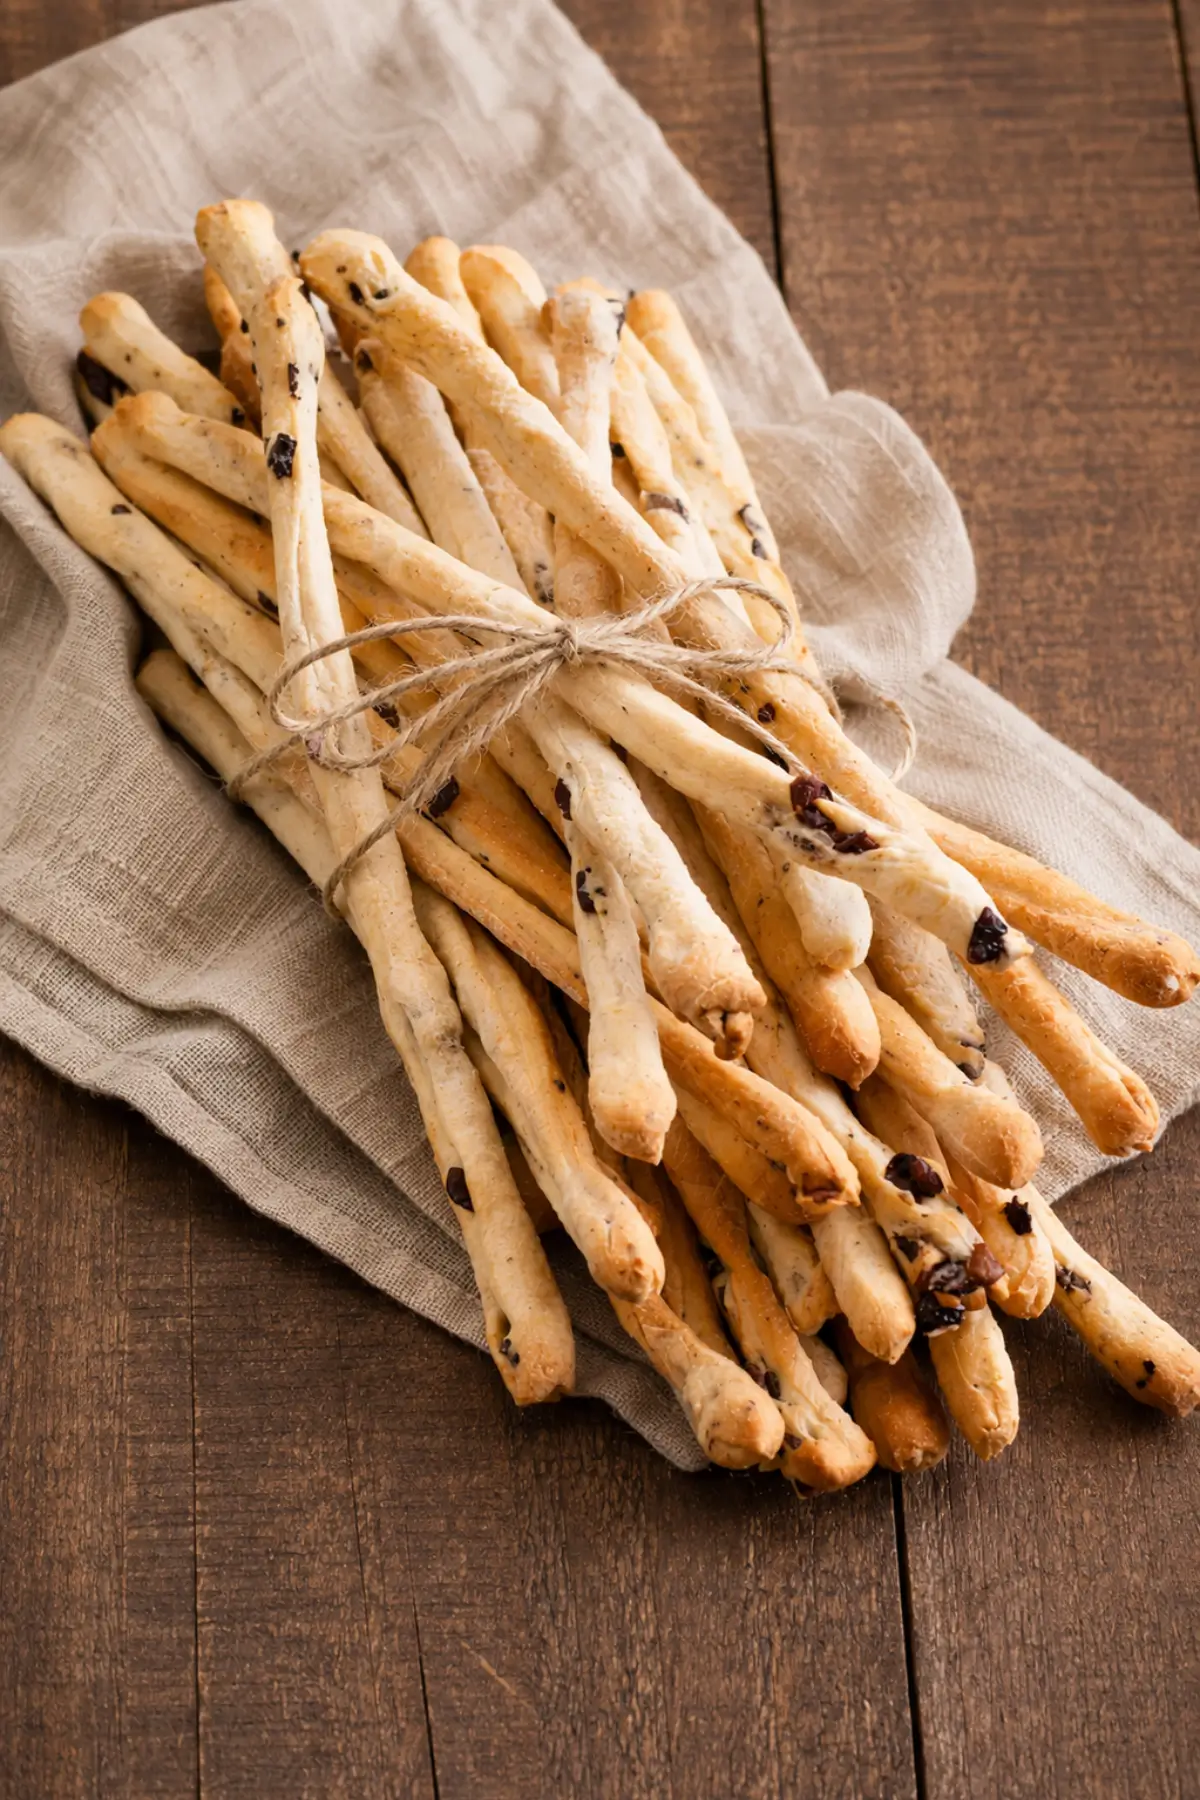
Made from a simple dough and shaped into thin sticks, these Olive Breadsticks are baked with olives for a savoury snack perfect for sharing.
Olive Breadsticks, also known as Grissini alle Olive, are a variation of the traditional grissini stirati recipe that I have shared here before.
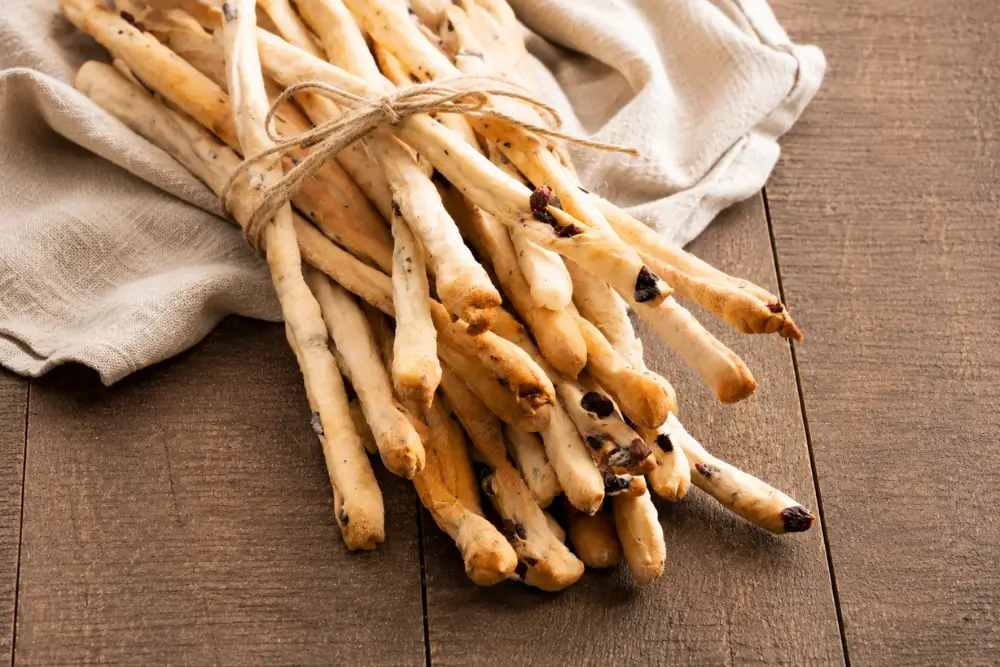
I often make my own breadsticks, as they taste far better than any store-bought variety. I love their crunchy texture and how well they work as a snack or appetiser. I often serve them as part of an antipasto platter alongside cold cuts and cheeses.
What I enjoy most is how easy they are to make, even easier than bread. You can also involve your kids in the shaping process, as the pieces of dough are pulled by hand to create long sticks, an activity my children thoroughly enjoy.
Try them and let me know how you like them! Buon appetito.
Why We Love Black Olive Breadsticks
- Good option when you want something savoury that doesn’t feel too rich or filling.
- Crisp on the outside and soft in the middle, which makes them really hard to stop eating once you start.
- Works well with dips, cheeses, or even straight from the tray, which makes it easy to enjoy on its own.
Key Ingredients for Olive Breadsticks
Black Olives
Olives bring a savoury note and a bit of saltiness throughout the dough. Firm varieties like Kalamata or similar work well, as they hold their shape and don’t release too much moisture.
All-Purpose Flour
Gives the dough its shape and helps create a soft inside with a slight chew. Regular plain flour works well here and keeps the texture balanced without making the breadsticks too firm.
Active Dry Yeast
Yeast helps the dough rise and gives the breadsticks a lighter texture. Always check that your yeast is fresh, as older yeast may not activate well.
Extra Virgin Olive Oil
Adds gentle richness and a subtle flavour that blends into the dough. A mild extra virgin olive oil works best, as very strong oils can change the overall taste.
Durum Wheat Flour
Durum flour adds a slightly coarse texture and contributes to a light golden finish. It also gives a subtle contrast against the softer interior.
Find the complete list with measurements in the recipe card above.
How to Make Olive Breadsticks
Step 1: In a measuring jug, mix the lukewarm water, sugar, and active dry yeast. Set aside for 5 minutes, until frothy.
Step 2: Put the flour in the bowl of an electric mixer fitted with the dough hook attachment and start mixing on low speed. Gradually pour in the water and yeast mixture, followed by the melted butter and extra virgin olive oil. Increase to medium speed and knead for 2 minutes.
Step 3: Add the salt and continue kneading for 8 minutes.
Step 4: Add the chopped olives and knead for a further 2 minutes.
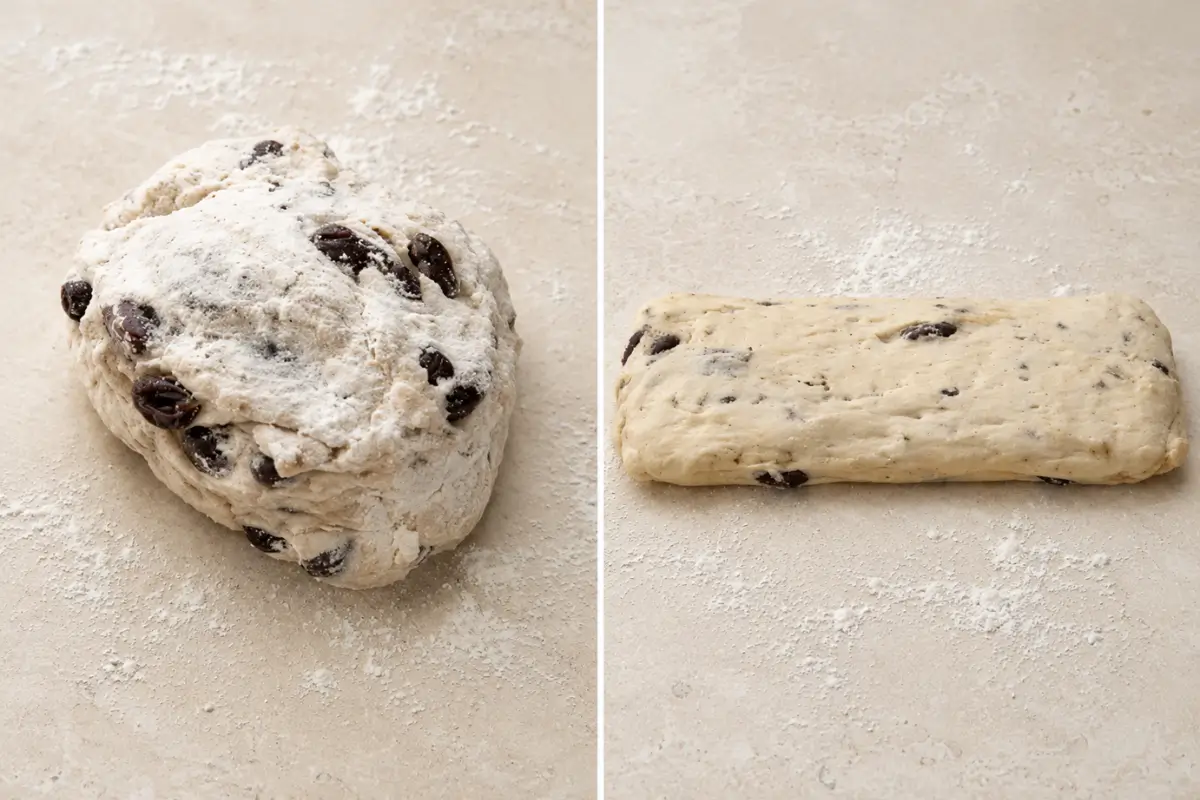
Step 5: When the dough is ready, shape it into a 2 cm – ¾ inch thick rectangle, with the shorter side measuring about 10 cm – 4 inches.
Step 6: Brush the top of the dough with olive oil and dust with durum wheat flour. Cover with a clean tea towel and leave to rise for 2 hours.
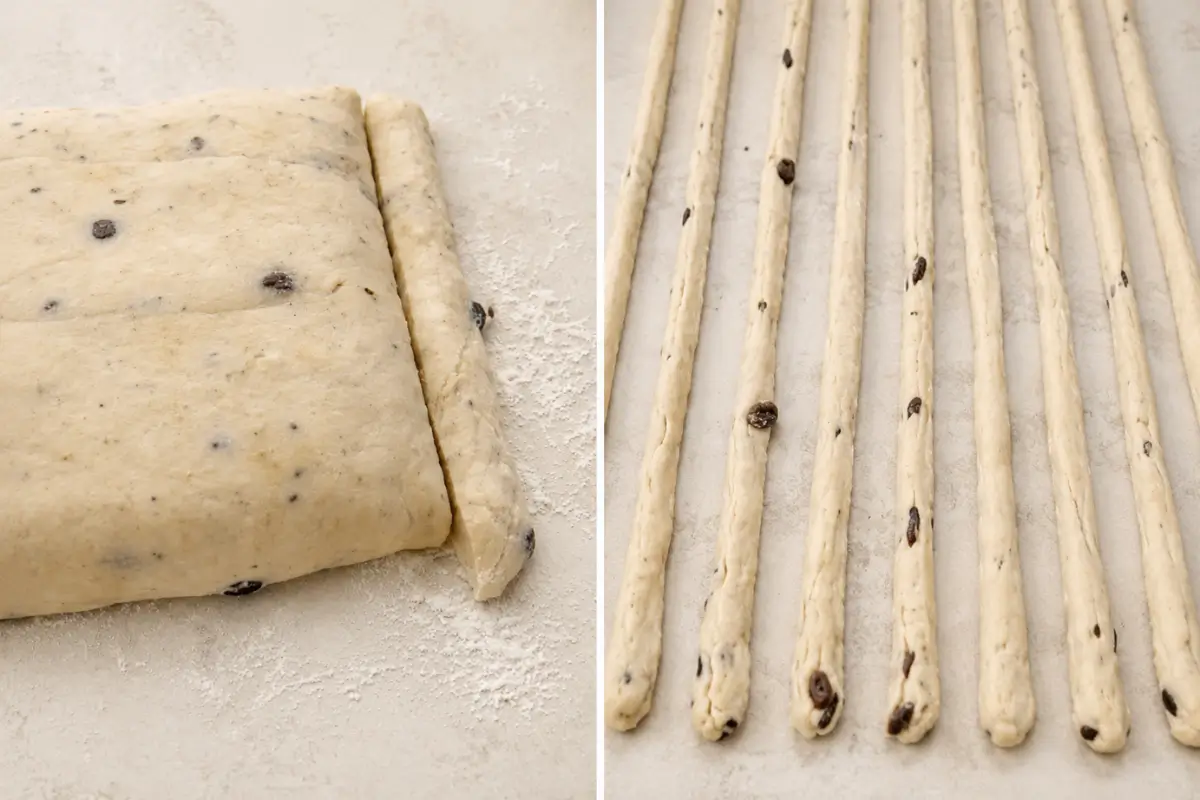
Step 7: Using a sharp knife, cut the dough along the shorter side into strips. Gently pull each piece from the centre to form breadsticks.
Step 8: Place them on an oven tray lined with baking paper and bake at 200°C – 390°F for 15–20 minutes, or until golden brown.
Step 9: Transfer the breadsticks to a wire rack and leave to cool completely before serving.
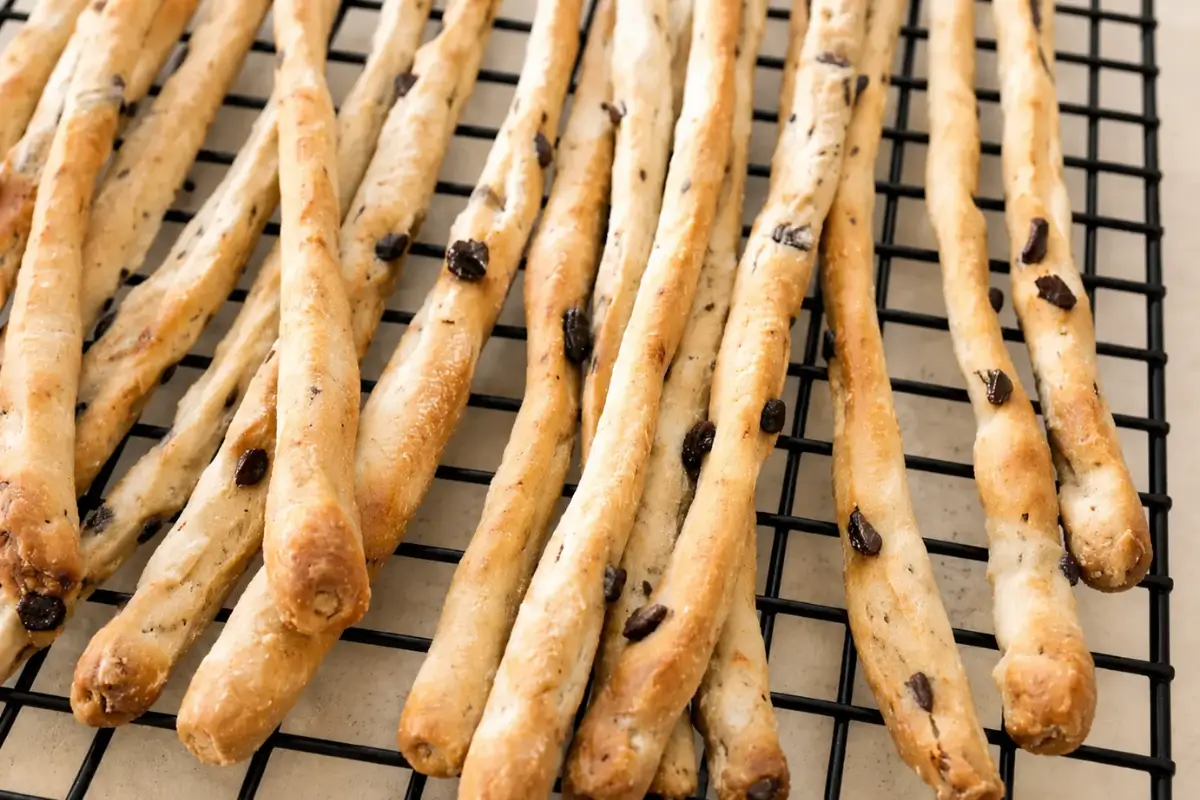
Step 10: Arrange the olive breadsticks on a serving board or plate and serve.
Frequently Asked Questions
Yes, you can. Skip the activation step and mix it directly with the flour, then proceed with the recipe as written.
Yes. Let them cool completely, then store in an airtight container or bag. Reheat in the oven at 180°C – 350°F until warmed through.
You can include ingredients like sun-dried tomatoes, chopped herbs, or a small amount of grated cheese. Keep additions dry and finely chopped to avoid affecting the dough consistency.
Yes, mild infused oils like garlic or herbs can be used. Choose subtle flavours that won’t compete too much with the olives.
Yes, you can knead the dough by hand. It will take a bit longer, around 10 to 12 minutes, until the dough becomes smooth and elastic.
Extra Help from the Kitchen
Check Dough Hydration Early – After the first few minutes of mixing, pause and feel the dough. If it feels too firm, add a teaspoon of water at a time. If sticky, dust lightly with flour.
Let the Dough Relax Before Stretching – If the dough resists when pulling into breadsticks, let it rest for 5 to 10 minutes. This relaxes the gluten and makes shaping easier.
Space the Breadsticks Properly – Leave a little room between each piece on the tray, as they expand slightly while baking. Crowding can lead to uneven colour and softer sides.
Lightly Flour the Work Surface – Dust the work surface lightly with flour to prevent the dough from sticking during shaping and stretching.
Adjust Baking Time for Thickness – Thicker breadsticks need a few extra minutes, while thinner ones bake faster. Keep an eye on colour rather than relying only on time.
Variations and Twists
Rosemary Olive Breadsticks – Fold finely chopped rosemary into the dough or scatter it over the oiled surface before cutting. Chop it small to help it spread evenly and avoid firm bits in the baked breadsticks.
Green Olive Breadsticks – Replace black olives with firm green olives, chopped slightly smaller as they tend to be denser with a stronger flavour. Rinse lightly if very briny, then dry well before using.
Breadsticks with Parmigiano Reggiano – Incorporate finely grated Parmigiano Reggiano into the dough, using a small amount to keep the texture balanced and evenly distributed throughout the breadsticks.
Seeded Olive Breadsticks – Scatter sesame or fennel seeds over the oiled dough before cutting and stretching. Press them lightly into the surface to help them stay in place during shaping and baking.
Whole Wheat Olive Breadsticks – Substitute part of the flour with about ⅓ whole wheat flour. Add a small splash of extra water if the dough feels tighter, as whole wheat absorbs more moisture.
Storage and Shelf Life
Store the olive breadsticks in an airtight container at room temperature for up to 4–5 days. They can be left out on the kitchen counter and remain crunchy for a few days, as long as they are kept in a dry place.
For longer storage, freeze the breadsticks in a sealed container or freezer bag for up to 2–3 months.
Thaw at room temperature, then reheat in the oven at 180°C – 350°F for a few minutes to bring back their light crispness. Avoid storing them in the fridge, as this can make them soften and lose their texture.
More Savoury Recipes to Serve
Olive Breadsticks Recipe
Equipment
Ingredients
- 500 g – 4 cups all-purpose flour
- 250 ml – 1 cup water – lukewarm
- 1 tsp sugar
- 2 g – ⅔ tsp active dry yeast
- 20 g – 1½ tbsp butter – melted
- 2 tbsp extra virgin olive oil – plus more for brushing
- ¼ tsp salt
- 4 tbsp black olives – chopped and well drained
- 2 tbsp durum wheat flour
Instructions
- In a measuring jug, mix the lukewarm water, sugar, and active dry yeast. Set aside for 5 minutes, until frothy.
- Put the flour in the bowl of an electric mixer fitted with the dough hook attachment and start mixing on low speed. Gradually pour in the water and yeast mixture, followed by the melted butter and extra virgin olive oil. Increase to medium speed and knead for 2 minutes.
- Add the salt and continue kneading for 8 minutes.
- Add the chopped olives and knead for a further 2 minutes.
- When the dough is ready, shape it into a 2 cm – ¾ inch thick rectangle, with the shorter side measuring about 10 cm – 4 inches.
- Brush the top of the dough with olive oil and dust with durum wheat flour. Cover with a clean tea towel and leave to rise for 2 hours.
- Using a sharp knife, cut the dough along the shorter side into strips. Gently pull each piece from the centre to form breadsticks.
- Place them on an oven tray lined with baking paper and bake at 200°C – 390°F for 15–20 minutes, or until golden brown.
- Transfer the breadsticks to a wire rack and leave to cool completely before serving.
- Arrange the olive breadsticks on a serving board or plate and serve.
Notes
This post may contain affiliate links. If you make a purchase through these links, I may earn a small commission at no extra cost to you.


Your recipe calls for 500 gms or 2 cups of flour. I looked up 500 gms of flour and it said that is 3 cups.
Thanks.
donna
I looked it up and it says 500g is 4 cups, I’m so confused
If you do’t have a stand-alone mixer, can you make these by hand?
Thanks for the prompt reply Manu. Thats exactly what I thought. I know it would disappear in my house. 🙂
These look fantastic Manu. I’ve wanted to make my own breadsticks for ages. Quick question – do u store these in an airtight container?
Hi Trisha! I keep them outside, on the kitchen counter. If you put them in an air-tight container they may go stale faster. Mine never last more than a day or 2. 😉
These look wonderful and seem so easy – I’m keen to try them!