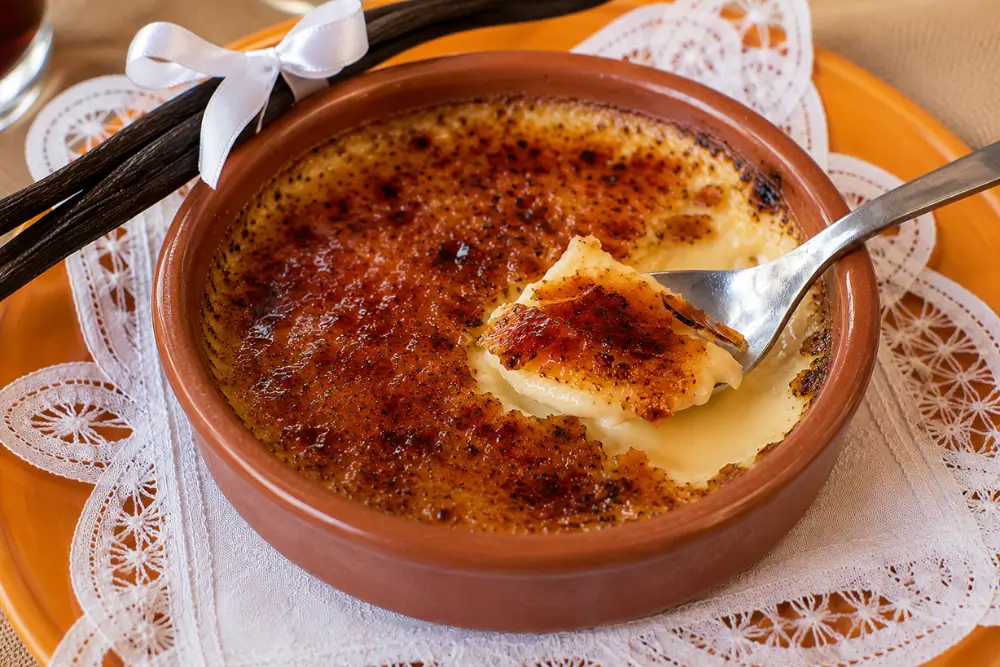
The caramel crack on top of this Crème Brûlée is unbelievably satisfying. Smooth and creamy vanilla custard makes every spoonful rich and indulgent.
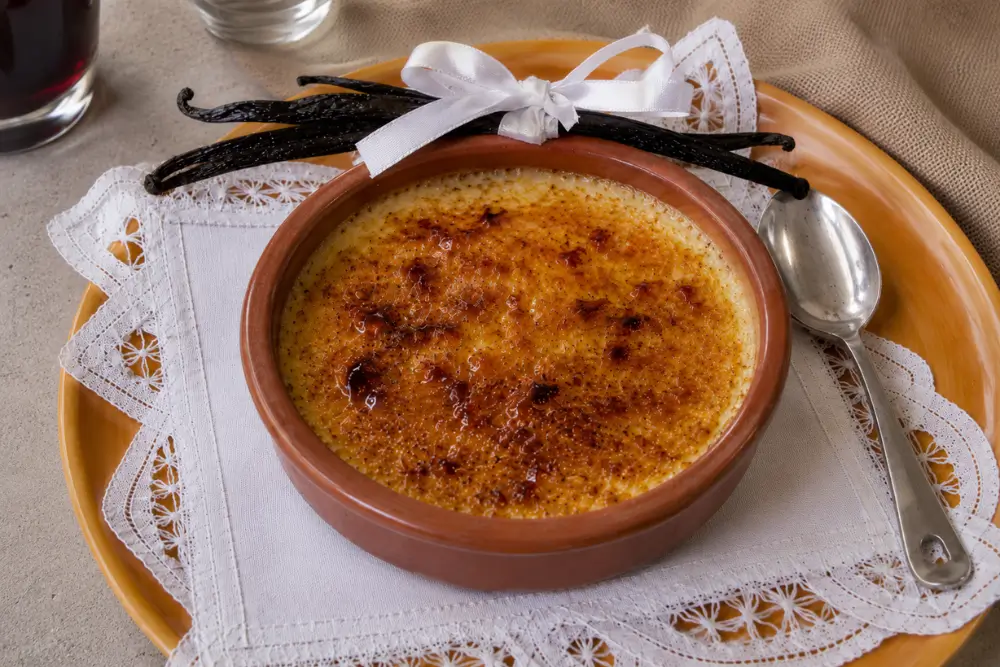
Crème brûlée is one of those classic desserts that should be in every food lover’s cookbook. It’s made with a rich vanilla custard and finished with a thin caramelised sugar topping. It’s simple yet sophisticated and always pleases people.
I personally love it, and it’s one of my husband’s weaknesses. I often make it when I have egg yolks left over from other recipes, like macarons or pavlovas.
Usually, I prepare a lighter version with coconut cream and fruits, like my Passion Fruit and Coconut Crème Brûlée. This time I decided to make the traditional crème brûlée instead.
I must admit it took me a few tries to get this recipe right. While the recipe itself is quite easy, the baking part gave me plenty of problems.
My crème brûlées would either separate and curdle or refuse to set properly. I tried different methods, cooking times, and temperatures.
Eventually, I found a method where the cream is cooked on the stove for a couple of minutes before going into the oven. It completely changed the results. The vanilla seeds stayed evenly distributed, and the baking time was shorter, too.
I was very pleased with the results, and it’s definitely a recipe I’ll be making again and again. Enjoy and bon appétit!
Why We Love This Vanilla Crème Brûlée
- An excellent make-ahead dessert because the custards can be prepared well before serving.
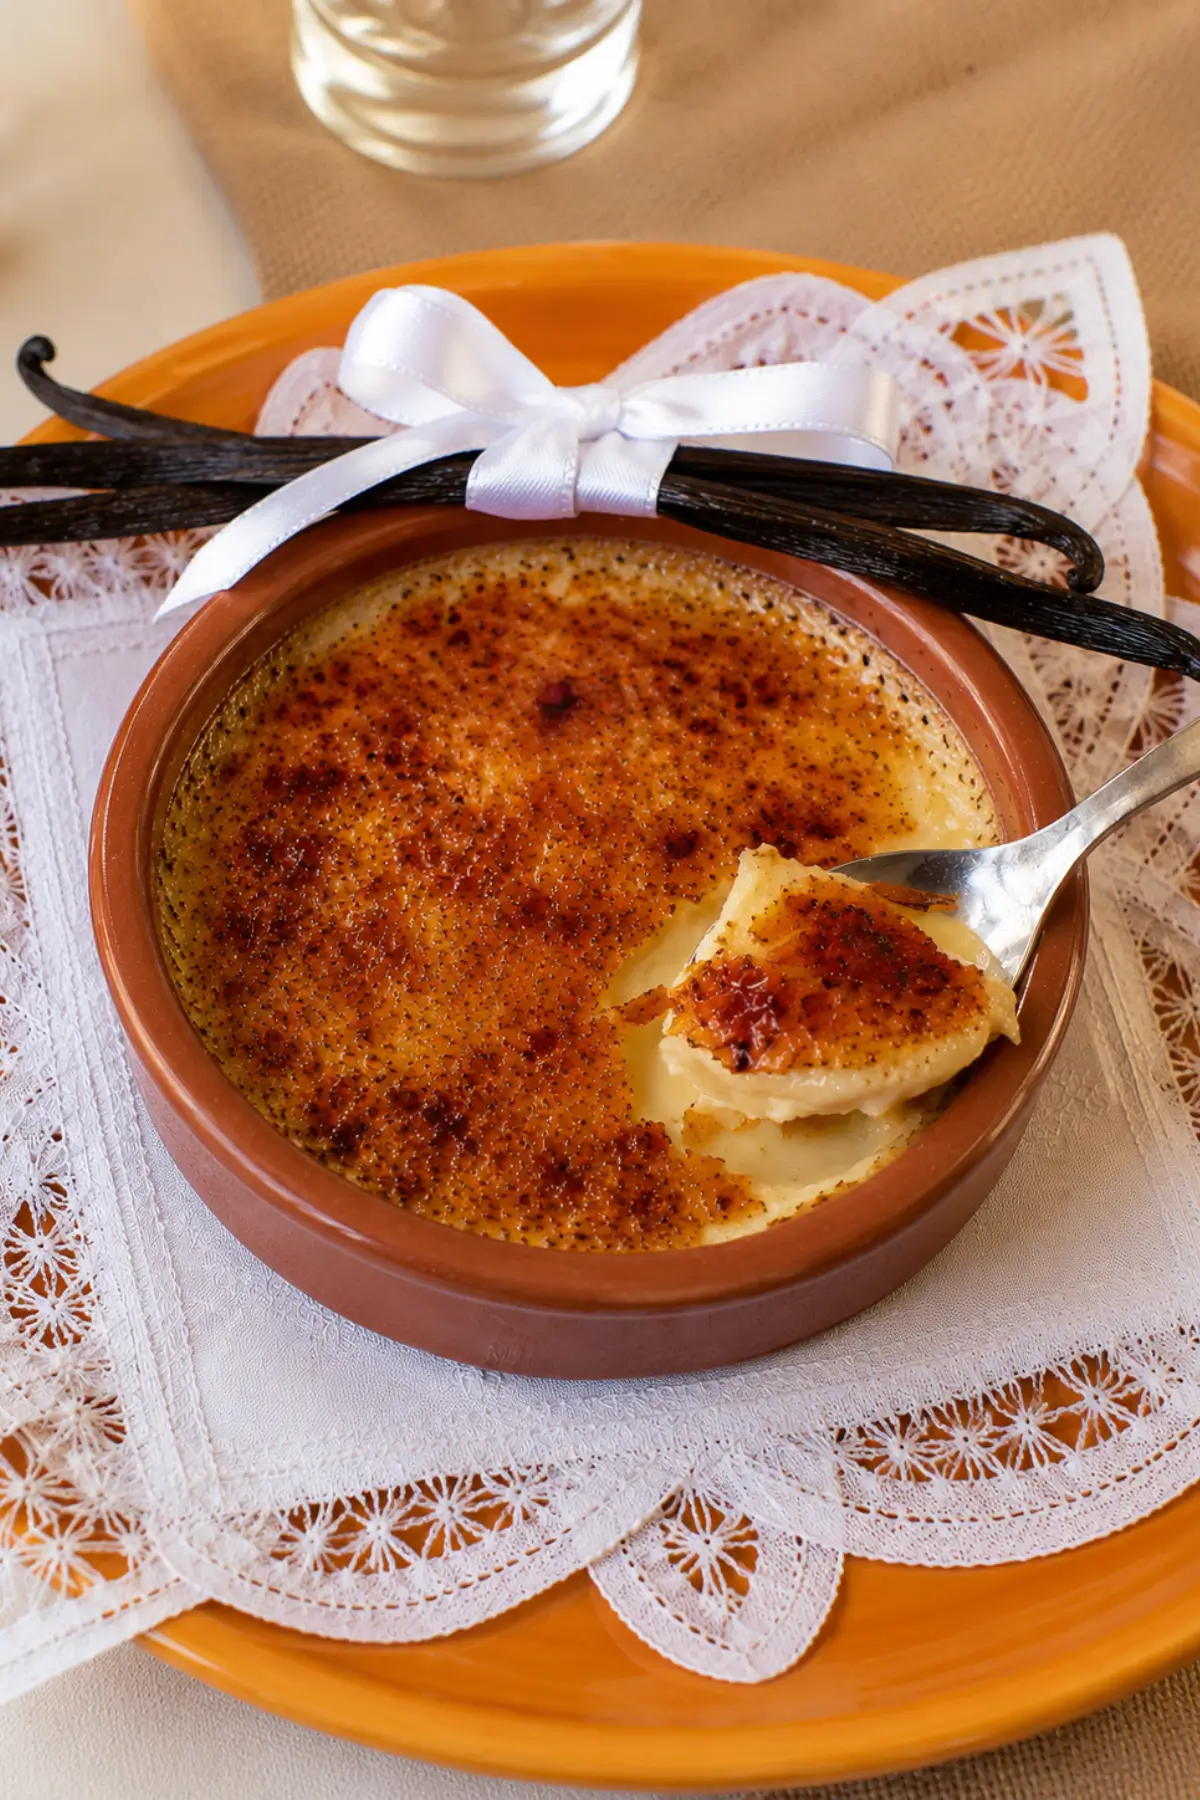
- Creamy custard and crisp caramel topping always get rave reviews from guests at the table.
- Crème brûlée pairs easily with coffee, berries, biscuits, or fresh fruit without extra preparation.
Key Ingredients for Crème Brûlée
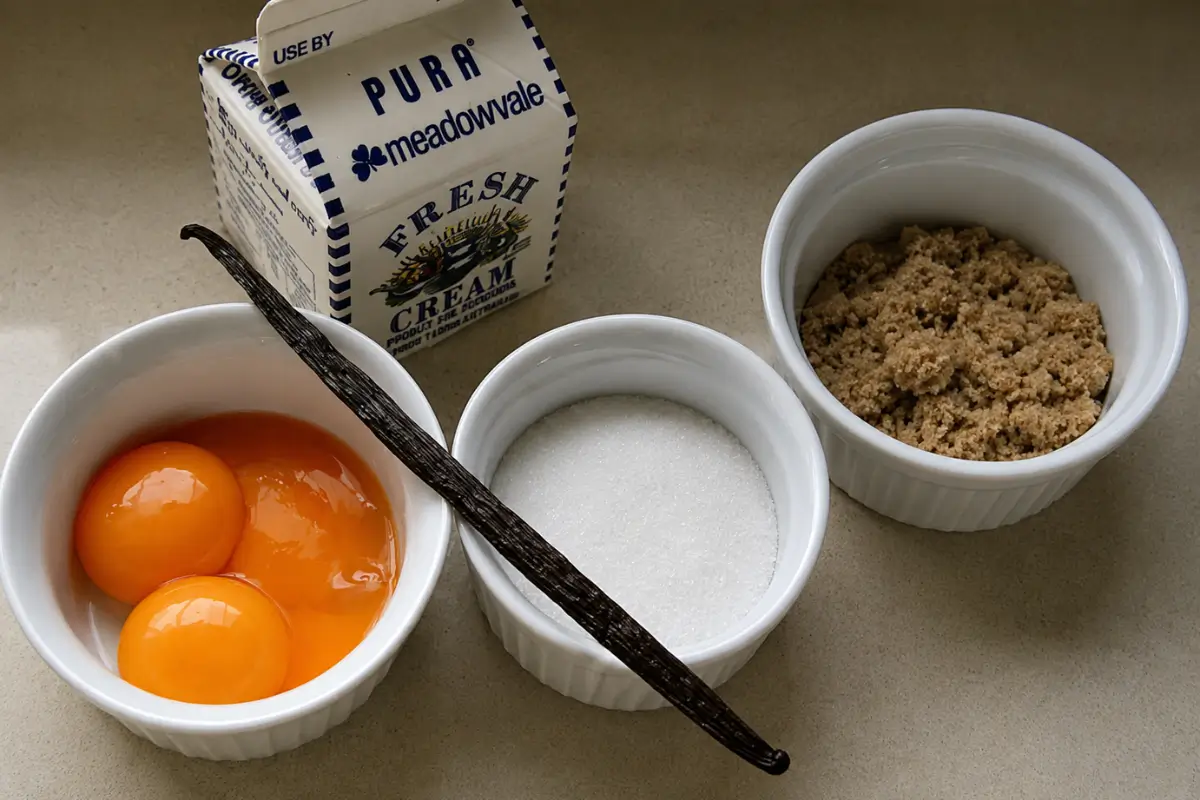
Egg Yolks
Egg yolks give crème brûlée its rich texture and delicate golden colour. They create the smooth custard consistency that makes the dessert feel creamy and soft.
Vanilla Pod
Vanilla pod gives the custard a deeper and more intense vanilla flavour. Scrape vanilla bean or vanilla pod into the cream to leave delicate black specks throughout the custard.
Heavy Cream
Heavy cream brings richness and a silky finish to the custard. Its high-fat content gives crème brûlée a fuller texture.
Sugar
Sugar balances the richness of the cream and egg yolks with sweetness. The caramel layer adds contrast with its crisp texture and slight bitterness.
Demerara Sugar
Demerara sugar creates a crunchier caramel layer with a deeper flavour. The larger crystals melt evenly and develop a darker golden colour.
Find the complete list of ingredients and measurements in the recipe card below.
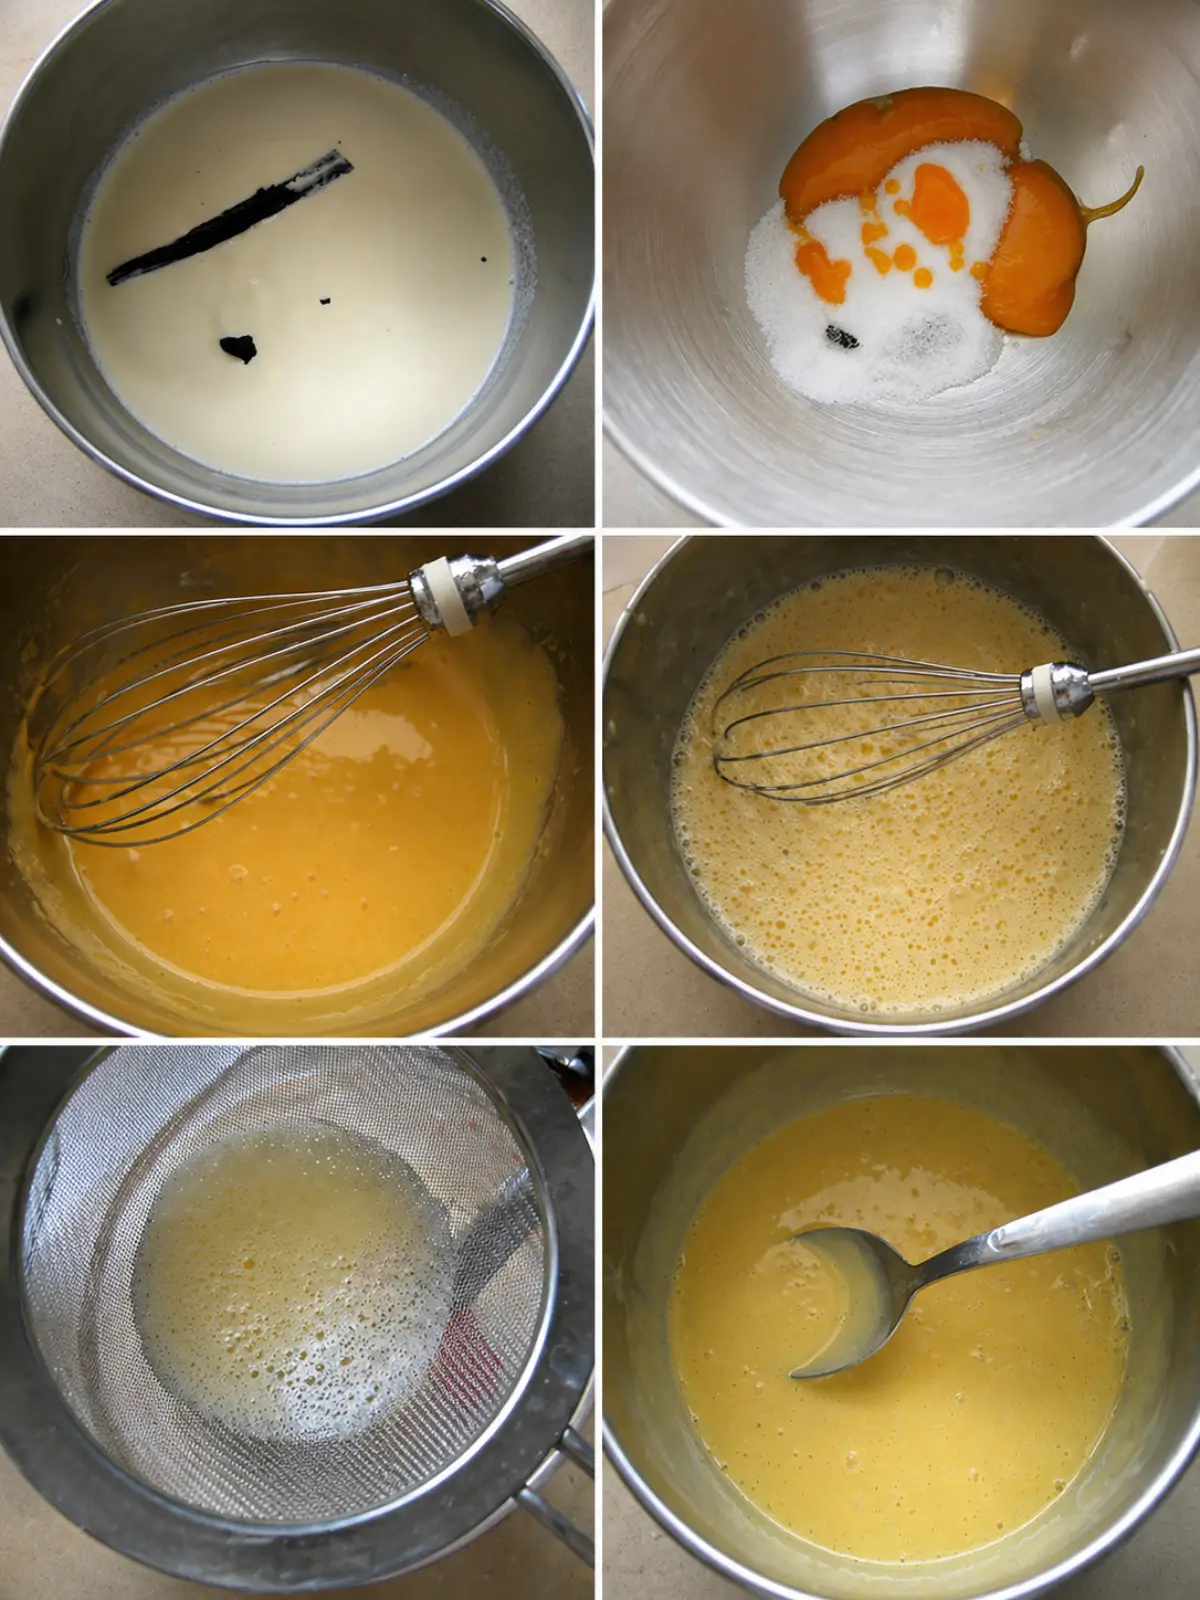
How to Make Crème Brûlée
Step 1: Halve the vanilla pod and scrape out the seeds with the back of a knife. Put the vanilla seeds in a mixing bowl. Place the vanilla pod and cream in a saucepan and heat over medium heat until just scalded. Remove from the heat and set aside.
Step 2: Whisk egg yolks, vanilla seeds, and sugar in a bowl for a couple of minutes or until pale. Remove the vanilla pod from the warm cream and slowly pour the cream into the egg mixture, whisking continuously until well combined.
Note: Whisking by hand instead of using an electric mixer helps create a smoother mixture with very little or no foam or bubbles, reducing the risk of air pockets during baking.
Step 3: Strain the mixture and return it to a saucepan. Cook over low heat for a couple of minutes until the cream coats the back of a spoon.
Note: Briefly cooking the cream on the stovetop helps dissolve any foam in the mixture, distributes the vanilla seeds evenly throughout the cream, and shortens the baking time. It also helps the cream set evenly and reduces the risk of curdling in the oven.
Step 4: Place 6 ramekins in a deep roasting pan lined with a folded tea towel. Divide the cream evenly among the ramekins. Pour boiling water into the pan until it comes halfway up the sides of the ramekins.
Note: If any foam or bubbles appear on the surface, quickly run a blowtorch over the tops before baking to remove them.
Step 5: Bake uncovered in a preheated oven at 150°C – 302°F for 20 to 25 minutes, or until the cream has just set but still has a slight wobble. Remove the ramekins from the water and set aside to cool completely. Refrigerate for at least 3 hours.

Step 6: Sprinkle the Demerara or brown sugar evenly over the tops of the crème brûlées. Melt the sugar using either a blowtorch or the grill until a deep caramel brown crust forms.
Frequently Asked Questions
Keeping the oven temperature low and baking the ramekins in a water bath helps prevent the custard from curdling. Gradually whisking the warm cream into the egg yolks also helps the mixture stay smooth and evenly set.
Vanilla extract works well as a substitute, although the flavour won’t be quite as deep. Vanilla bean paste is another good option and still gives the custard the classic black vanilla specks.
No, you can caramelise the sugar under a very hot oven broiler or grill instead. A blowtorch gives better control and usually creates a more even caramel layer.
Brown sugar works well if you don’t have Demerara sugar. White sugar caramelises too, although the flavour is usually lighter and less rich.
Extra Help from the Kitchen
Use a Kettle for the Water Bath – Pour the boiling water into the roasting tin with a kettle instead of a saucepan to avoid splashing water into the custards.
Avoid Overfilling the Roasting Tin – Water should only come halfway up the ramekins. Higher water levels can shift during baking and affect the texture of the custard.
Strain the Custard Twice – Pass the custard through a fine mesh sieve a second time before filling the ramekins to catch any tiny lumps or cooked egg bits and create a smoother texture after chilling.
Chill the Custards Uncovered First – Place the small ramekins in the fridge uncovered for the first hour to reduce moisture forming on the surface.
Caramelise the Sugar Right Before Serving – Caramelised sugar slowly softens once refrigerated, so torching the tops at the last minute gives the best crack when serving.
Variations and Twists
Dark Chocolate Espresso Brûlée – Add two tablespoons of espresso powder and 50 g – 1.7 oz chopped dark chocolate to the hot cream before combining it with the yolks.
Earl Grey Lavender Brûlée – Simmer loose-leaf Earl Grey tea and culinary lavender buds directly in the cream alongside the vanilla pod. Leave the mixture to steep for 20 minutes before straining to keep the custard smooth and free from any floral bits.
Cardamom Orange Blossom Brûlée – Crush four green cardamom pods into the hot cream and mix one teaspoon of orange blossom water into the egg yolks for a warmer, floral flavour.
Salted Miso Caramel Brûlée – Blend one tablespoon of white miso paste into the egg yolks and sugar before adding the cream. Miso gives the caramel a deeper savoury flavour that balances the sweetness of the brûléed topping.
Coconut Lime Brûlée – Replace 200 ml – 0.8 cup of the heavy cream with full-fat coconut milk and whisk fresh lime zest into the sugar mixture. Coconut gives the custard a creamier flavour, while lime keeps the brûlée tasting fresher.
Storage and Shelf Life
Store the baked custards covered in the fridge for up to 3 days before caramelising the sugar topping. Keep the ramekins tightly covered with cling film or in an airtight container to prevent the custards from absorbing fridge odours.
Once the sugar has been brûléed, crème brûlée is best served within a few hours because the caramel topping gradually softens in the fridge. I don’t recommend freezing, as the custard can become watery and grainy after thawing.
More Ways to Enjoy Crème Brûlée
- Truffle Honey Vanilla Crème Brûlée
- Quick Coconut Crème Brûlée
- Lime Leaf Crème Brûlée
- Avocado Crème Brûlée
Crème Brûlée Recipe
Ingredients
- 6 egg yolks
- 500 ml – 2 cups heavy cream or thickened cream
- 100 g – ½ cup sugar
- 1 vanilla pod
- 6 tbsp Demerara or brown sugar – for the topping
Instructions
- Halve the vanilla pod and scrape out the seeds with the back of a knife. Put the vanilla seeds in a mixing bowl. Place the vanilla pod and cream in a saucepan and heat over medium heat until just scalded. Remove from the heat and set aside.
- Whisk egg yolks, vanilla seeds, and sugar in a bowl for a couple of minutes or until pale. Remove the vanilla pod from the warm cream and slowly pour the cream into the egg mixture, whisking continuously until well combined.Note: Whisking by hand instead of using an electric mixer helps create a smoother mixture with very little or no foam or bubbles, reducing the risk of air pockets during baking.
- Strain the mixture and return it to a saucepan. Cook over low heat for a couple of minutes until the cream coats the back of a spoon.Note: Briefly cooking the cream on the stovetop helps dissolve any foam in the mixture, distributes the vanilla seeds evenly throughout the cream, and shortens the baking time. It also helps the cream set evenly and reduces the risk of curdling in the oven.
- Place 6 ramekins in a deep roasting pan lined with a folded tea towel. Divide the cream evenly among the ramekins. Pour boiling water into the pan until it comes halfway up the sides of the ramekins.Note: If any foam or bubbles appear on the surface, quickly run a blowtorch over the tops before baking to remove them.
- Bake uncovered in a preheated oven at 150°C – 302°F for 20 to 25 minutes, or until the cream has just set but still has a slight wobble. Remove the ramekins from the water and set aside to cool completely. Refrigerate for at least 3 hours.
- Sprinkle the Demerara or brown sugar evenly over the tops of the crème brûlées. Melt the sugar using either a blowtorch or the grill until a deep caramel brown crust forms.
This post may contain affiliate links. If you purchase through these links, I may earn a small commission at no extra cost to you.


Your recipe is excellent ! I’ve just tried it and it turned out fantastic ! Thank you
I recently descovered creme brulee and I won’t let go of it easily! Yours looks amazing!
I have never tried to make creme brulee despite seeing recipes everywhere. It looks tricky but your tips would help. It is a great dessert though.
Is there anything better to eat than creme brulee? I think not. Fun to crack the top and then the cool, creamy custard. Ahhh.. I’ll make some tomorrow. 🙂
Yummy, your creme brulee looks truly divine!