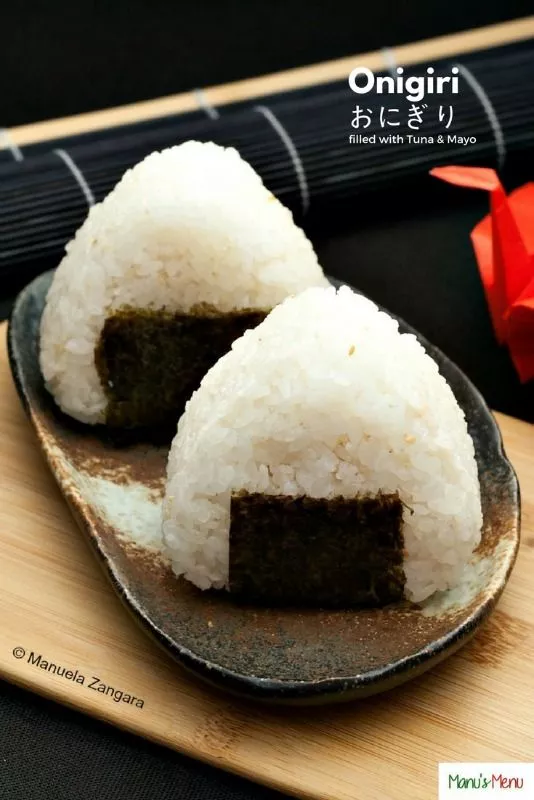
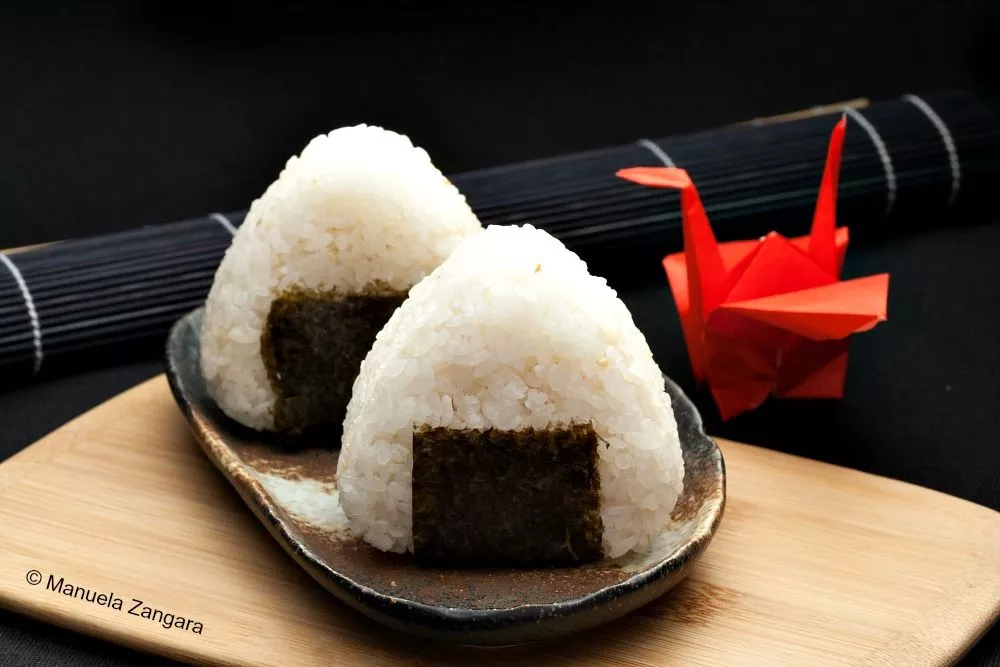
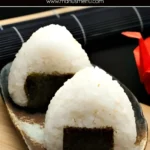
Filled with creamy tuna and wrapped in crisp nori, these Tuna Mayo Onigiri (Triangle Rice Balls) are perfect for lunchboxes, picnics, and quick snacks. Portable, satisfying, and surprisingly easy to prepare.

Onigiri has become one of my favourite things to make at home. After visiting Japan a few times with my family, I’ve grown even more fond of its food culture and the small everyday dishes that bring so much comfort.
If you’d like to see more from our travels, you can read about our trip to Japan in 2015 and our return visit in 2017. Both experiences deepened my love for Japanese food and inspired many recipes on the blog.
A Taste of Japan
My love for it actually began long before those trips. When I was a child in Milan, I often watched Japanese anime after school. They always had these little rice balls in their lunch boxes, and I remember being so curious about them. Tasting them in Japan years later brought back the same curiosity I had as a child.
If you enjoy Japanese food, take a look at my Japanese recipes for more dishes to try at home.
Have you ever had onigiri? What’s your favourite filling?
What Is Onigiri?
Onigiri means “to hold” or “to mould by hand” in Japanese, which describes exactly how these traditional rice snacks are made. Also known as Japanese rice balls or triangle rice balls, onigiri are one of Japan’s most loved comfort foods.
Made from warm rice that’s plain or lightly salted, onigiri can be shaped by hand or with a mould. You can also use the DAISO Triangular Onigiri Maker to get neat, even pieces. Fill them with something savoury and wrap with nori (seaweed). They’re soft, compact, and ideal for lunchboxes or snacks on the go.
Unlike sushi, onigiri is made with plain steamed rice rather than vinegar-seasoned rice. This gives it a clean, delicate flavour that highlights the filling. Common fillings include tuna mayo, salted salmon, and pickled plum (umeboshi). Modern versions also feature creative options such as spicy tuna or seasoned seaweed.
Why Everyone Loves This Japanese Rice Ball Recipe
- You can switch the filling to salmon, umeboshi, or even chicken for variety.
- Easy to pack and eat with your hands, ideal for travel or school lunches.
- Can be shaped a few hours in advance, wrapped, and stored until ready to serve.
Key Ingredients for Onigiri
Sushi Rice
Short-grain sushi rice has the ideal stickiness for shaping. It holds together well without becoming heavy and keeps each onigiri soft and tender. Rinse thoroughly before cooking to remove excess starch.
Tuna
Canned tuna adds a savoury depth and gentle texture that works well with the creamy mayo. Use good-quality tuna in water or oil, then drain well to keep the filling balanced and not watery.
Japanese Mayo
Gives the filling a creamy texture with a mild tang. It brings the tuna together and adds a gentle creaminess to the centre.
Find the complete list with measurements in the recipe card below.
How to Make Tuna Mayo Onigiri
Preparing the Rice
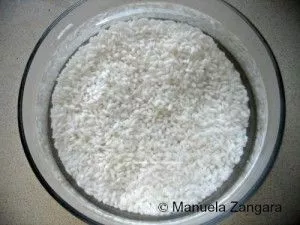
Step 1: Wash the rice very well under cold water. Make sure the water runs clear at the end of the wash.
Step 2: Place the rice in a large bowl and soak it for 30 minutes.
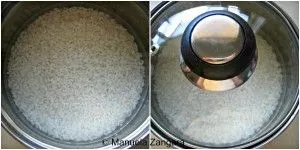
Step 3: After 30 minutes, drain the rice and transfer it to a pot. Add the water and salt (if you will be using a mould to shape your onigiri). Cover with a tight-fitting lid and bring to a boil over high heat. Once it starts to boil, reduce the heat to low and simmer for 10 to 12 minutes, or until all the water has been absorbed.
Step 4: When ready, let the rice rest for 10 minutes before removing the lid.
Step 5: Add the toasted sesame seeds and mix gently.
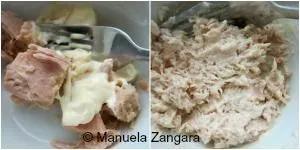
Preparing the Filling for Tuna Mayo Onigiri
Step 1: Mix the drained tuna with the Japanese mayonnaise until well combined.
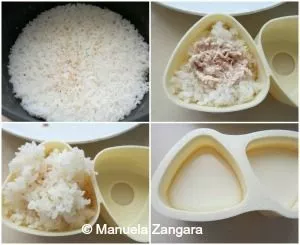
Shaping the Onigiri
Step 1: Let the cooked rice cool slightly until you can hold it comfortably without burning your hands. Do not let it cool completely, or it will become firm and difficult to shape.
Step 2: To shape the onigiri by hand, wet both hands with water to prevent the rice from sticking.
Step 3: Sprinkle a little salt on your hands and rub them together to spread it evenly.
Step 4: Scoop out a handful of warm rice (about ½ cup) into one hand. Using the other hand, make an indentation in the centre and place half of the filling inside. Gently press the filling into the rice.
Step 5: Shape the rice around the filling to form a triangle. Shape the bottom edge with your left hand and the top corner with your right hand. Use your thumb, index, and middle fingers to guide the corners. Press the triangle lightly between your palms, firm enough so it holds its shape but not so tight that the rice becomes compacted.
Note: If you are using an onigiri mould, fill it halfway with rice, add the filling in the centre, cover with more rice, and press down to shape. Add 1 teaspoon of salt to the rice when cooking if using a mould.
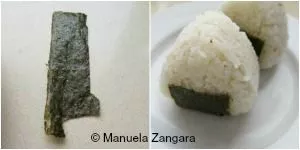
Step 6: Before serving, wrap each onigiri with a strip of nori (seaweed).
Frequently Asked Questions
Short-grain sushi rice works best because it sticks together easily. Long-grain rice falls apart, but Calrose rice can be used if needed.
For soft, separate grains that hold their shape, rinse the rice several times until the water runs clear. Use the correct water ratio and let it rest with the lid on after cooking. This keeps the rice tender without turning sticky or mushy.
Yes. Traditional onigiri fillings include salted salmon, pickled plum (umeboshi), and bonito flakes. You can also try spicy tuna, cooked chicken, or sautéed mushrooms. Keep the filling dry so the rice holds its shape.
Cut the nori into strips or squares, depending on your preferred look. Place the shiny side facing out and wrap it around the rice triangle. Press lightly so it sticks. Add the nori just before serving to keep it crisp.
Extra Help from the Kitchen
Use Freshly Toasted Nori – Nori loses crispness quickly once opened. Toast it lightly over low heat for a few seconds before wrapping to revive its flavour and texture.
Season the Rice Lightly – A small pinch of salt in the rice enhances its flavour without overpowering the filling. It also helps the onigiri keep fresh longer when packed for lunch.
Use Freshly Cooked Rice – Onigiri shapes best when the rice is freshly cooked. If the rice sits too long, it loses moisture and becomes harder to mould.
Avoid Overfilling the Centre – Add a small amount of filling so it stays enclosed. Too much can break the shape or make the rice fall apart.
Variations and Twists
Yaki Onigiri – Made with the same rice base but without a filling. Brush the shaped onigiri with soy sauce and grill or pan-fry it until the surface turns golden and crisp. The rice stays soft inside with a light, savoury crust.
Salmon Onigiri – Replace the tuna with grilled or baked salmon flakes. Follow the same steps as the main recipe. Add a pinch of salt to the salmon before cooking for a more traditional flavour.
Spam Onigiri (Musubi Style) – Use thin slices of pan-fried Spam as the filling or topping. Shape the rice into a rectangle, then wrap it with a strip of nori to create a version inspired by Hawaiian musubi.
Storage and Shelf Life
Store freshly made onigiri in an airtight container at room temperature for up to 4 hours, away from direct heat and sunlight. This keeps the rice soft and prevents excess moisture from forming inside the container.
If you need to store them longer, refrigerate for up to 1 day. The rice will firm up slightly when cold, so let it come to room temperature before eating.
For freezing, wrap each piece tightly in cling film without nori and store for up to 1 month. Thaw overnight in the fridge and warm in the microwave for a few seconds before wrapping with fresh nori and serving. Avoid freezing onigiri that contain mayonnaise-based fillings, as the texture of the filling can change once thawed.
Japanese Favourites You Might Also Enjoy
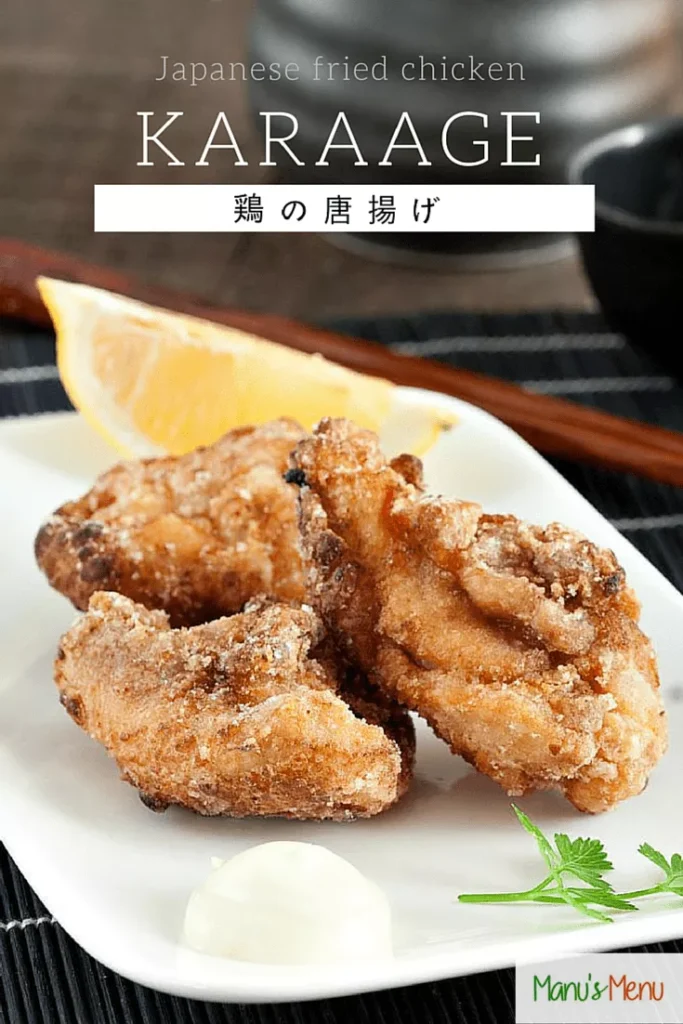
Chicken Karaage
Crispy pieces of marinated chicken fried to golden perfection make Chicken Karaage one of my favourite dishes to enjoy in Japan.
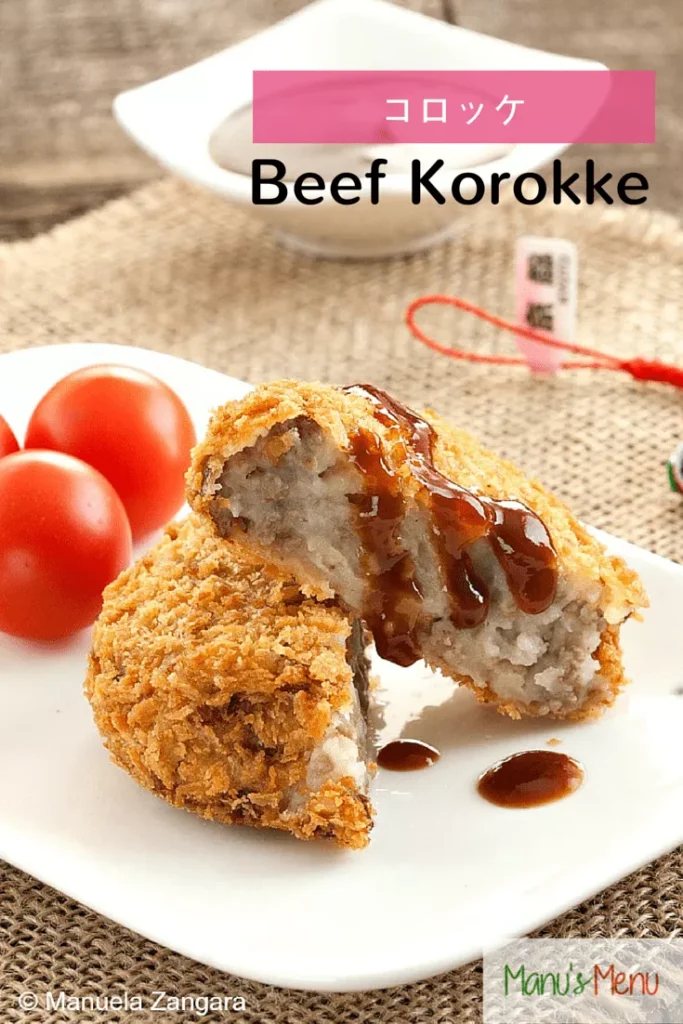
Beef Korokke
Mashed potatoes and minced beef come together in Beef Korokke, a comforting croquette that’s crunchy on the outside and soft inside.
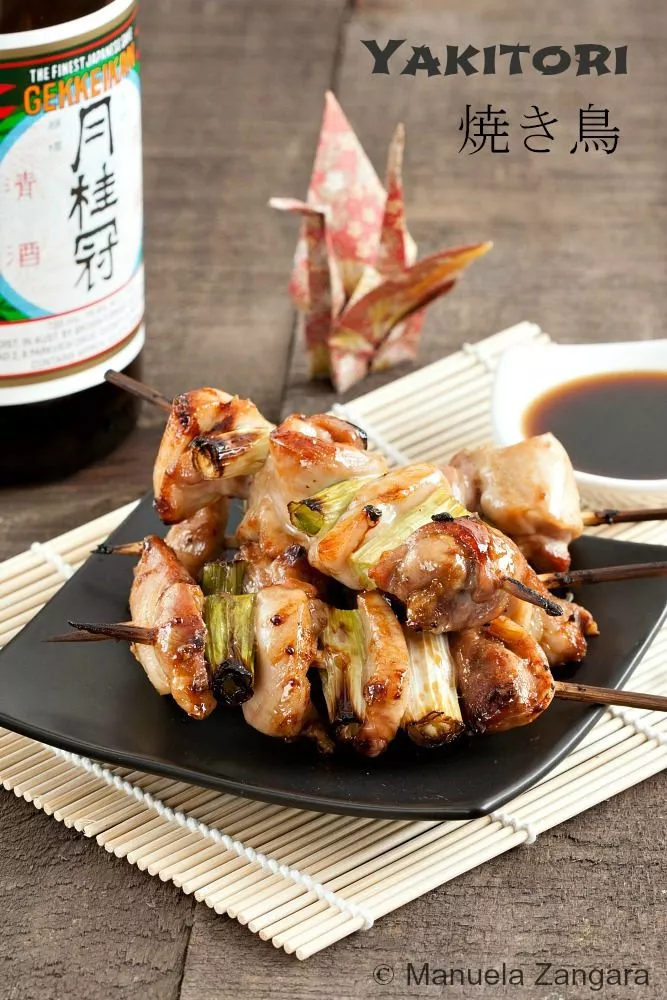
Yakitori
Grilled over charcoal and brushed with a savoury glaze, Yakitori are tender chicken skewers full of smoky, rich flavour.
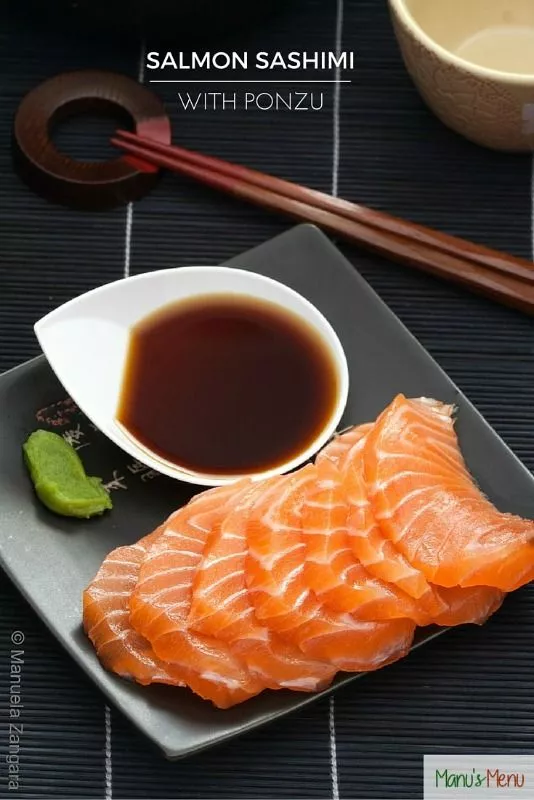
Salmon Sashimi with Ponzu
Fresh Salmon Sashimi with Ponzu brings a bright, citrusy freshness that pairs well with simple rice dishes like Onigiri.
Tonkatsu
Breaded and fried until perfectly crisp, Tonkatsu is a classic Japanese pork cutlet served with a tangy, flavour-packed sauce.

Tuna Mayo Onigiri (Triangle Rice Balls)
Filled with creamy tuna and wrapped in crisp nori, these Tuna Mayo Onigiri (Triangle Rice Balls) are perfect for lunchboxes, picnics, and quick snacks. Portable, satisfying, and surprisingly easy to prepare.
Ingredients
- 100 g – 3.5 oz sushi rice
- 1 tsp salt
- 110 ml – scant ½ cup water
- 30 g – 2 tbsp canned tuna – drained
- 1 tbsp Japanese mayo
- 1½ tsp sesame seeds – toasted
- Nori strips
Instructions
Preparing the Rice
-
Wash the rice very well under cold water. Make sure the water runs clear at the end of the wash.
-
Place the rice in a large bowl and soak it for 30 minutes.
-
After 30 minutes, drain the rice and transfer it to a pot. Add the water and salt (if you will be using a mould to shape your onigiri). Cover with a tight-fitting lid and bring to a boil over high heat. Once it starts to boil, reduce the heat to low and simmer for 10 to 12 minutes, or until all the water has been absorbed.
-
When ready, let the rice rest for 10 minutes before removing the lid.
-
Add the toasted sesame seeds and mix gently.
Preparing the Filling for Tuna Mayo Onigiri
-
Mix the drained tuna with the Japanese mayonnaise until well combined.
Shaping the Onigiri
-
Let the cooked rice cool slightly until you can hold it comfortably without burning your hands. Do not let it cool completely, or it will become firm and difficult to shape.
-
To shape the onigiri by hand, wet both hands with water to prevent the rice from sticking.
-
Sprinkle a little salt on your hands and rub them together to spread it evenly.
-
Scoop out a handful of warm rice (about ½ cup) into one hand. Using the other hand, make an indentation in the centre and place half of the filling inside. Gently press the filling into the rice.
-
Shape the rice around the filling to form a triangle. Shape the bottom edge with your left hand and the top corner with your right hand. Use your thumb, index, and middle fingers to guide the corners. Press the triangle lightly between your palms, firm enough so it holds its shape but not so tight that the rice becomes compacted.
Note: If you are using an onigiri mould, fill it halfway with rice, add the filling in the centre, cover with more rice, and press down to shape. Add 1 teaspoon of salt to the rice when cooking if using a mould.
-
Before serving, wrap each onigiri with a strip of nori (seaweed).
This post contains affiliate links. I may earn a small commission if you purchase through Amazon.com, but I only recommend products I truly use and love.


I never tried Japanese food but onigiri looks yummy and mouthwatering , i would try this. thanks for sharing
Yummo! I am on a Japanese kick and must try making these. Thanks!